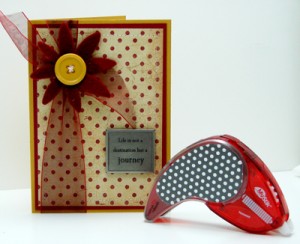
Tami here today with a quick and easy card that can be made in minutes using the new MyStik™ adhesives and a few 3D Foam Squares.
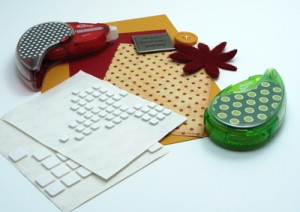
Here are the supplies I began with:
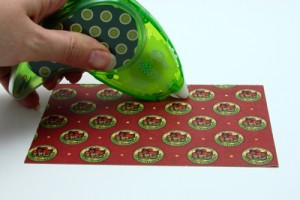
I began by lining the edges of my patterned paper with the re-positionable MyStik™. I was planning on stitching the edges so I chose this particular adhesive for a couple of different reasons. I like to have my papers in place and not have to worry about them slipping while I am sewing. By using the repositionable adhesive I won’t gunk up my needle if I get it too close to the edge. In addition, many times I like to curl the edges after I stitch (especially is it’s not straight!). With the repositionable adhesive I don’t have to worry about adhesive showing from the underside. It simply rubs off.
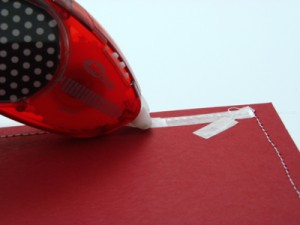
After stitching the pattern to the dark red panel I lined the back with the permanent MyStik™. This is great for adhering the piece but also to hold any loose ends that may be left from stitching.
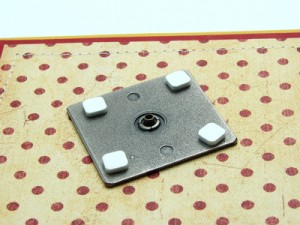
Once the base was created I added my metal greeting. These embellishments were designed to be set with an eyelet tool. I am not a fan of this type of attachment so I simply apply mini foam squares to the corners. This gives it a good strong hold and makes it sit high enough that the metal sticking out on the back doesn’t come in contact with the paper.
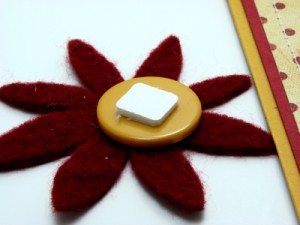
Next, the flower. I ran thread through the holes and the ends with a 3D Foam Square. I then layered it onto the flower.
Finally, the card was wrapped with ribbon, the flower attached with another 3D Foam Square and it’s done!
Thanks for stopping by!
Tami Mayberry

