
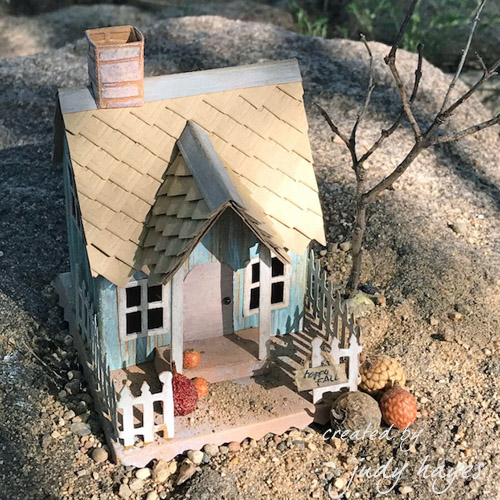
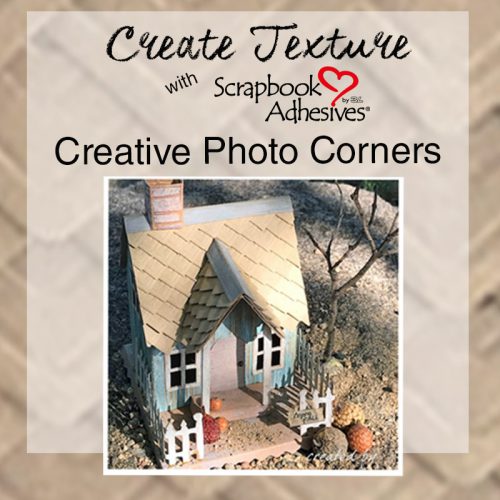
Hello, It’s Judy, and today I have a tutorial for this adorable tiny paper house! But first, see those shingles? They’re actually Creative Photo Corners! Because they are self-adhesive and the perfect size, they’re easy to arrange and fasten to the roof.
Tiny House Instructions:
To make this little house, I die cut the pieces from a brown file folder. The house parts are embossed before cutting to create the look of vertical siding. To add color to the house, fence, step and base, I used various colored inks.
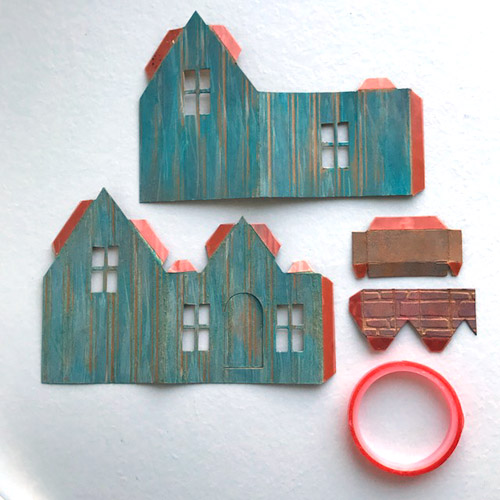
For easy assembly, apply Extreme Double-Sided Tape ¼ʺ to the flaps, its super strong and tacky, and it holds immediately.
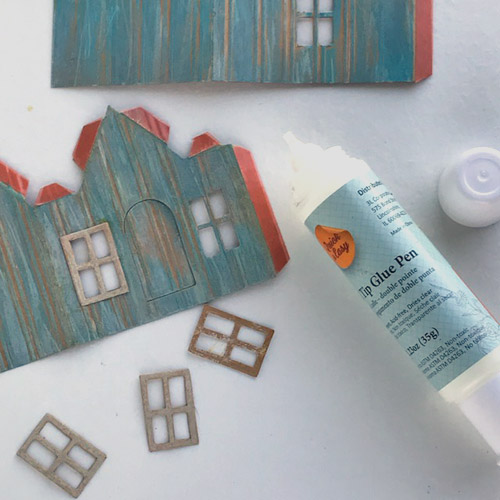
The window frames are glued onto the house with the Dual Tip Glue Pen. The fine tip makes it easy to apply to such tiny pieces. Glue the door in place and then assemble the house walls.
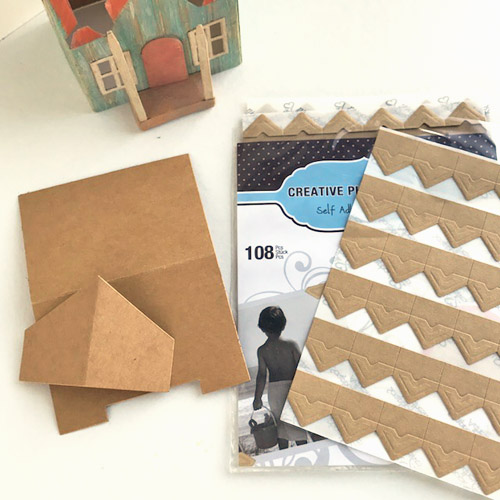
The shingles are the Kraft colored Creative Photo Corners. They have adhesive on the back side, which makes it easy to position and layer on the roof. The Creative Photo Corners have a subtle embossed pattern on them, which adds texture to the look of the roof.
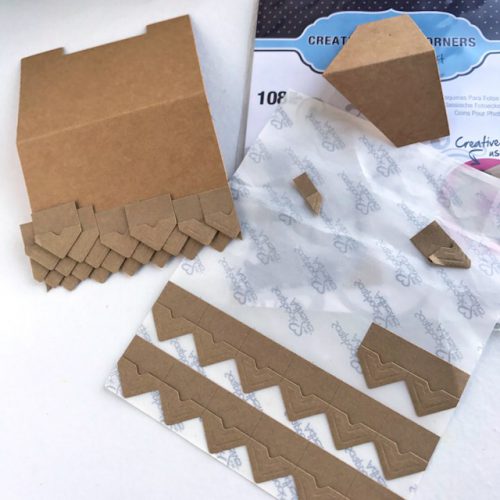
Start by off-setting the Creative Photo Corners and then lap them. Trim the edges along the roof edges for a clean line. Repeat the process on the house roof and smaller roof.
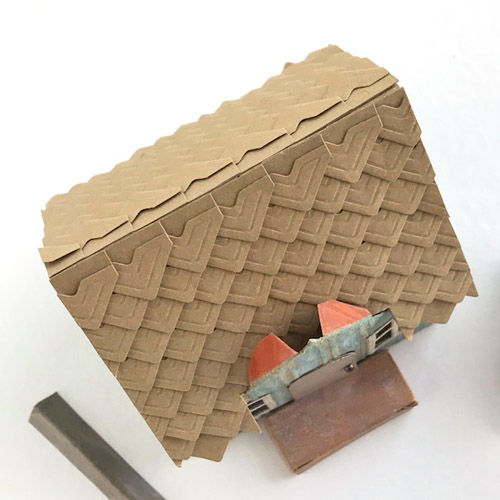
Next, create a “ridge cap” with strip of file folder that is folded in half lengthwise. Ink it for color and fasten with Extreme Double-Sided Tape ¼ʺ.
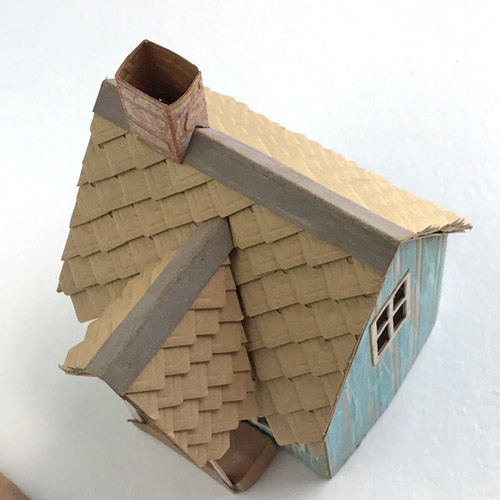
Do the same with the smaller roof and add the chimney. Attach the fence to the base with the Dual Tip Glue Pen.

Embellishing the front of the Tiny House
The pumpkins are some tiny seed pods in a bag of potpourri and fastened in place with a combination of Adhesive Dots Small and Adhesive Dots Mini. A tiny handwritten sign hangs on the fence. I found a small lilac branch to make a bare tree with air dry clay base.
I can almost image sitting on that step enjoying a sunny fall day!
Thanks for visiting!
Judy Hayes
Scrapbook Adhesives by 3L®:
Creative Photo Corners Kraft
Adhesive Dots Mini
Adhesive Dots Small
HomeHobby by 3L®
Extreme Double-Sided Tape ¼ʺ
Dual Tip Glue Pen
Other Supplies:
Brown File Folders
Ranger Distress Oxide Inks
Cardstock Scrap
Twine
Dried Seed Pods (from potpourri)
House Die
Taylored Expressions Bead Board Embossing Folder
KaiserCraft Pearls
Get more inspiration and ideas for using Creative Photo Corners as texture:
Visit our Website and Blog!
Sign up for our Newsletter so you never miss a contest or giveaway!


By Beverly Parkison September 7, 2017 - 7:36 am
Just cute as can be. Thanks.