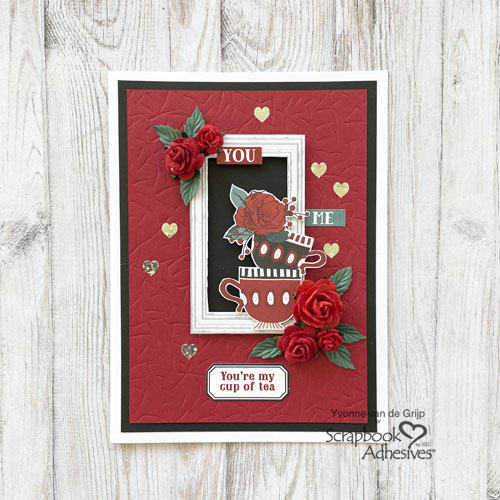
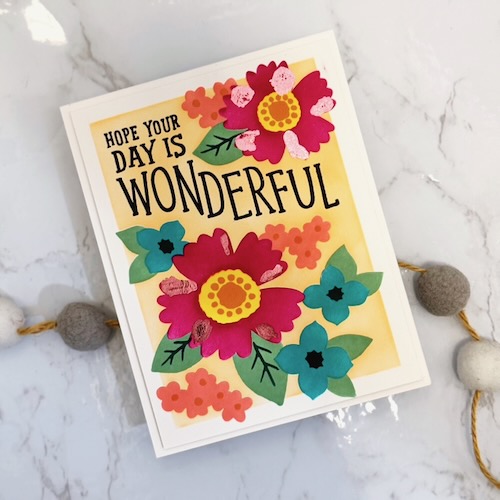
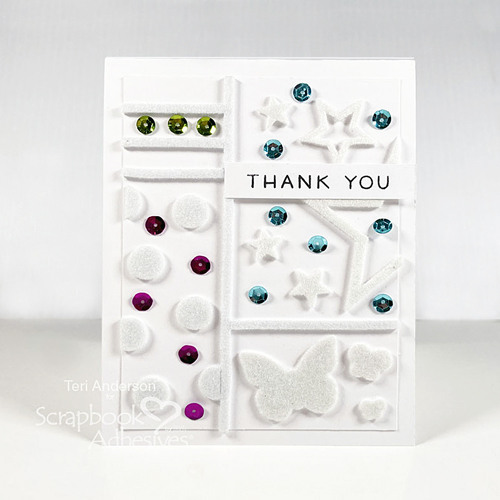
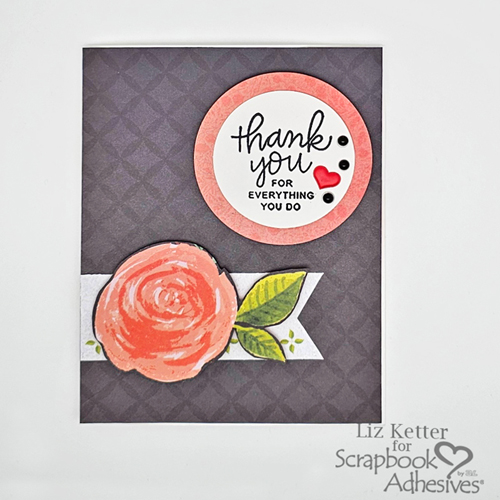
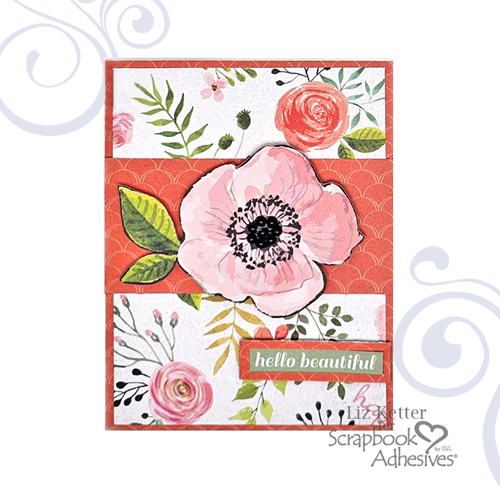
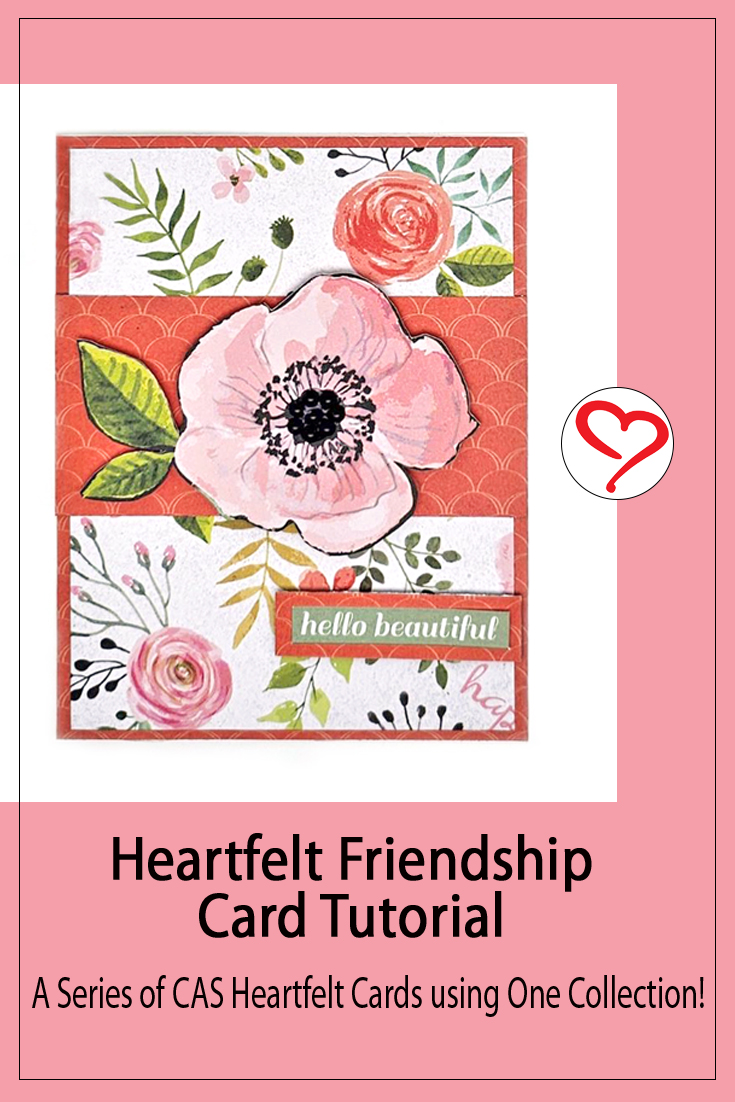
Hi, Liz here today! I am continuing with my Heartfelt card series, Heartfelt Friendship Card. Uplift a friend with this card. Sometimes friends need to know that we are thinking of them and this card is perfect to send!
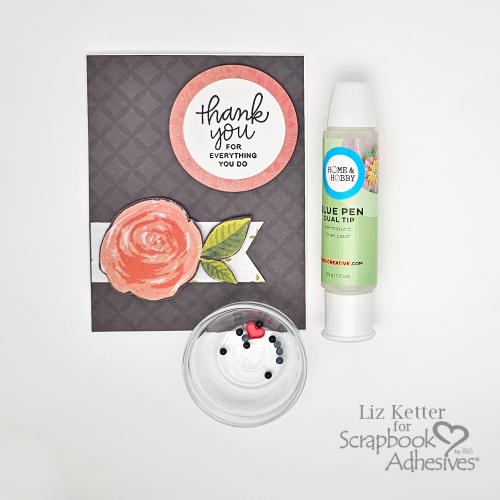
Over the next few months, I will create Clean and Simple (CAS) style cards utilizing a single paper collection with its elements. My first card creation can be seen here: Heartfelt Thank You Card.
The goal is to inspire you to create beautiful, thoughtful cards anyone would love to receive.
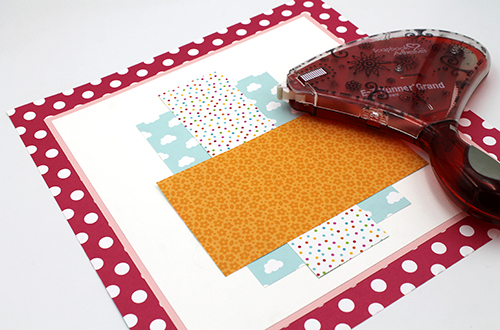
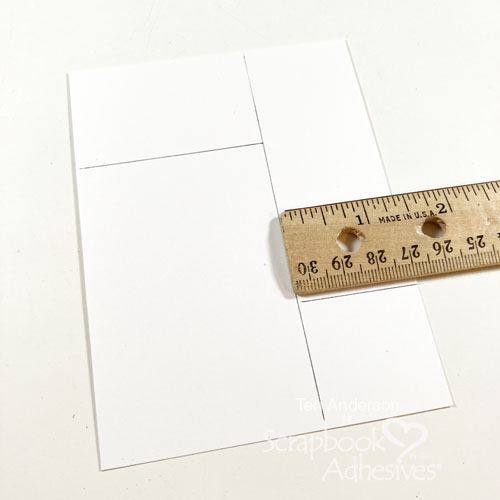
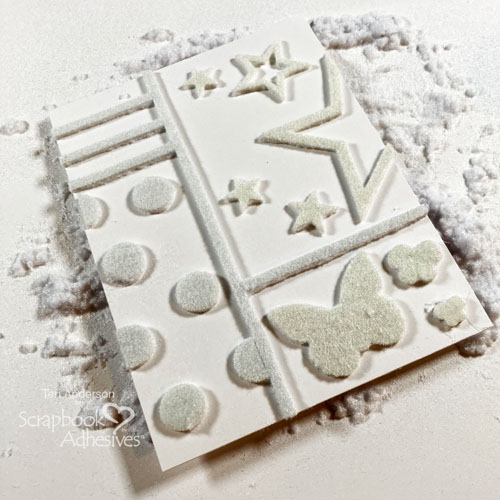
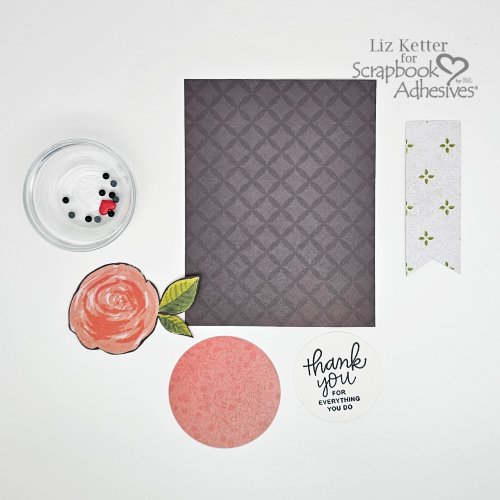
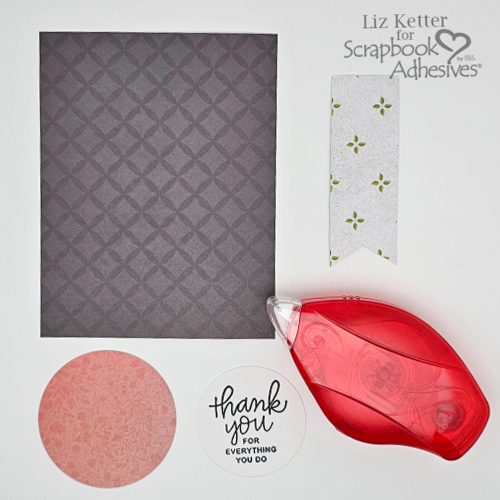
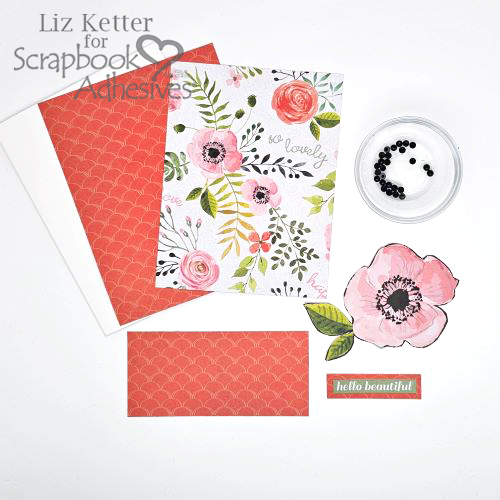
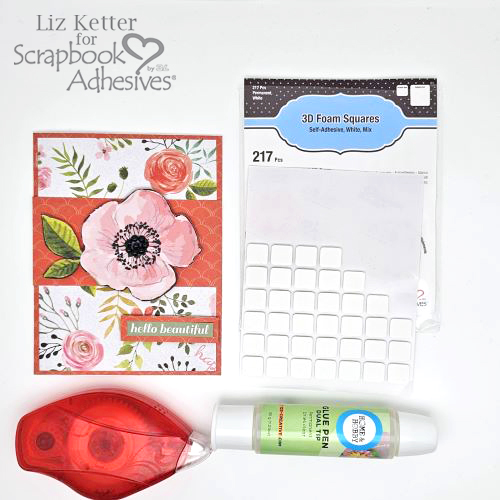
Card Panels and Elements for the Heartfelt Friendship Card
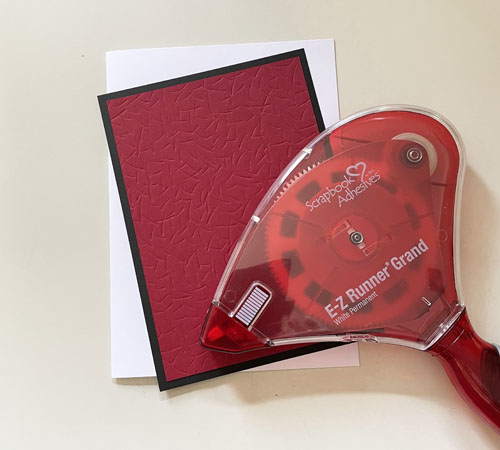
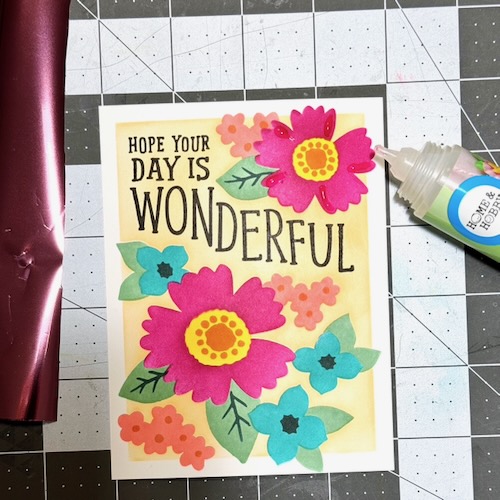
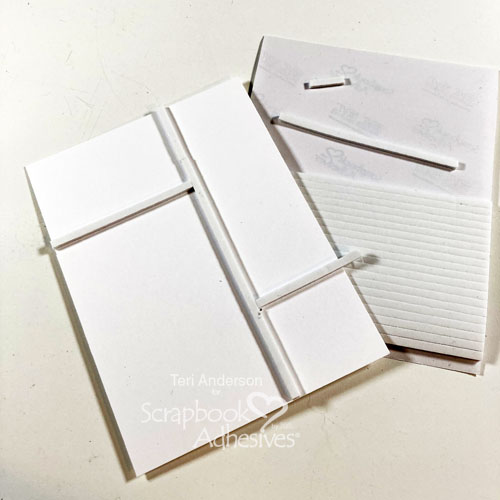
Cut two panels to layer on the card base. The dark orange panel is the same size as the card base at 5 1/2″ x 4 1/4″, and the lighter floral panel is 5 1/4″ x 4″.
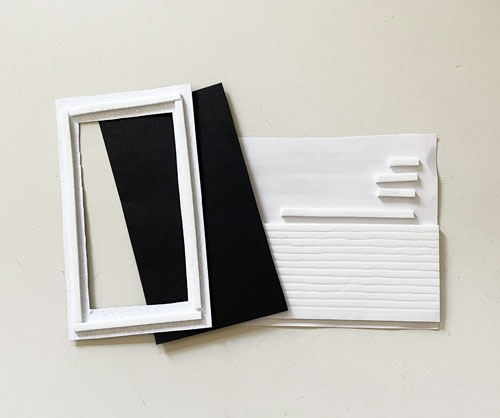
The dark orange horizontal band is cut at 4 1/4″ x 1 3/4″. Fussy cut a large floral element from one of the patterned papers. For the sentiment, I layered a sticker on a strip of dark orange patterned paper. Black flat-back pearls were gathered to be used to embellish the panel. Now let’s create this card!
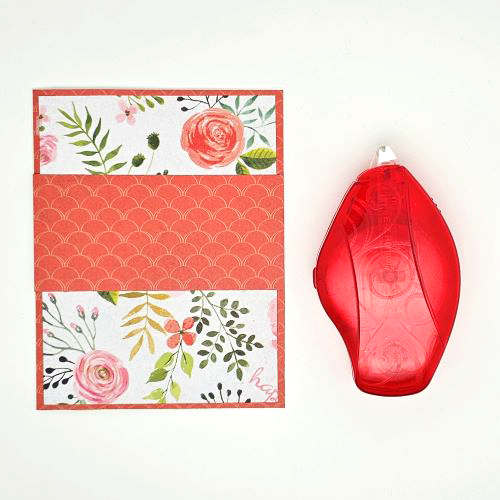
Assemble the Card Background and Band
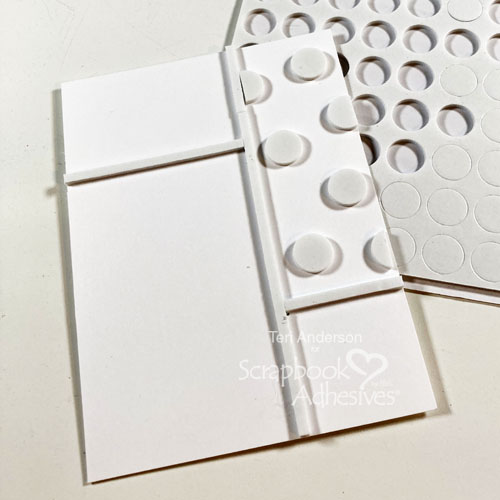
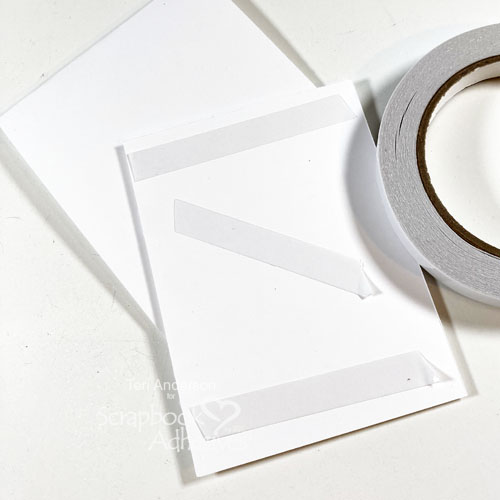
Using the E-Z Runner® Permanent Strips Refillable Dispenser, adhere the dark orange panel to the card base and then center the light floral panel on top. Attach the horizontal band to the card. Don’t forget to save room at the bottom of the card for your sentiment.
Add Some Lifted Elements
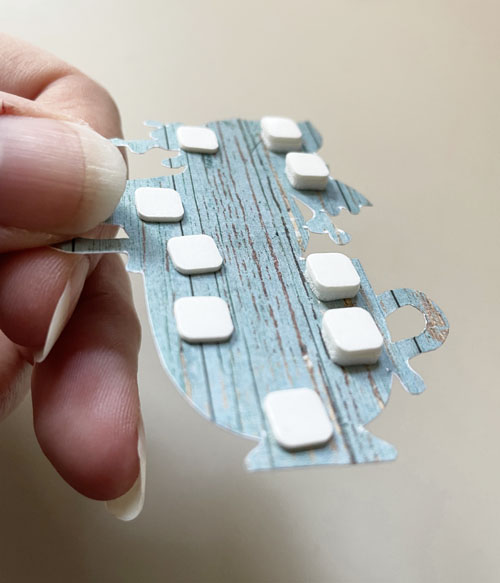
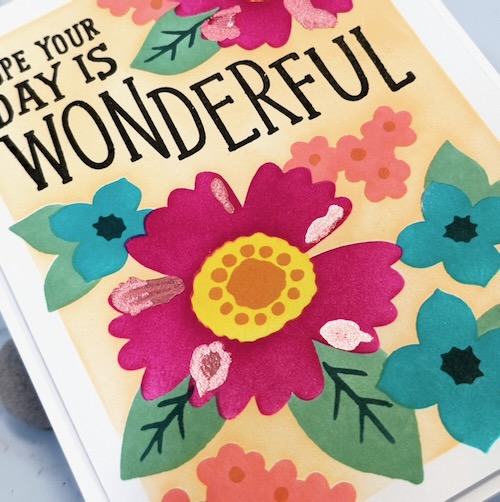
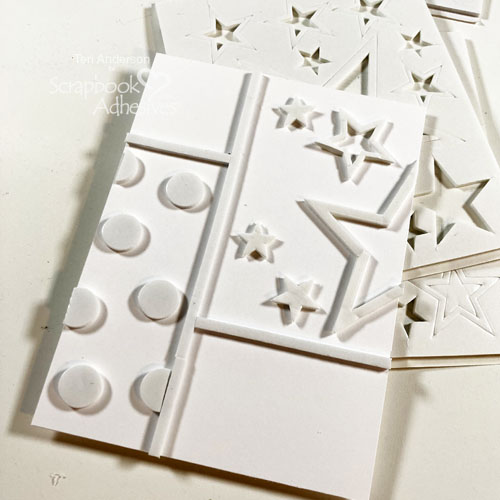
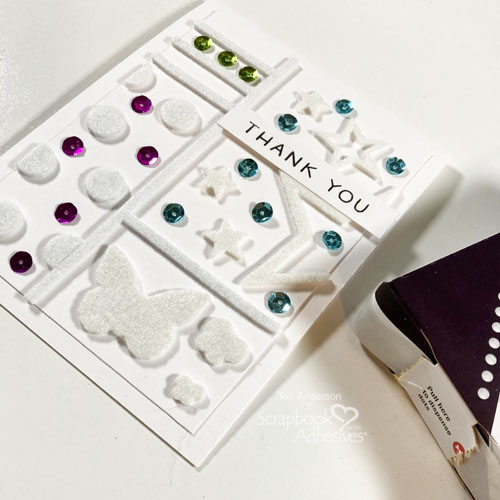
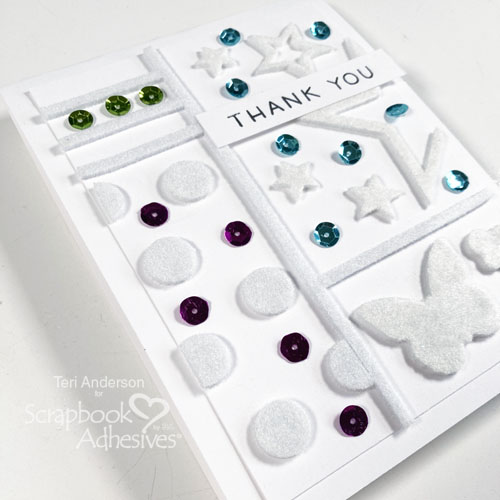
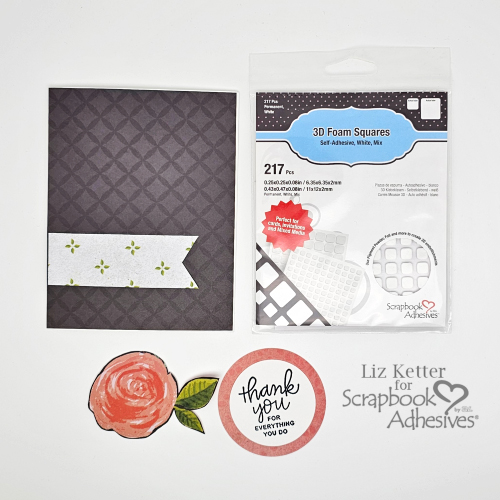
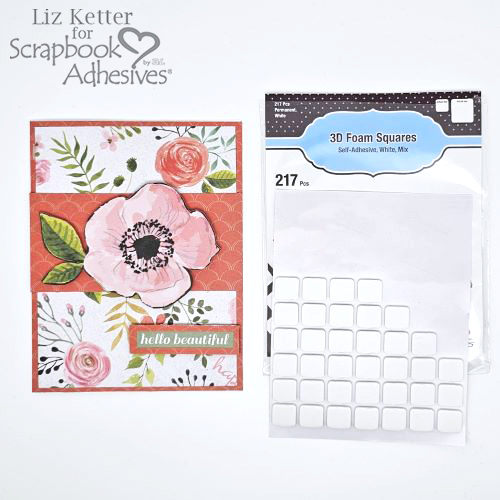
Now let’s lift and add some dimension to the card. Use several large foam squares from the 3D Foam Squares White Mix under the flower, cut one square in half, and place it under the leaves. Remove the liners and place on top of the horizontal band. Use several large foam squares under the sentiment, remove the liners, and place the flower at the bottom right of the card.
Secure Those Tiny Elements
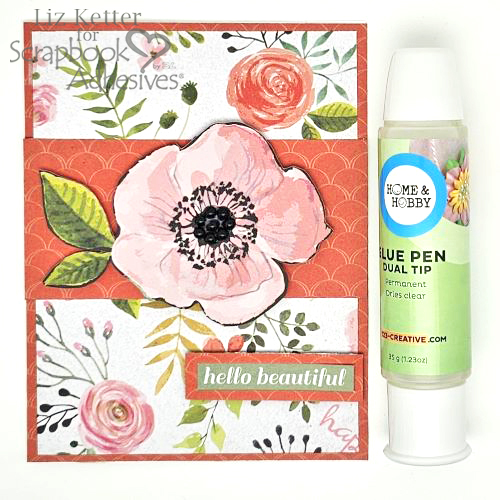
I love adding tiny embellishments to a card. It amps up the card a bit by adding a bit of glitz to the card. Secure the black flatback pearls to the large flower center with the Dual Tip Glue Pen. I think that little touch of pearls adds an interesting element to the card.
Designer’s Tip: the liquid glue tends to move out of the pen quickly but my solution was to hold the glue pen horizontally. This way only a tiny drop came out of the glue pen and onto the intended area.
This Heartfelt Friendship Card was fast and easy to create. I hope this quick tutorial inspires and encourages you to make friendship cards for those who need support and encouragement.
Thanks for stopping by!
Liz
Creative Time: 30 mins
Skill Level: Beginner
Materials Needed:
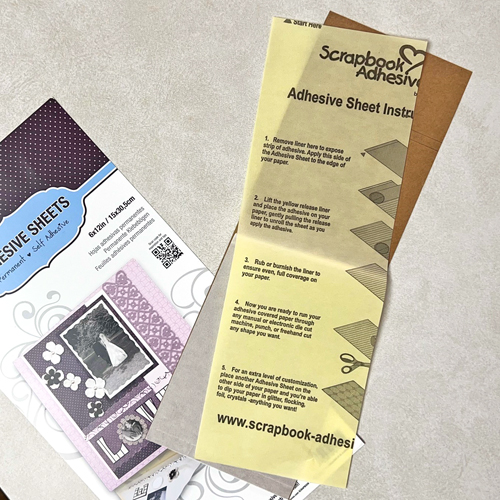
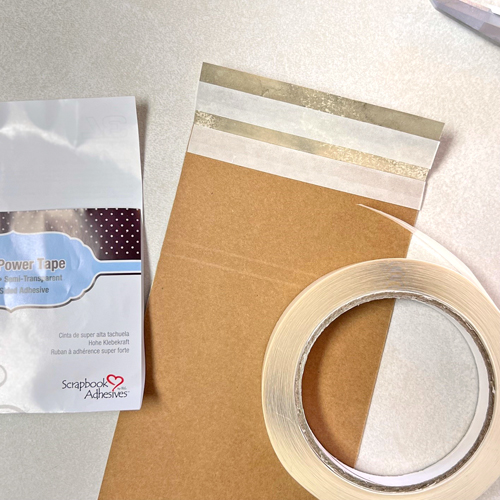
Scrapbook Adhesives by 3L®
E-Z Runner® Permanent Strips Refillable Dispenser
3D Foam Squares White Mix
Home Hobby by 3L®
Other: Patterned Papers: Kaisercraft (True Love Collection), Flat Back Black Pearls
Click Preferred Retailers List
Save to Pinterest!
Visit our Website and Blog!
Sign up for our Newsletter so you never miss a contest or giveaway!