
Greetings! Shellye McDaniel here today with a quick and simple Halloween Glitter & Washi Tape Treat Bag.
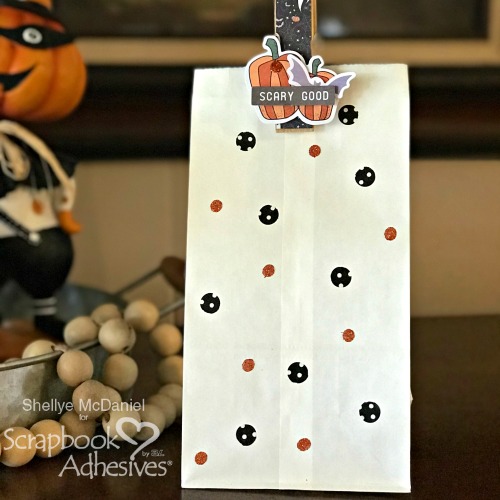
For this project, I have used a standard white 4 x 7.75″ paper sack, a large wooden 3/4 x 3″ clothespin, scrapbook papers and die cuts, and black/white dot washi tape.
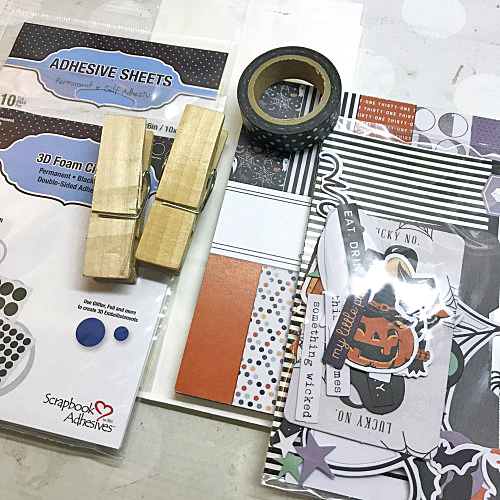
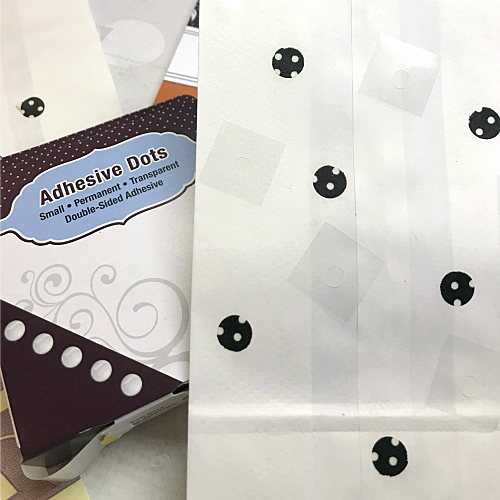
From Scrapbook Adhesives I have used: Adhesive Dots Small, 3D Foam Squares White Small and Adhesive Sheets 4×6 inch.
Halloween Glitter and Washi Tape Step Outs
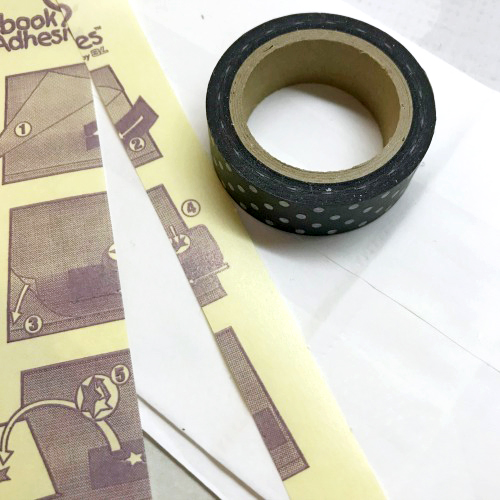
To get started, I grabbed a roll of black and white dot washi tape. Next, I cut a strip of the Adhesive Sheets 4×6 inch the same width as the tape.
After that, I applied the tape to the adhesive strip. I used a 1/2″ round punch to cut out circles from the strip.
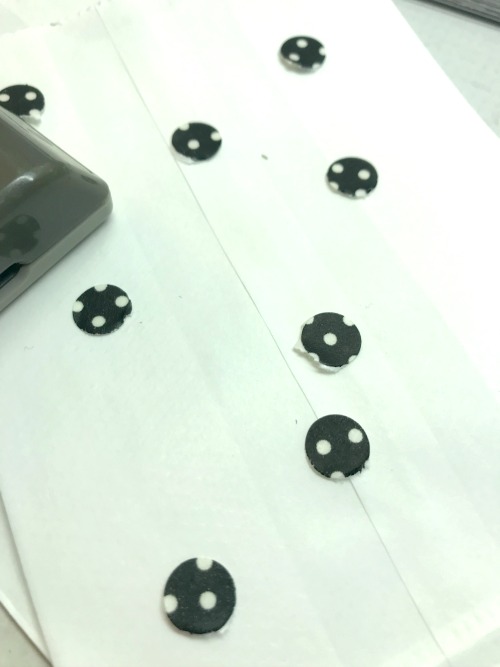
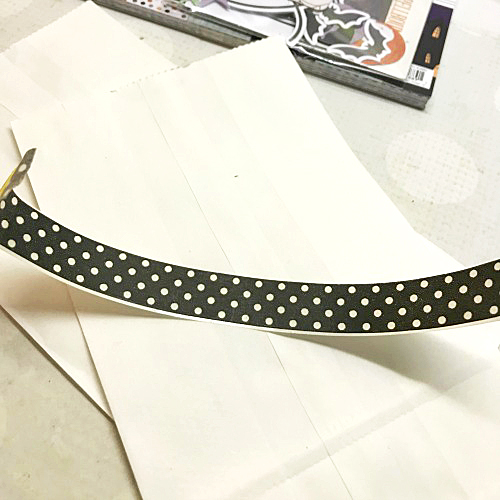
Next, I removed the backing from the washi dots and adhered them to the bag in a random pattern.
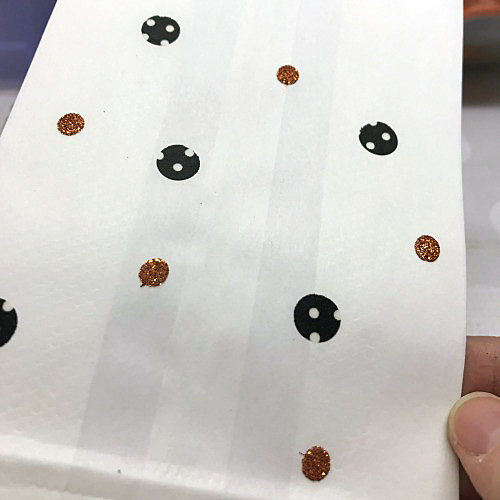
Between the washi dots, I attached Adhesive Dots Small that I sprinkled with orange glitter. Don’t forget to tap off the excess! This simple technique is “Wear Your Adhesive on the Outside” 🙂
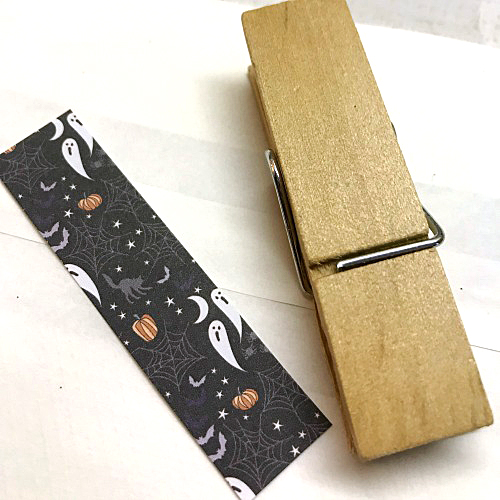

I finished off the bag with a decorated clothespin. To do this, I measured and cut the patterned paper so that it was just a bit smaller. Next, I used a strip of the Adhesive Sheets 4×6 inch to join the two together.
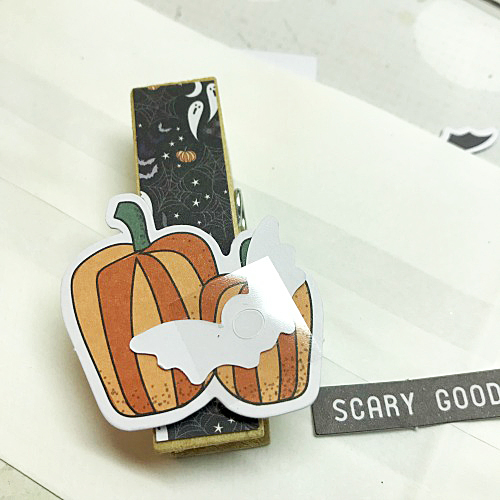
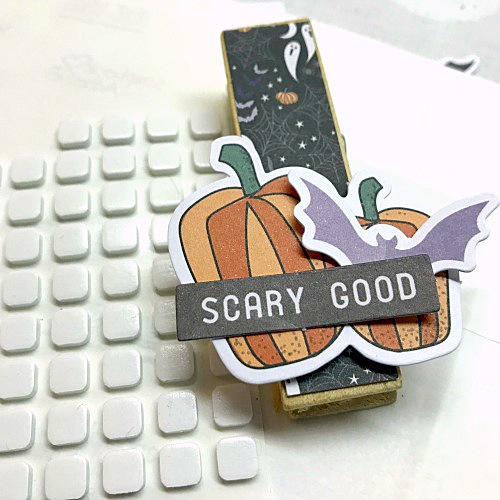
Finally, I added a couple of die-cuts using 3D Foam Squares White Small and Adhesive Dots Small. I chose to use a single Adhesive Dot for the bat so that I could fold the wings up a bit. I really like the dimension that this gives!
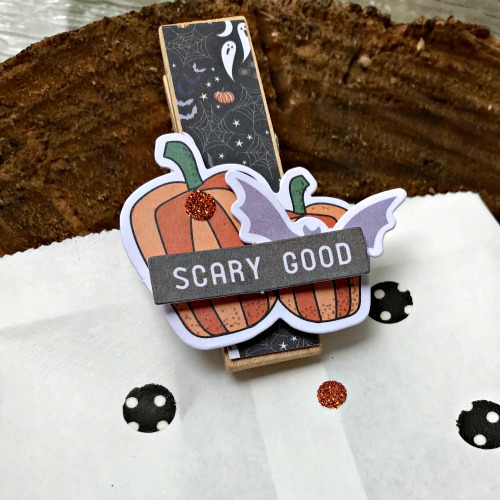
To tie the clip in with the bag design, I added an Adhesive Dot to the pumpkin and then I added orange glitter to it as well.
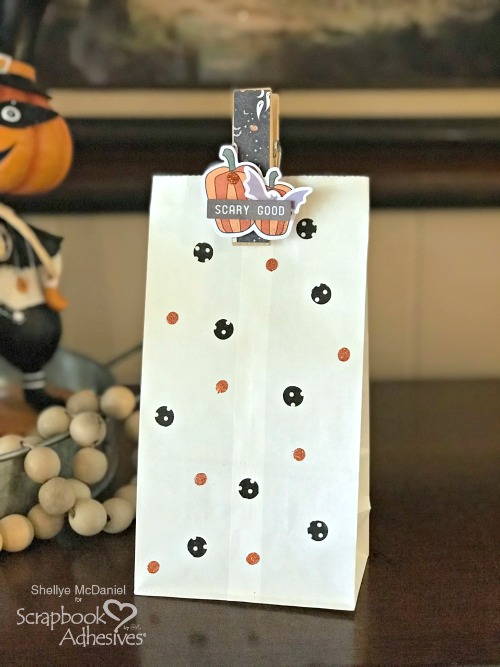
Now my bag is ready for stuffing with treats and giving!

Thanks for letting me share with you today!
Materials Needed:
Scrapbook Adhesives by 3L®
Adhesive Dots Small
3D Foam Squares White Small
Adhesive Sheets 4×6 inch
Other Materials:
Patterned Paper & Die Cuts: Fancy Pants Designs; Wooden Clothespin; Washi Tape: Doodlebug Design
Visit our Website and Blog!
Sign up for our Newsletter so you never miss a contest or giveaway!


