
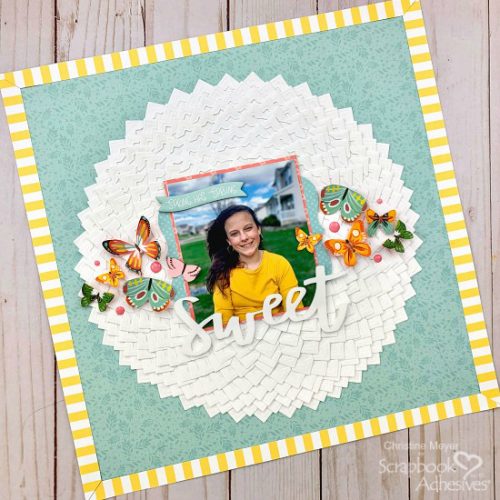
Have you ever had an idea in your head that you just had to put onto paper? For today’s layout, that is exactly what happened to me! Late one night, I was thinking about Creative Photo Corners and making a giant flower with them. I started building and before I knew it, I was hours into a stunning layout with major “wow” factor. Christine, joining you today with a Creative Photo Corners Background Layout!
As I created this, I couldn’t help but think what a beautiful home decor piece this would make, if done on wood! But with all the stores closed, that isn’t an option at the moment. So a layout is what I stuck with, for now…
Creating a Unique Textured Flower
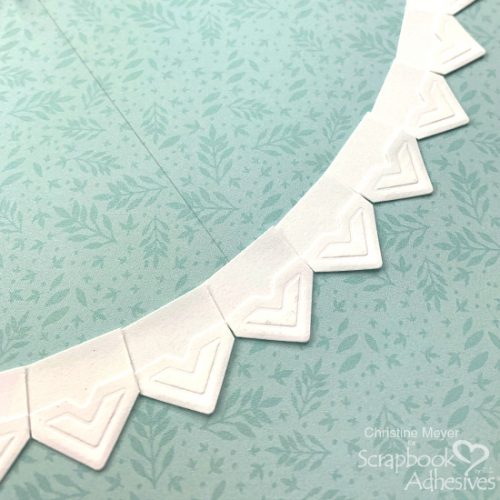
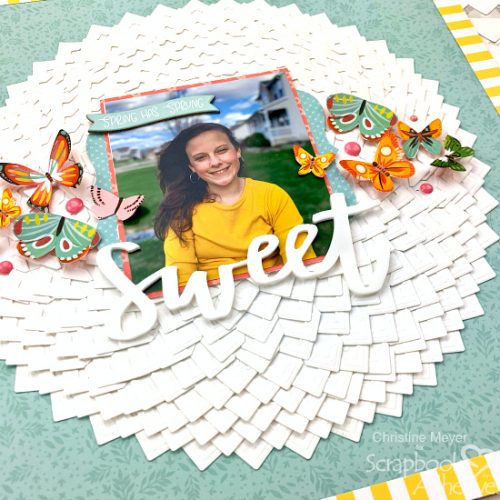
Start off by drawing a 10-inch circle onto my base paper. Then I went around it adding Creative Photo Corners. Just overlapping ever so slightly as needed.
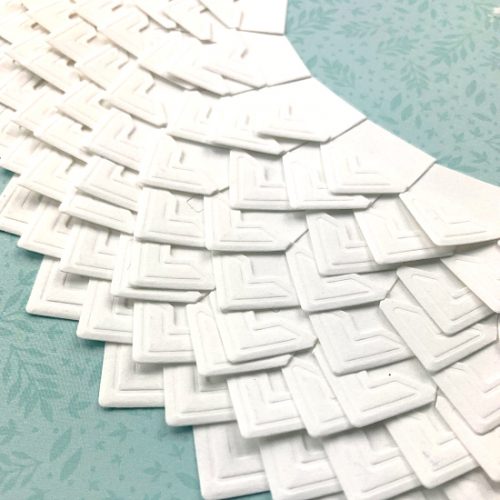
After I completed one circle, I added another. As you can see I overlapped each circle.
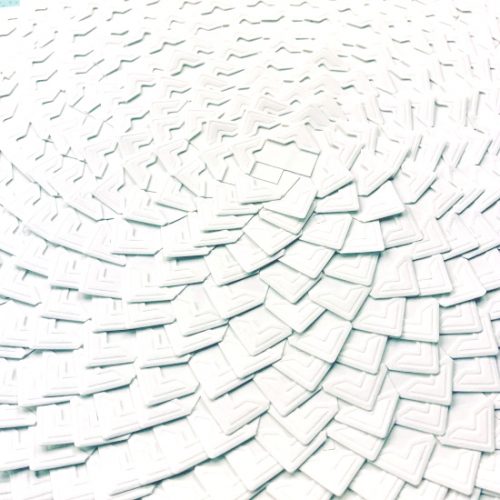
I will be honest and say that as I added each layer, the circles got less circle like and more off-kilter. BUT in the end, it truly didn’t matter, the Creative Photo Corners Background was very forgiving ;).
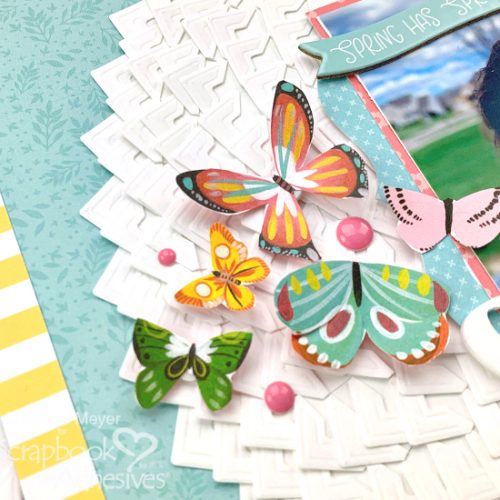
Having created a very complicated background, the rest of the layout needed to be simple. I added the butterflies using 3D Foam Circles.
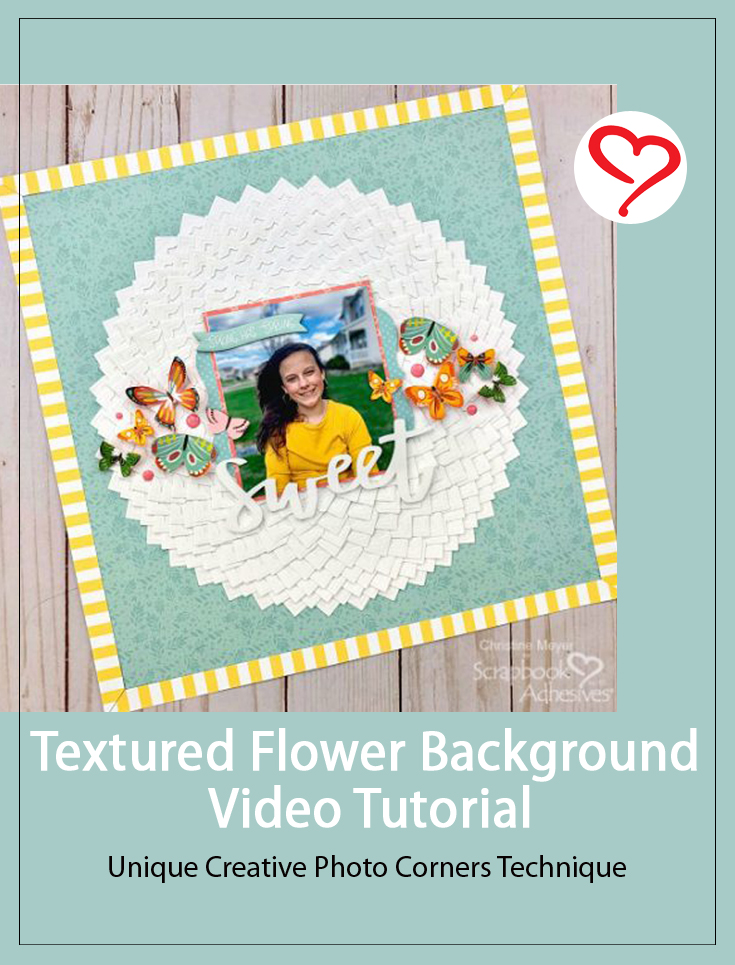
Textured Flower Sweet Scrapbook Page Video
The entire thing came together to be super unique, full of texture, and so spring-like! If you’d like to see how the whole thing came together you can check out the process video here:
Thanks for stopping by today!
– Christine Meyer
Creative Time: 2 hours
Skill Level: Intermediate
Materials Needed:
Scrapbook Adhesives by 3L®
Creative Photo Corners White
3D Foam Circles Mix White
3D Foam Creative Sheets Mix
E-Z Runner® Grand Permanent Strips
Other
Kit from The ScrapRoom, Enamel Dots
Love It? Save It to Pinterest!
Visit our Website and Blog!
Sign up for our Newsletter so you never miss a contest or giveaway!


