
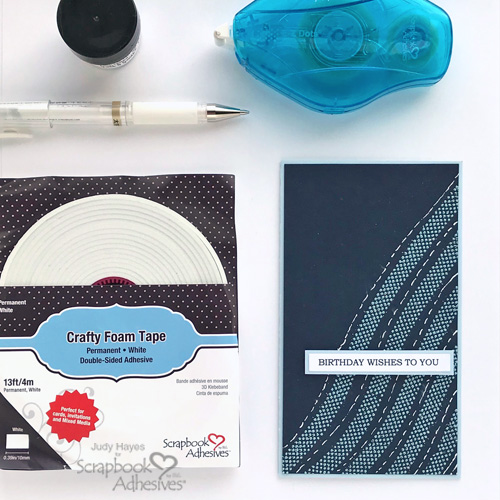
Hello! Judy here today with a quick birthday card featuring lines of embossed dots. If you think that must be hard to do, think again! It’s easy with E-Z Dots® Permanent Refillable Dispenser and embossing powder.

Behind the Embossed Dots
First of all, my design inspiration was basically to make curvy lines because it was easier for me to do that than straight ones. LOL!
The card panel was cut from dark blue cardstock to 3.25 x 5.75 inches. This is slightly larger than needed as I like to allow a little wiggle room for missing dots along the edge. I can trim later.
Place dark blue cardstock over a scrap piece of paper. Start with E-Z Dots® Permanent Refillable Dispenser on the scrap paper off the edge of dark blue cardstock and pull it in a curved line diagonally across the lower part of card. Continue with the rest of the dotted lines leaving a space between each one.
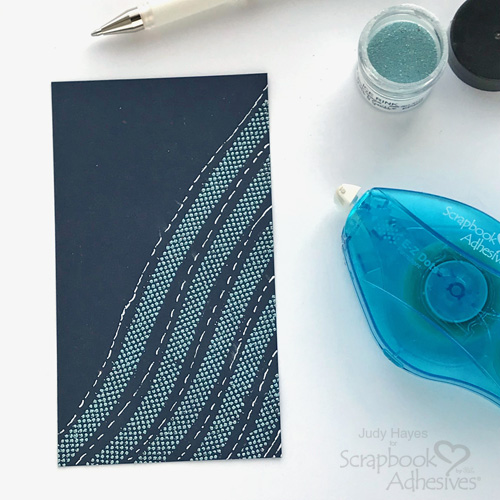
Cover all the dotted lines with embossing powder, remove excess, and melt with a heating tool to emboss them. Use a white pen to make lines of dashes between the embossed dot lines.
Layers of Cardstock
Trim the card panel to 3.125 x 5.625 inches and form a 3.25 x 5.75-inch card base from a light blue cardstock.
Adhere the dark blue panel to the card base using E-Z Dots® Permanent Refillable Dispenser. It’s a multi-use adhesive as it can make dot lines on card front and also hold dark blue piece to the card front!
Finish with a Verse
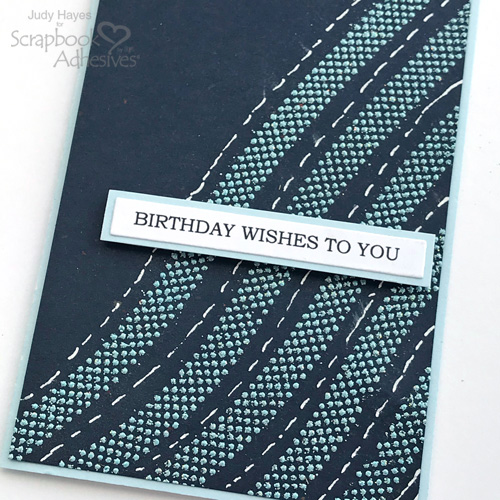
Print a verse with my computer on white cardstock. I print multiples and cut them apart to have them on hand. Of course, a stamped verse would be easy to use as well.
Secure the verse to a mat of light blue cardstock with E-Z Dots® Permanent Refillable Dispenser. Then apply a piece of Crafty Foam Tape White to the back of the matted verse and press it in place on the card front.
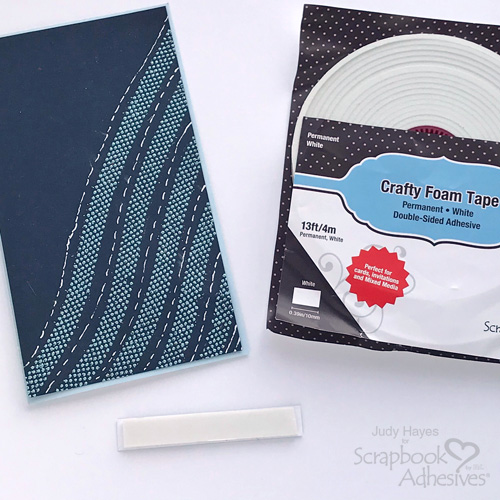
Crafty Foam Tape White works well to give dimension and it’s also very sticky to hold over the embossed dots.
Other Embossed Dot Ideas
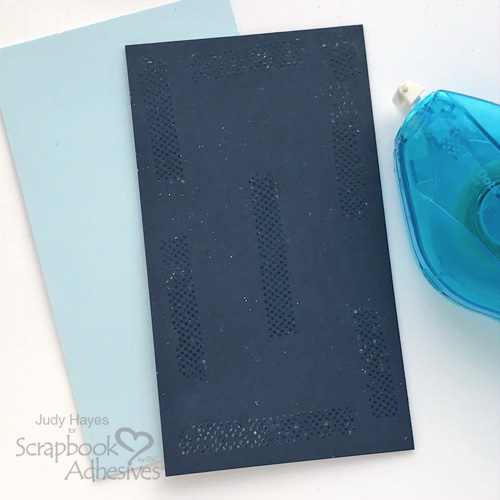
To decide on a color scheme for this card, I experimented with different colors of embossing powders and paper colors to find a good combination. I used a semi-transparent embossing powder which allows some background color to show through and that affects how it looks. An opaque embossing powder would not have that characteristic.

I challenge you to try this technique and experiment with different colors!
Thanks for Visiting!
Judy Hayes
Creative Time: 20 Minutes
Skill Level: Easy
Materials Needed
Scrapbook Adhesives by 3L®
Other:
Sparkle N Sprinkle® Ice Rink Embossing Powder; Uni-Ball Signo White Pen; Cardstock (Dark Blue, Light Blue, White); Printed Greeting (Greeting printed on cardstock with computer and printer)
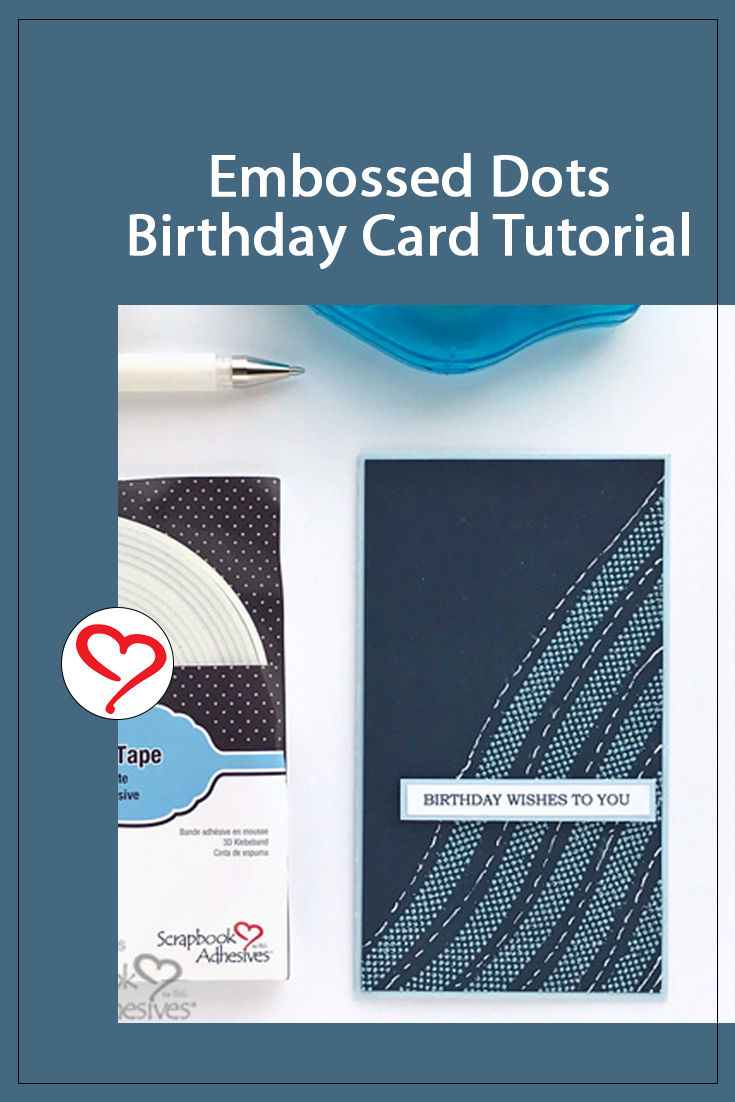
Save It on Pinterest!
Visit our Website and Blog!
Sign up for our Newsletter so you never miss a contest or giveaway!


