
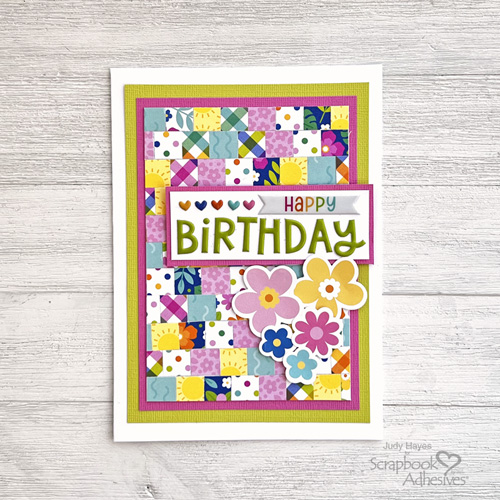
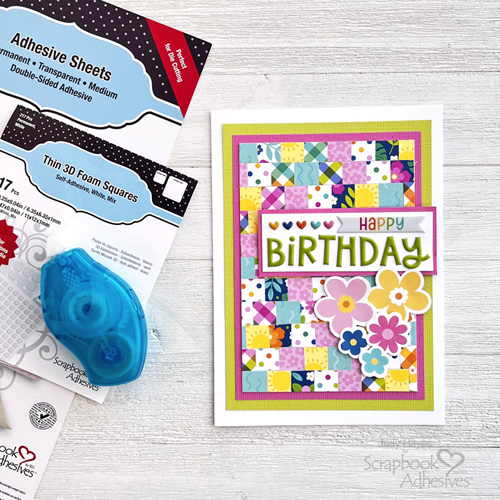
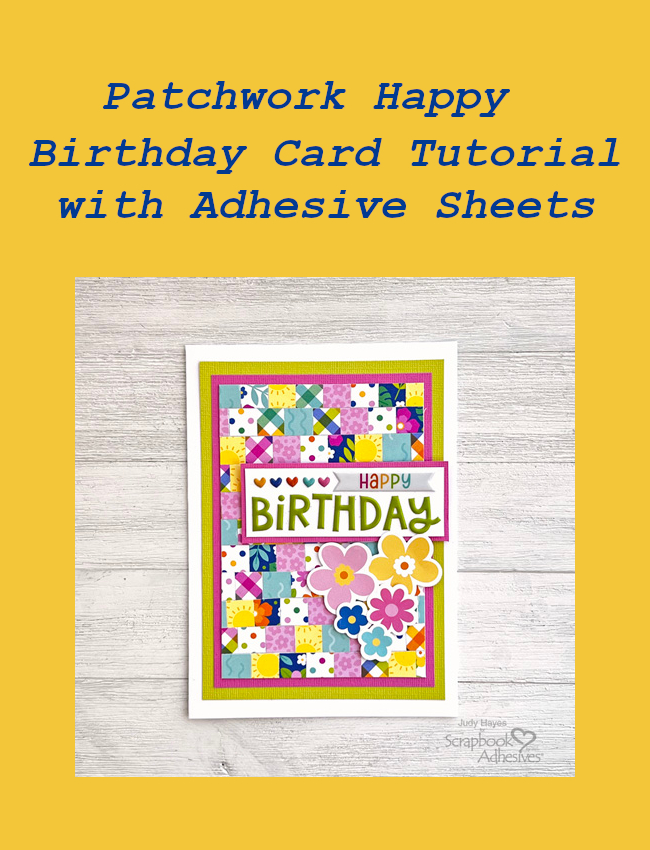
Hi, Judy here today! Lately, I’ve been inspired by lots of sewing and quilting online so I decided to make a paper patchwork background for this cute Patchwork Birthday Card. It’s a way to use up paper scraps and create a whole new “patterned” paper.
Patchwork Pieces
Cut pieces:
- Patterned papers – Seven 0.5 x 12 inch strips and cut in half to 6 inches long
- Printer paper – 6 x 6 inches
- White cardstock – 4.25 x 6 inch piece
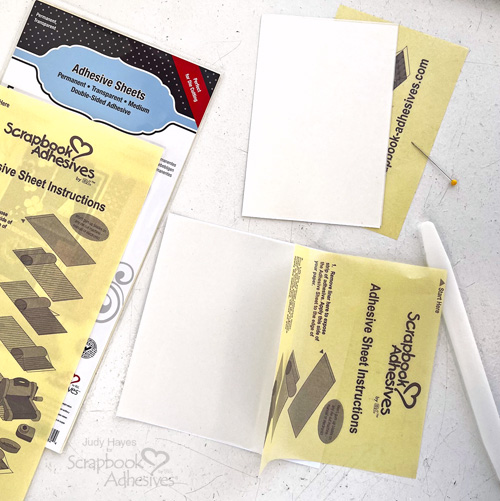
- Adhesive Sheets 6 x 12in. – 6 x 6 inches and 4.25 x 6 inches
Strip Placement
Apply 6 x 6 inch piece of Adhesive Sheets 6 x 12in. to printer paper, burnish well. Secure 4.25 x 6 inch piece of Adhesive Sheets 6 x 12in. to white cardstock.

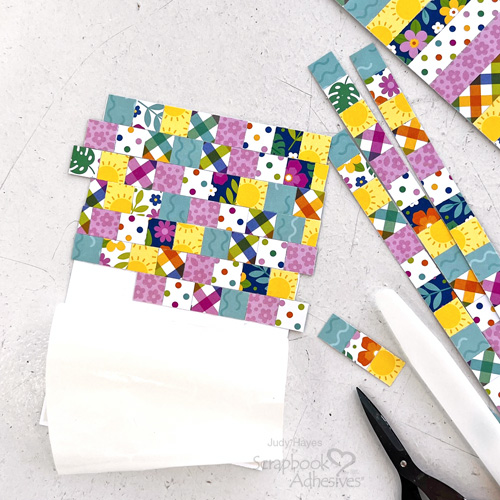
Partially peel back liner along one edge of 6 x 6 piece. Align the edges of the patterned strips horizontally and press in place. Repeat this step by adding alternating strips until completely covered. Use paper trimmer cut side edges evenly. Then cut 0.5 inch strips vertically across the panel.
Create Patchwork Panel
Peel back the liner at short end of the 4.25 x 6 inch cardstock, place a patchwork strip along edge, trim off excess. Place next patchwork strip so that squares are off-set from previous strip and patterns, each square centered on seam of previous strip. Cut strips as necessary to alternate patterns. Strips can be cut in pieces to make patterns and colors random. Continue to place patchwork strips in this manner to cover entire cardstock piece. Trim panel to 3.75 x 5.5 inches.
Card Base Layers
Cut 7 x 10 inches rectangle of white cardstock, score and fold to create 5 x 7 inches card.
Cut Pieces:
- Lime Green Cardstock: 4.5 x 6.25 inch mat
- Pink Cardstock: 4 x 5.75 inch mat
- White Cardstock: 1.25 x 3.625 greeting panel
- Pink Cardstock: 1.50 x 3.875 greeting mat
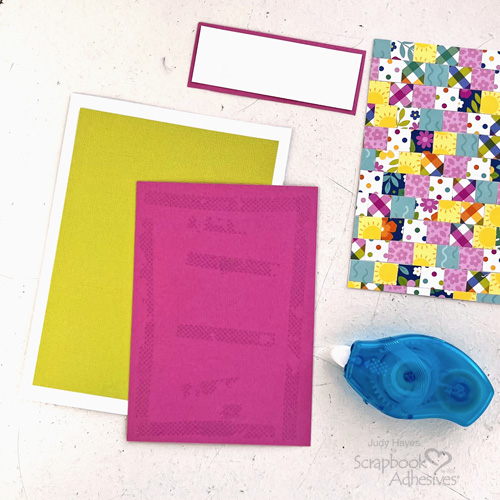
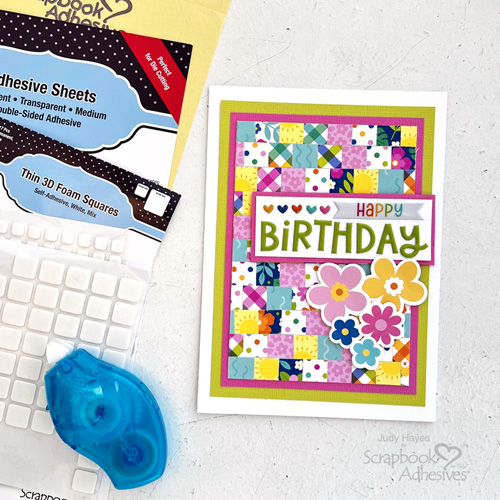
Adhere the lime green mat to the card front with the E-Z Runner® Petite Permanent Dots Refillable Dispenser. Then place the pink mat on top and lastly, the patchwork panel, using the same adhesive.
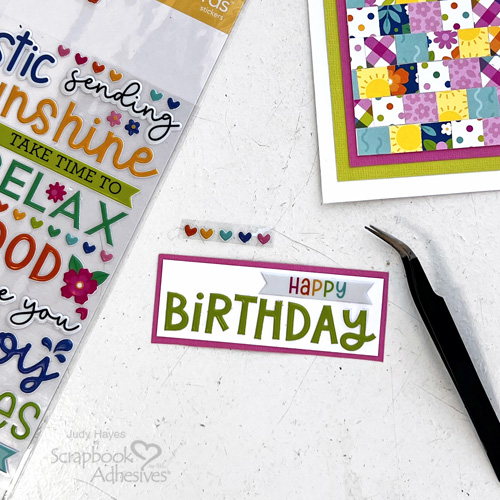
Greeting
Mat the white cardstock greeting panel with the pink mat with E-Z Runner® Petite Permanent Dots Refillable Dispenser. From the sticker sheet, place the “Happy” and “Birthday” on the layered greeting panel and add the tiny hearts stickers in front of “Happy” to finish.
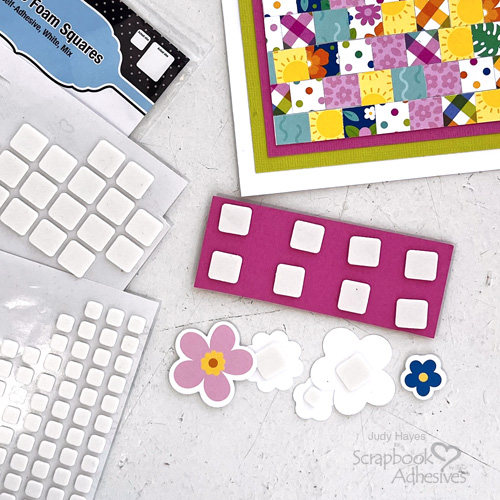
Add the Greeting and Embellish with Flowers
Place several large squares from the Thin 3D Foam Squares White Mix on the back of the greeting panel. Peel off the liners and place it on the card front as shown. For the finishing touches, put several Thin 3D Foam Squares White Mix on back of five assorted flowers. Arrange the flowers on the card below greeting, and attach in place.
Thanks for visiting!
Judy Hayes
Creative Time: 30 mins
Skill Level: Beginner
Materials Needed:
Scrapbook Adhesives by 3L®
E-Z Runner® Petite Permanent Dots Refillable Dispenser
Thin 3D Foam Squares White Mix
Other: Papers, Stickers + Ephemera: Doodlebug Designs Inc. (Summer Fun – Patterned Cardstock, Solid Cardstock, Stickers, Bits & Pieces); White Cardstock
Click Preferred Retailers List
Save to Pinterest!
Visit our Website and Blog!
Sign up for our Newsletter so you never miss a contest or giveaway!


