
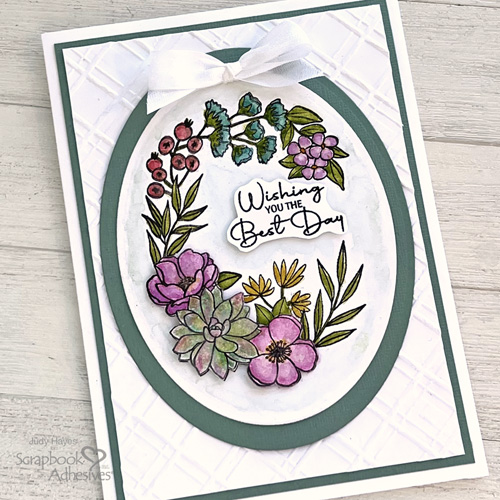
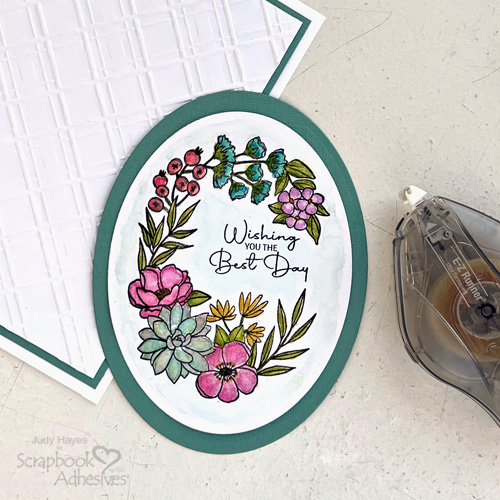
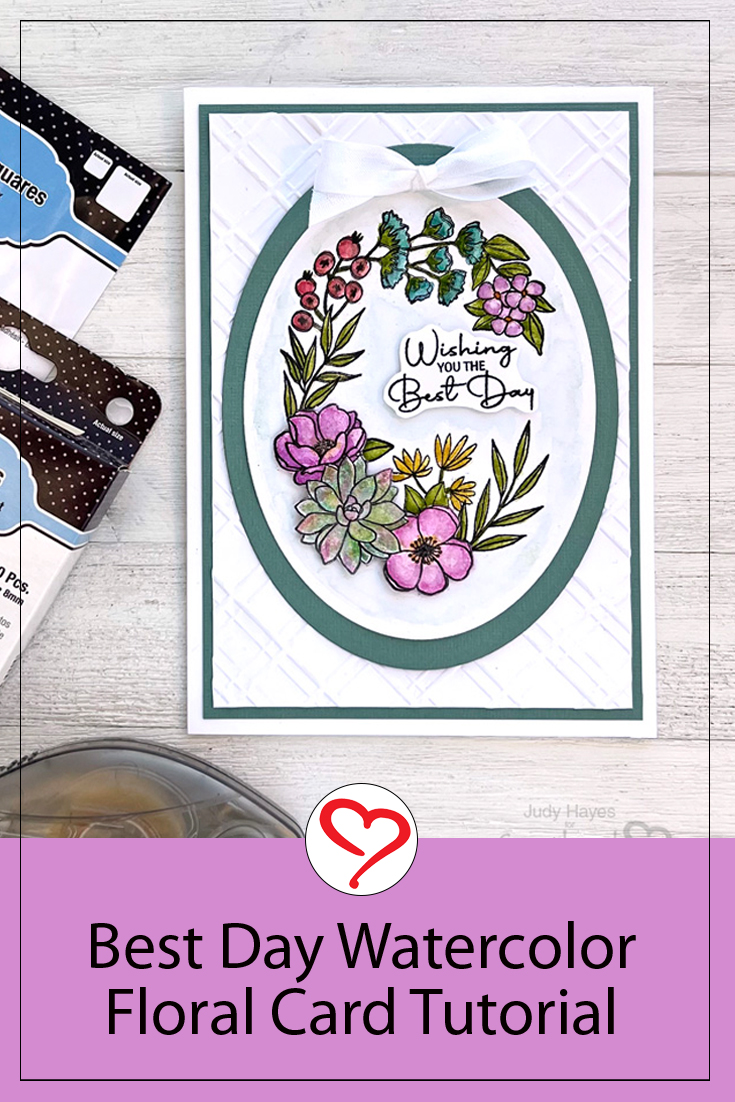
Hi, Judy here today! Spring flowers and an upcoming Mother’s Day inspired me to make this pretty Best Day Oval Floral Card. I used watercolor flowers and three of them popped up with Thin 3D Foam Squares White Mix as well as the verse.
Prepare the Best Day Oval Card Pieces
To form the card base, I used a piece of 10 x 7-inch white cardstock, scored it half, and folded to a 5 x 7-inch base. For one of the layers, a piece of 5 x 7-inch white cardstock was embossed with an embossing folder and die-cutting machine. Lastly, trim it to 4.5 x 6.375 inches. For the mat, I trimmed a piece of 4.75 x 6.625-inch aquamarine cardstock. To frame the focal point, I die-cut an oval with aquamarine cardstock to 4.25 x 5.625 inches.
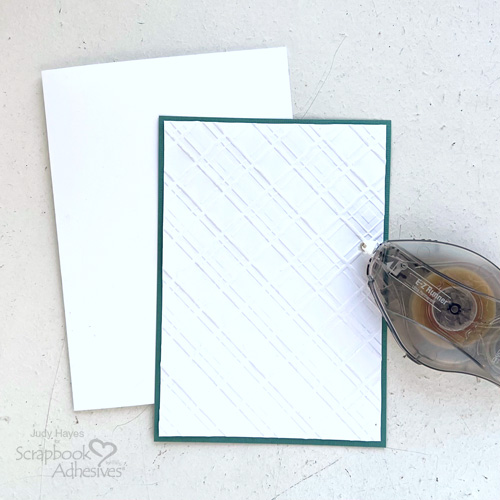
Assemble the Card Base Layers
Apply the E-Z Runner® Ultra Strong Refillable Dispenser to the back of the embossed panel and fasten to the aquamarine cardstock mat. Then using the same adhesive, secure the matted panel to the card base.
Stamp & Watercolor Flowers
On a piece of 4.5 x 5.75-inch watercolor paper, stamp a floral design with Versafine Black Onyx on the smooth side. I used a stamp platform. Next, stamp three of the largest flowers on a piece of watercolor paper. Heat set the ink. Paint the flowers with watercolors. Allow to dry or use a heating tool for a quick dry.
Designer’s Tip: Place the colored image back in the stamp platform and stamp again for a crisp design outline.
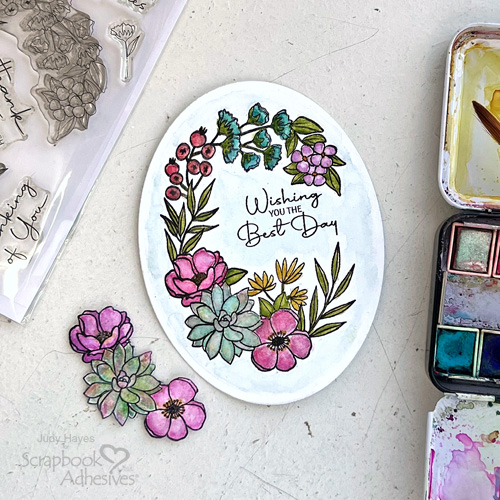
Die-cut the watercolor paper into a 3.75 x 5-inch oval, and stamp the verse in the open area of the oval. Note that the stamped verse is used only as a placeholder for now. Then fussy-cut the three separate flowers.
Mat the Ovals
Mat the aquamarine oval with the watercolor oval using the E-Z Runner® Ultra Strong Refillable Dispenser, and with the same adhesive, secure the card front.
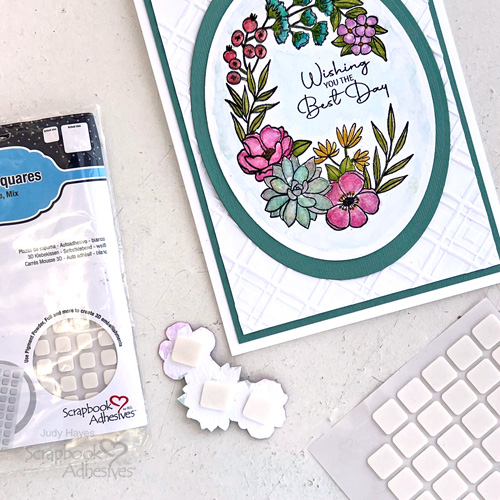
Add the Flowers
Place Thin 3D Foam Squares White Mix on the back of the three flowers, and adhere over the matching flowers on the oval.
The Finishing Touches
Stamp the verse with Versafine Black Onyx ink on a piece of white cardstock. Cover it with clear embossing powder, and heat to emboss. Next, cut around the verse. Adhere it with Thin 3D Foam Squares White Mix to fasten to the top of the oval over the stamped verse (the placeholder).

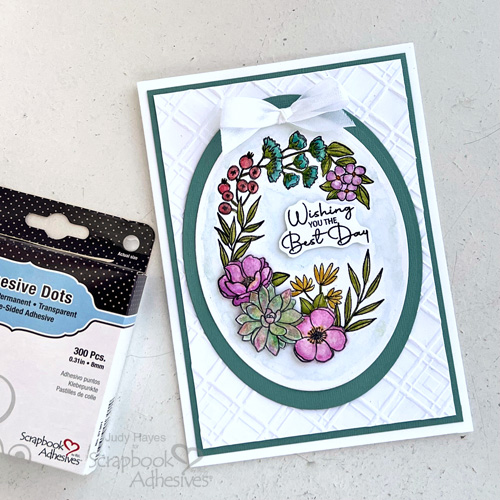
Tie a bow with white seam binding. Secure it with an Adhesive Dots Medium at the top of the white oval.
Thanks for visiting!
Judy Hayes
Creative Time: 35 mins
Skill Level: Intermediate
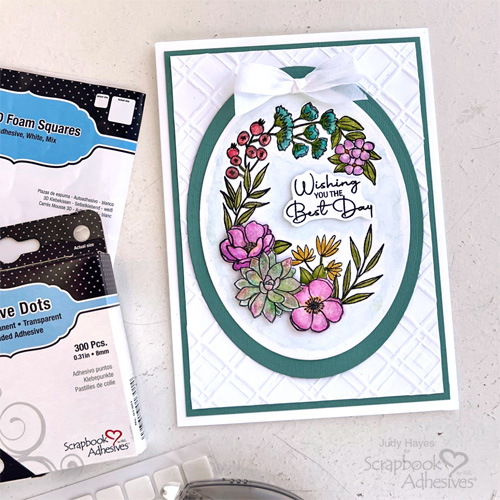
Materials Needed:
Scrapbook Adhesives by 3L®
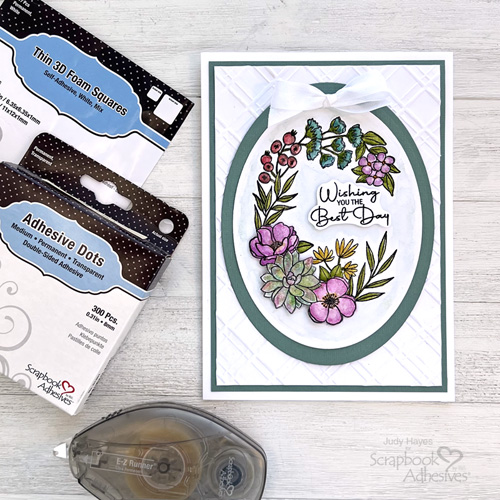
E-Z Runner® Ultra Strong Refillable Dispenser
Thin 3D Foam Squares White Mix
Other: Craft Dies + Stamp: Spellbinders Paper Arts (Stylish Oval Birthday Wishes Stamp Set and Classic Oval Dies); Ink: Tsukineko (Versafine Onyx Black); Embossing Powder + Watercolor Paper: Ranger (Clear Embossing Power + Distress Watercolor Paper); Watercolors: Prima (Classic Colors); White Seam Binding; White + Sage Green Cardstock
Click Preferred Retailers List
Save to Pinterest!
Visit our Website and Blog!
Sign up for our Newsletter so you never miss a contest or giveaway!


