
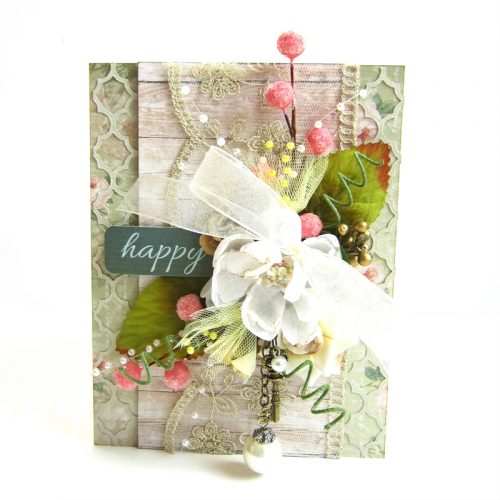
Hi! It’s Erica and today I’m sharing two cards I created using Adhesive Sheets, Crafty Foam Tape and Crafty Power Tape, as well as a step-by-step tutorial showing you how I altered the berry spray on my cards!
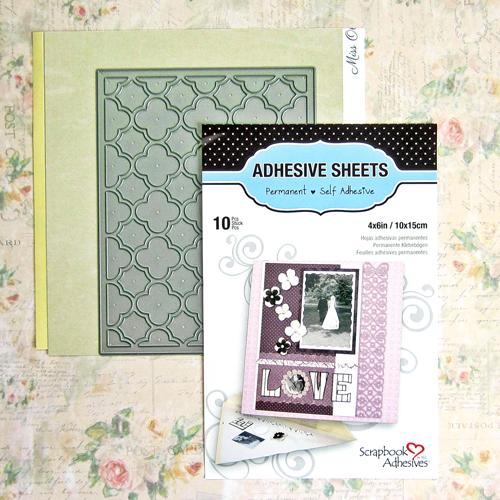
Step 1: Place pattern paper on the Adhesive Sheet. Insert into the die-cutting machine and cut.
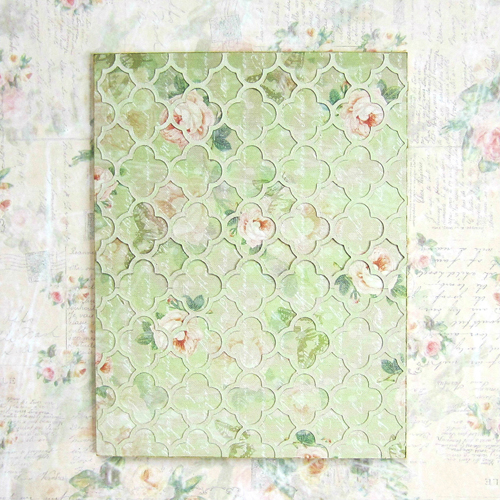
Step 2: Peel off the back side of the die-cut shape where the Adhesive Sheet was applied. Adhere it to the card base.
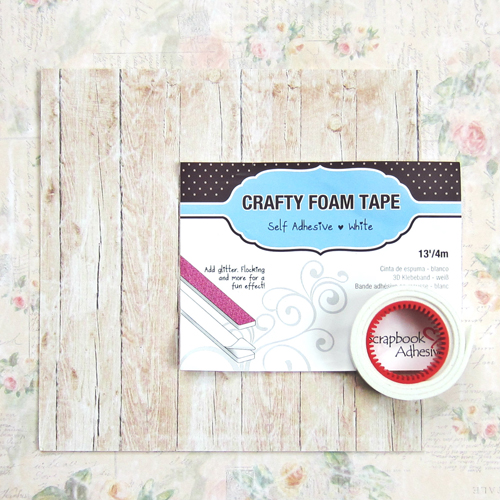
Step 3: Adhere the second layer using Crafty Foam Tape on top of the card front.
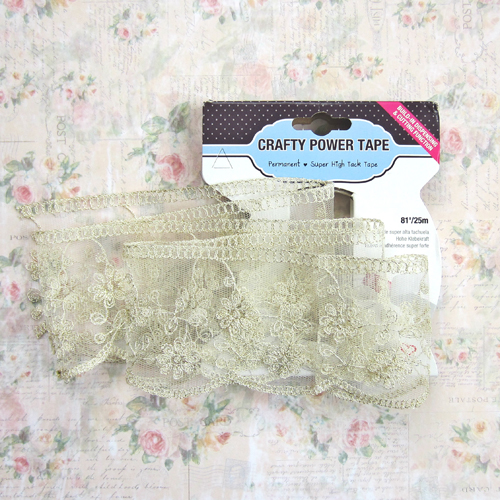
Step 4: Adhere lace with Crafty Power Tape. Set aside.
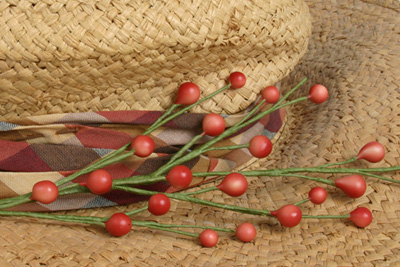
Step 5: Next, start with a berry spray (berry spray does not have to match)
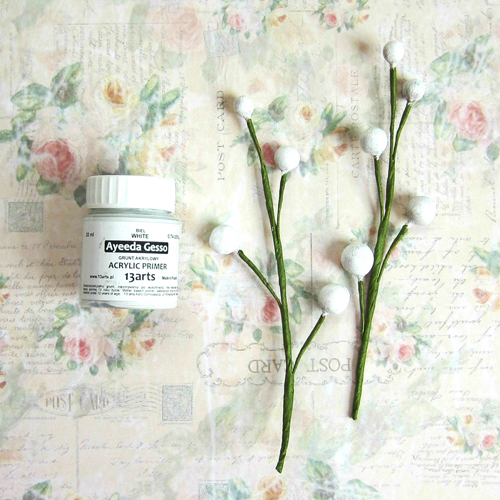
Step 6: Paint berry spray with gesso (gesso acts as a primer; darker-colored berries may require two coats of gesso)
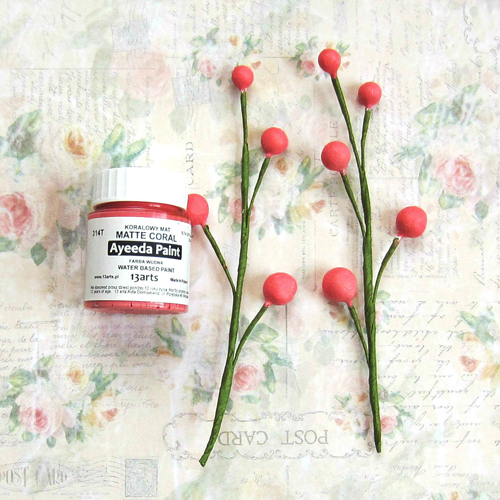
Step 7: Paint berry spray (select a color to match the paper collection
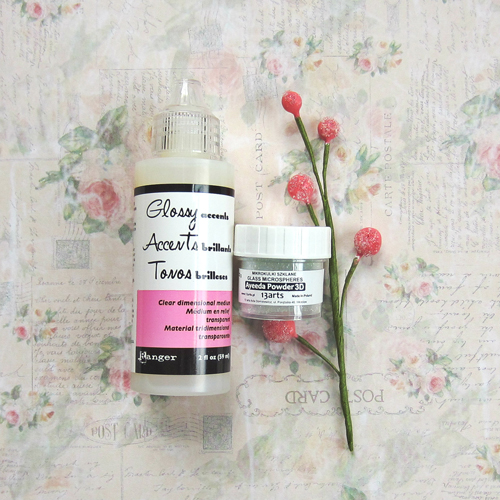
Step 8: Add microspheres using a glossy glaze medium (apply medium to thick coverage – over 1/2 of each berry). Sprinkle microspheres and let dry for several hours.
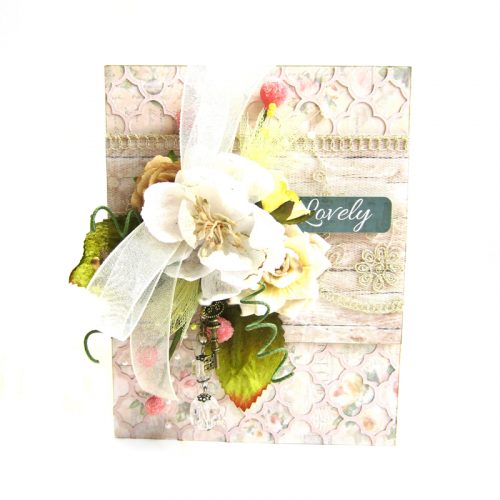
Step 9: Adhere berry spray, flowers, adornments, and sentiments to finish cards.
Scrapbook Adhesives by 3L®:
Paper
- Studio 75, Miss Olivia
Embellishments
- Prima Marketing – stickers
- Ashland, Magnolia, Petaloo & Prima Marketing – flowers
- Flying Unicorn – adornments
- Tim Holtz, Ideaology – baubles
- Celebrate It – ribbon
- Blue Moon – metal chain
- Bead Landings – jump rings
- Studio His & Her – tulle
Products
- Ranger Ink – Tim Holtz – distress ink
- Ranger Ink – glossy accents
- Tsukineko, Versafine – ink
- Taylored Expressions – quatrefoil diecut
- 13 Arts – gesso, paint, glass microspheres
Thanks for joining me today!
Erica Houghton
By Deborah S September 8, 2014 - 8:31 pm
Both of your cards are so pretty and delicate. I love all the different layers, flowers, berries and lovely ribbon. Thank you for the great detailed steps always helpful