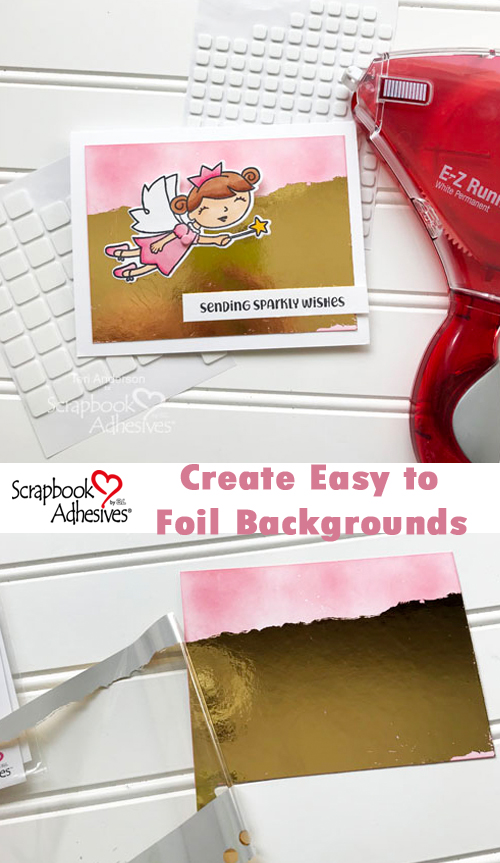
Hi, friends! Teri here with a handmade card featuring a sweet little fairy that flies. Creating a card like this is a snap with a cute stamped image, a brad and some Thin 3D Foam Squares from Scrapbook Adhesives by 3L®.
If interactive stamped cards are your thing, you are going to enjoy trying to make a card like this one. Let’s get to it.
Creating the Foiled Background!
Start by cutting a 3 3/4″ x 5″ panel of cardstock. This will go on the front of your card. You’ll also need to create an A2 card by cutting a 5 1/2″ x 8 1/2″ panel of cardstock and folding it in half.
Sponge some color onto the smaller panel with a cosmetic sponge and ink pad. You can use any color of ink. I chose pink because I wanted my card to feel really feminine.
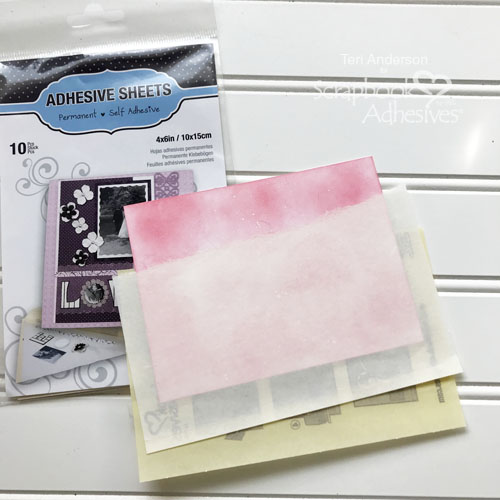
Take an Adhesive Sheet 4 x 6″ and tear off one edge. Place it on the panel and rub the adhesive onto it. You can cover it completely or apply it sparingly.

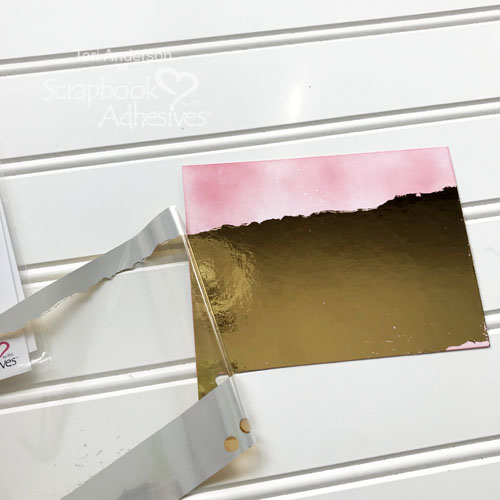
Set a piece of foil on top. Burnish the foil to the adhesive with either your hand or a bone folder. You’ll end up with a pretty, sparkly panel.
Adding the Flying Fairy!
Stamp and die-cut a fairy. Color the fairy in with markers or pencils. Don’t worry if you don’t have a fairy like mine. Select an image that suits your tastes.
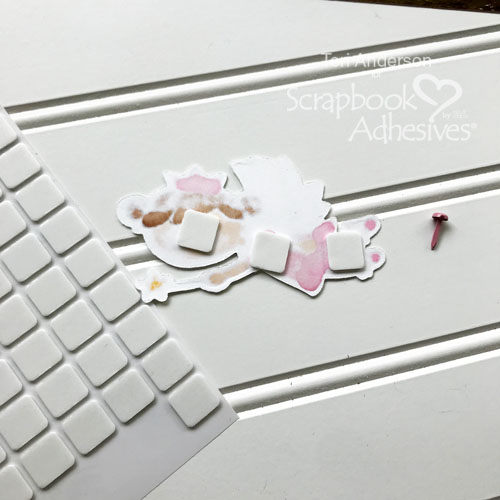
Once you’ve colored in the fairy, flip it over and apply a Thin 3D Foam Square on the back of it. My fairy was a little big so I applied three to it. Be sure to leave the backing paper on the squares (or square). You’ll see why in a minute.
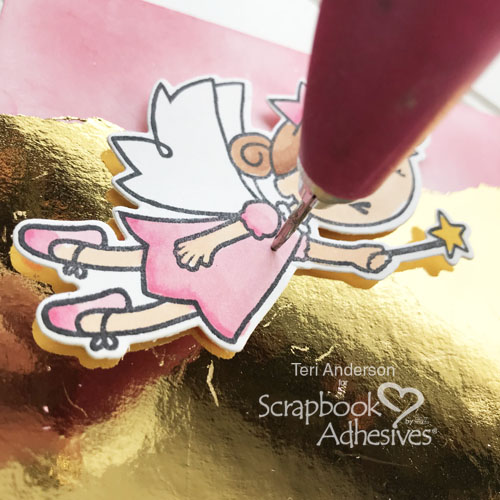
Set the fairy onto your foiled panel of cardstock. Use a piercing tool to poke a hole through it, one foam square and the foiled panel. Stick a brad through the fairy, foam square, and foiled panel.
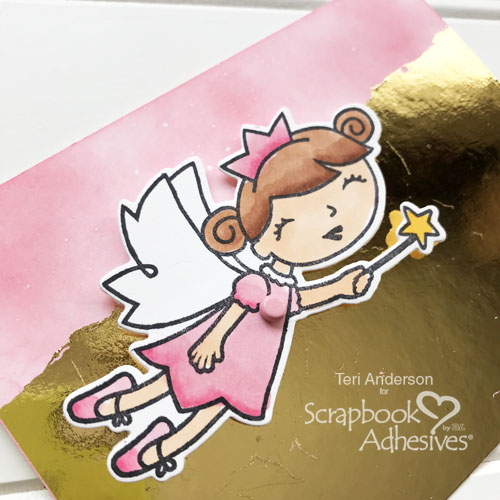
Because you’ve left the backing paper on your foam squares, your fairy will twist and spin and fly! It’s super fun!

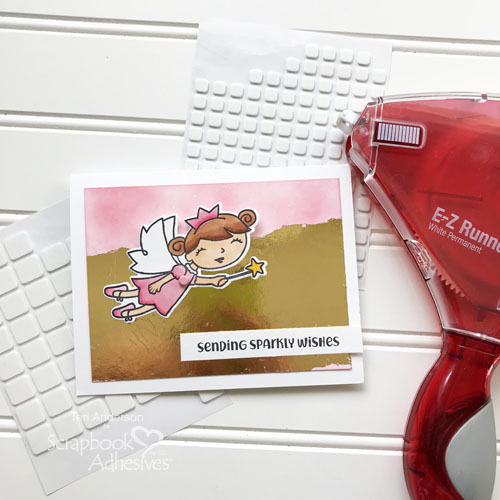
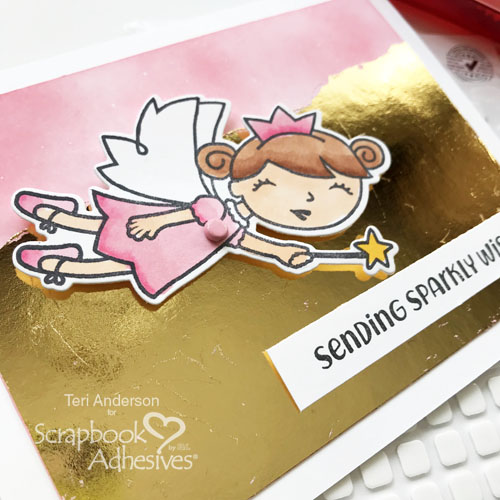
Complete your card by adhering the panel to the card base. Stamp a sentiment on a strip of cardstock and mount it to the card with Thin 3D Foam Squares.
Want your card to have even more glitz? Consider adding a few sequins or gems to it. Remember, it’s important to make sure they are out of the pathway of the fairy so she doesn’t run into them.
Creative Time: 45 Minutes
Skill Level: Beginner
Materials Needed
Scrapbook Adhesives by 3L®
E-Z Runner® Grand Refillable Dispenser
Thin 3D Foam Squares White Mix
3D Foam Creative Embellishment Kit
Adhesive Sheets 4×6 inch
Other
So Fairy Cute Stamps and Crafting Dies from Paper Smooches; Pink, Yellow, Flesh and Brown Markers from Copic; Brad; Pink and Black Ink Pads; Markers; White Cardstock
Pin It!