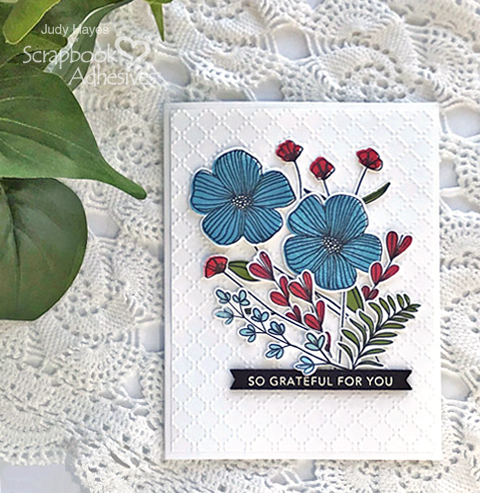
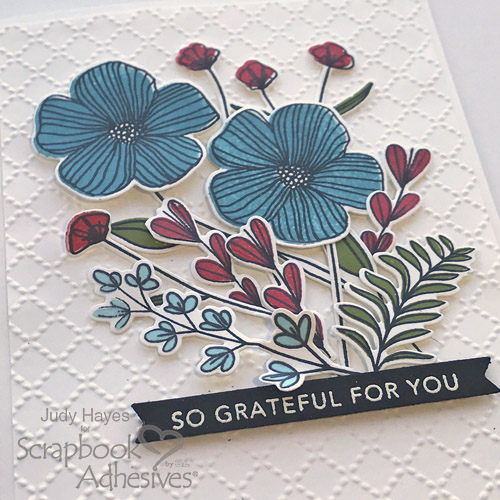
Hello everyone! Judy here today with a Grateful for You Flower Card. I’m ready for some spring colors and flowers! Where I live, it’s cold and snowy much of winter. I’m ready for warmer temps! So I chose to use some pretty turquoise and red flowers on white to make this card.
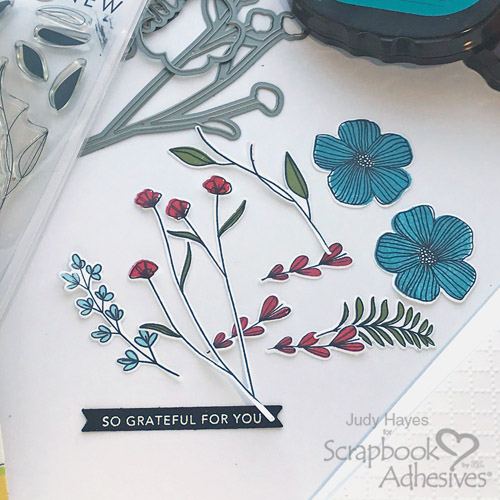
Grateful Flower Card Pieces
Stamp, color and die-cut several sets of flowers. Using the same card design, you can make several cards using different flower colors and varying verses. Once all the pieces are stamped and cut, this card goes together quickly!
For the verse strip, stamp with watermark ink, sprinkle with white embossing powder and melt with a heating tool. Lastly, I die-cut it with a banner die.
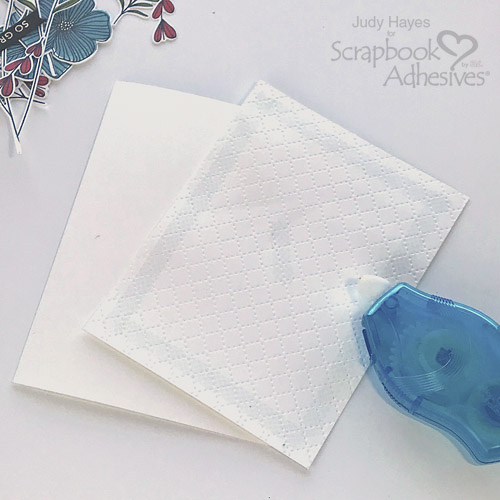
Simple Card Base
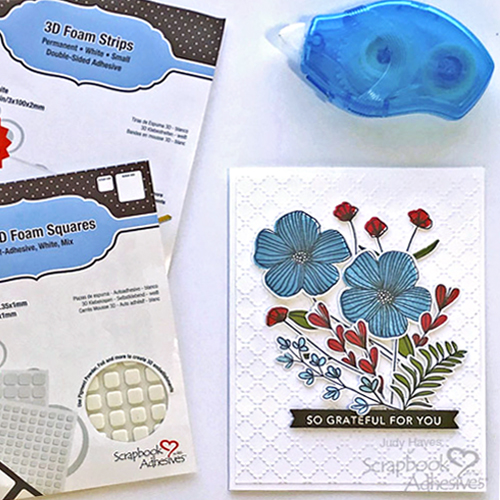
This Grateful Flower Card base measures 4.25 x 5.5 inches. An embossed piece of 4 x 5.25 inches white card stock covers the card front. It’s easily attached to the card with E-Z Runner® Petite Permanent Dots Refillable Dispenser. This little dispenser is a favorite of mine!
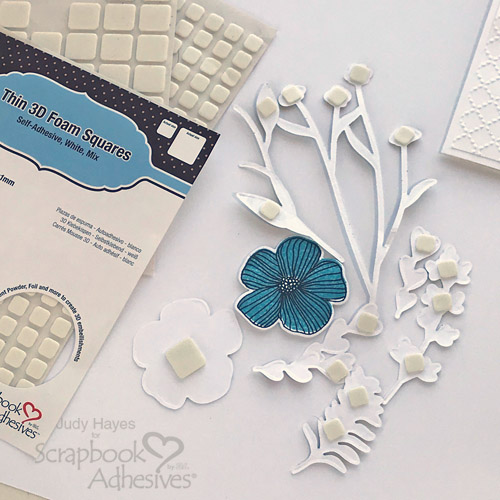
Prepping the Die Cuts
The die cuts and verse pieces will be lifted up with Thin 3D Foam Squares White Mix. I love that there are 1/4-inch and 1/2-inch sizes. You can see that I placed a combination of the two sizes toward the tops of the stems and center of the big flowers. Perfect coverage!
For the verse strip, I cut a piece of 3D Foam Strips to length and attached it to back. Perfect for narrow areas like this verse!
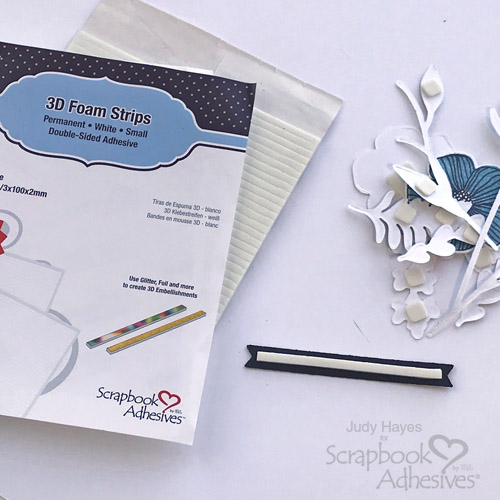
Embellishing the Card
Now for the fun part, arranging the verse with flowers. Without taking the liners off, I laid the verse and main flowers on the card front to determine placement. After deciding, I first secured the verse in place.
For the main flowers, I placed the leaves first. Then the end of the stem, I applied E-Z Runner® Petite Permanent Dots Refillable Dispenser to adhere to the card front. Note that the large flowers are not attached yet.
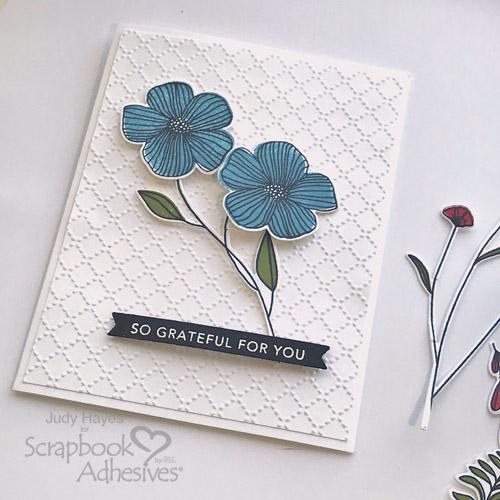
Place the stem of red flowers behind and front of the main flowers. Remove the liners of the 3D Foam Squares on the backs of red flowers and attach them. Then I removed the liners of the foam squares and fastened the main flowers. See the image shown below as reference.
See the stem extended beyond the verse? I simply trimmed it and applied E-Z Runner® Petite Permanent Dots Refillable Dispenser on the end before tucking behind the verse.
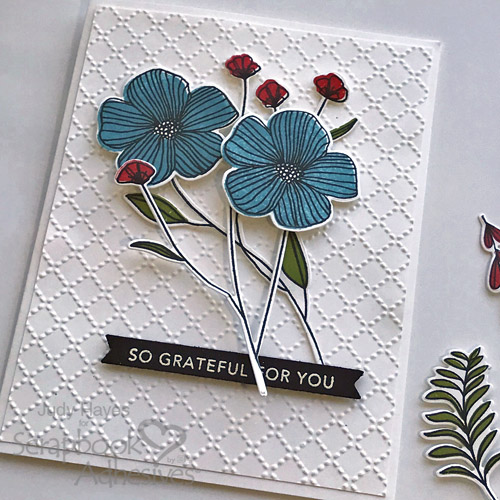
Continue to build the flower cluster design by adding/trimming flower stems and the leaf branch using E-Z Runner® Petite Permanent Dots Refillable Dispenser to the ends of each stem.
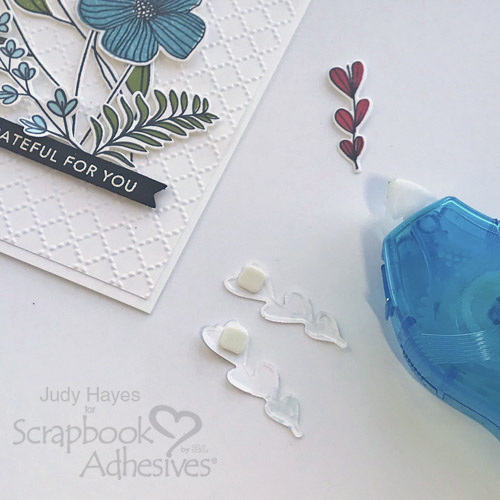
Here’s the finished arrangement on my Grateful Flower Card! 🙂
Thanks for Visiting
Judy Hayes
Creative Time: 30 minutes
Skill Level: Intermediate
Materials Needed
Scrapbook Adhesives by 3L®
- Thin 3D Foam Squares White Mix
- 3D Foam Strips
- E-Z Runner® Petite Permanent Dots Refillable Dispenser
Other
Stamp and Die Sets: Altenew (Charming Doodles Stamps and Charming Doodles Dies) and Taylored Expressions (Simple Strips Background Stamp and Simple Strips Die); Embossing Folder: Sizzix (Tim Holtz Texture Fades – Quilted); Ink: Imagine Crafts/Tsukineko (Versafine Onyx Black and Versafine Clair Shady Lane) and Scrapbook.com (Lagoon Blue and Cardinal Red Hybrid Inks); Embossing Powder: Ranger Ink (Detail White); White and Black Cardstock
Save It to Pinterest!
Visit our Website and Blog!
Sign up for our Newsletter so you never miss a contest or giveaway!


