
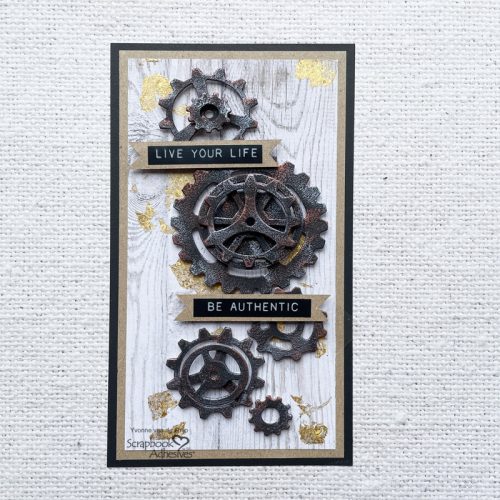
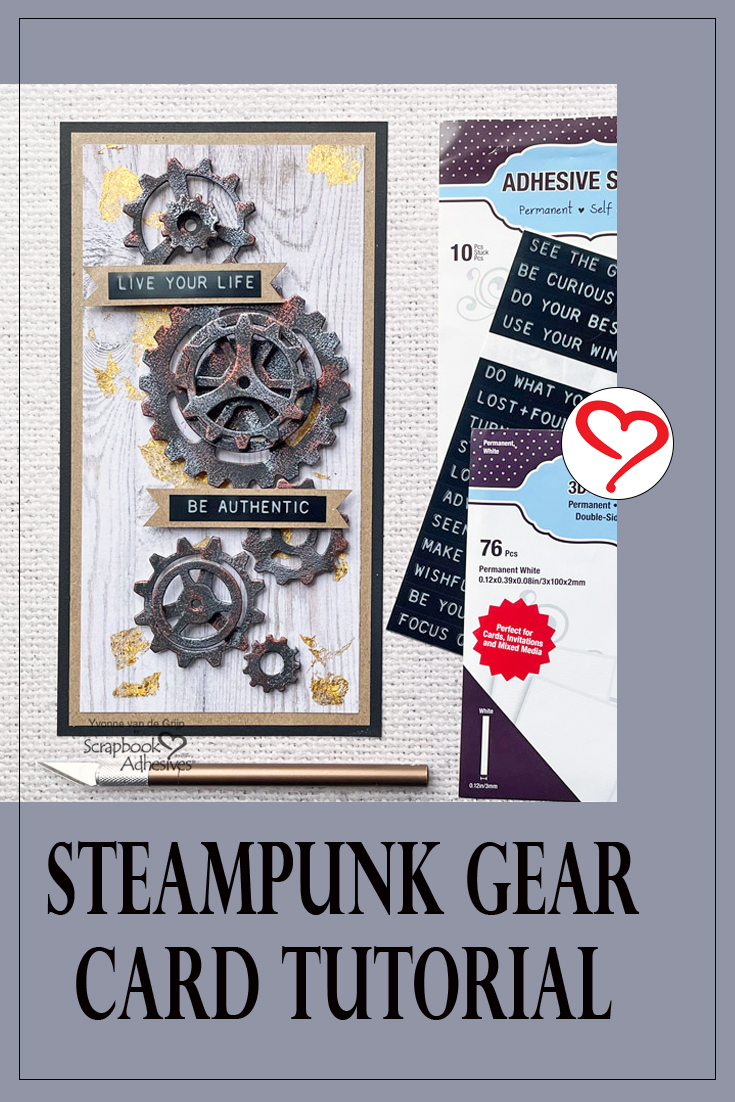
Hi everyone, Yvonne here with a Steampunk Gear card. Gears and steampunk style go hand-in-hand so well! The gold elements on the card panel were added using a technique called Wear Your Adhesive on the Outside. The dimension is so easily created using 3D Foam products. Shall we make this card together? Let’s get started.
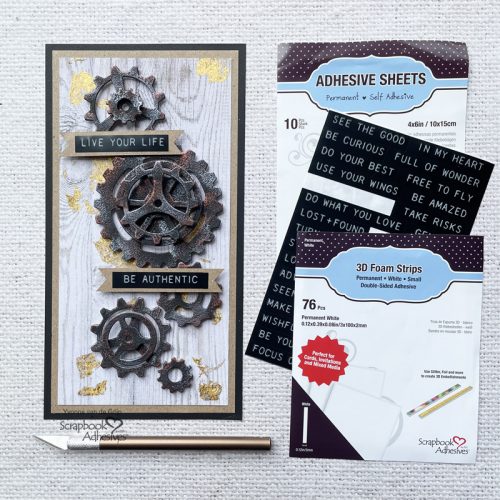
Steampunk Card Top Panel
Trim a piece of wood patterned cardstock to a rectangular size. Use small pieces of Adhesive Sheets 4×6-inch (I used leftover pieces from past projects), peel off the yellow liner, and dab the adhesive onto the patterned paper randomly.
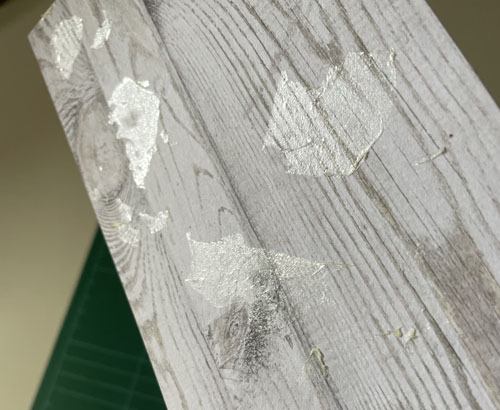
Next, wrinkle up some Metallic Transfer Foil Sheets Holographic Colors, unfold and start dabbing over the spots you made with the Adhesive Sheets 4×6 inch. This creates a worn and distressed look of gold.
This is what we call Wear Your Adhesive on the Outside technique. It is to bring your adhesive from between layers of material/papers and bring them out to shine like embellishments. Make more use of your adhesive products!

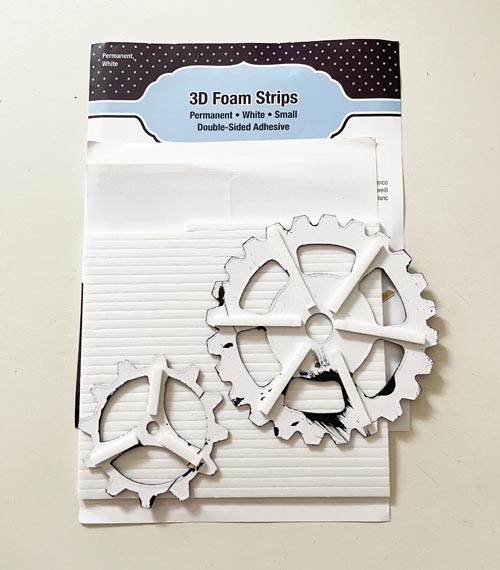
Steampunk Gear Elements
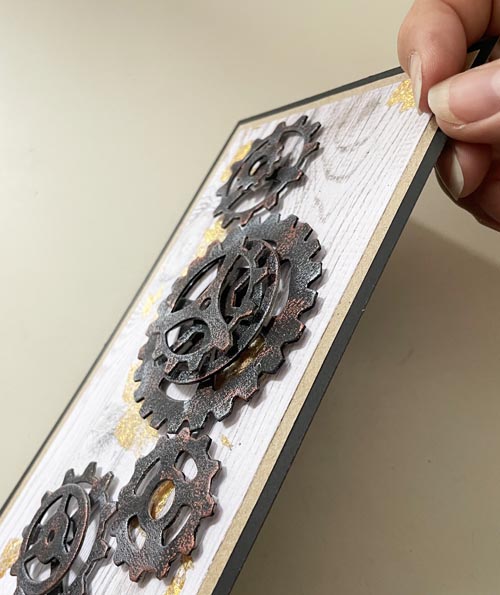
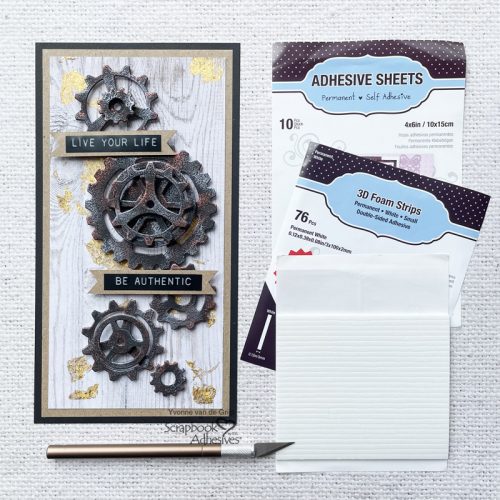
Die-cut the steampunk gears from chipboard. Paint them black and let dry. Rub copper and dark grey gilding wax to color the gears. Adhere the steampunk gears onto the card panel with 3D Foam Strips.
By stacking the gears, you create a lovely dimensional design.
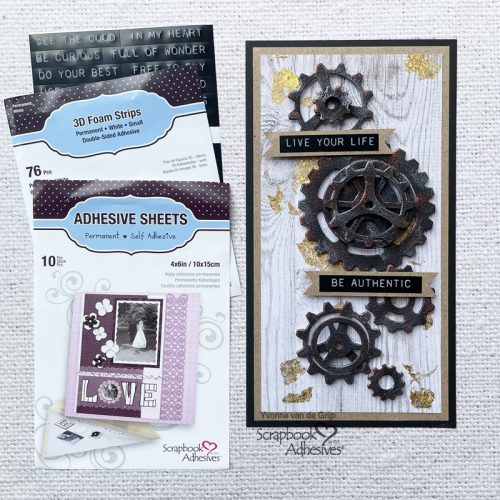
Mat the top card panel with the steampunk gears onto a kraft card panel using the E-Z Runner® Grand Refillable Dispenser. Next, adhere to a black card base using the E-Z Runner® Grand Refillable Dispenser.
Finishing the Card
Adhere sentiment stickers onto kraft cardstock and cut out banners. Adhere the banners onto the card using 3D Foam Strips and voilá your steampunk card is ready.
Wishing you happy crafting!
Creative Time: 60 minutes
Skill Level: Advanced
Materials needed:
Scrapbook Adhesives by 3L®
E-Z Runner® Grand Refillable Dispenser
Metallic Transfer Foil Sheets Holographic Colors
Other
Etched Dies (Sizzix: Bigz™L: Mechanical); Die Cutting and Embossing Machine (Spellbinders® Paper Arts: Platinum 6 Machine); Cardstock (Kraft, Black, Wood Patterned); Gilding Wax (Coosa Crafts: Copper, Graphite); Sentiment Stickers (Tim Holtz: Thoughts); Craft Knife; Scissors; Paper Trimmer
Save to Pinterest!
Visit our Website and Blog!
Sign up for our Newsletter so you never miss a contest or giveaway!


