
 Hello Everyone
Greetings from Australia, it is my turn again and I am getting ready to leave to do some teaching at a Scrapbooking Expo here in Australia. I will be using lots of my favorite 3L Scrapbooking Adhesives and products in my classes. I am teaching 9 classes over three days.
I decided to do a card to share with you. It is an easel card, which means it can stand up. It is quite easy to make. You need 12 x12 inch piece of cardstock. Cut it in half so it is 6 inch wide and 12 inches long. Fold it in half so it is now 6 inches x 6 inches. Have the fold at the top of the card and fold the top layer of the card back on it’s self. The fold will be in the middle of the top 1/4 of the card. The edge of the top of the folded card should be along first fold of the card. This will make the top layer of the card 3 inches wide and 6 inches long. From the left over piece of your cardstock, cut a 6 x 6 inch square. Add tape to the top fold piece of your card. Adhere your 6 x 6 inch square to it. This will allow you to stand the top layer of the card up and it will rest on the bottom layer of the card.
From a piece of Prima Paper, I cut two squares 5 3/4 x 5 3/4 inches. One is for the front of the card and one inside.
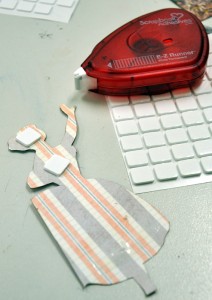
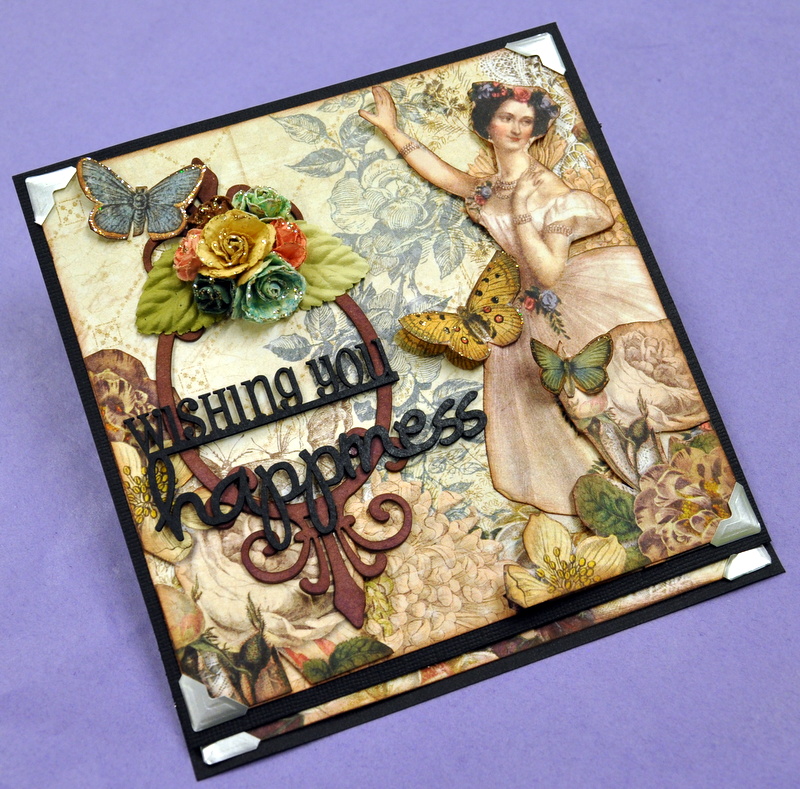
I cut some of the images from the Prima print papers and used Thin 3D Foam Squares – Mix White near the top of the image and my E-Z Runner at the bottom. I cut some of the flowers from the print paper as well and used the Thin 3D Foam Squares to build up the images, overlapping them over the ballerina image. I inked a chipboard frame from Imaginarium Designs along with a chipboard title. I used some of Prima’s Flowers and added them over the frame. I found the DODZ™ – Medium perfect for sticking the flowers down. It was so quick and easy with no glue everywhere. For the card to stand up, you need to add a ledge on the bottom layer of the card. I wanted to use some Photo Corners – Classic Style, Silver to give it a classic look.
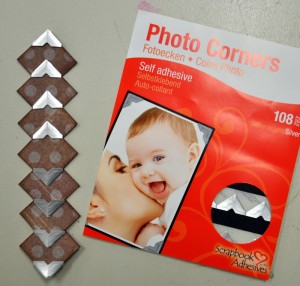
I thought the silver would look lovely with the soft print paper. I cut 1 inch x 1 inch squares and place a photo corner on the top and bottom point of my squares then overlapped them on top of each other to form a border across the bottom of my card.
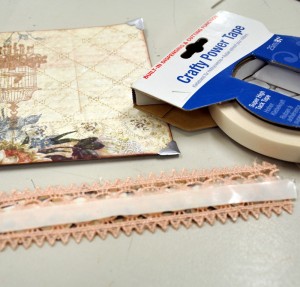
I chose some lace to match my card and used my roll of Crafty Power Tape – 81’/25m with Built-In Dispenser to adhere the lace to my card. I find that gluing lace does not work to well for me. It is hard not to get glue on the front of the lace. The Crafty Power Tape was perfect for this. I then place my silver corner border onto the lace using more of my Thin 3D Foam Squares – Mix White. I love using the Foam Squares in whatever size – black or white, thin or thick, they make the job so much easier.
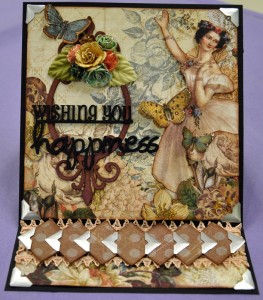
The card looks so pretty with the soft print papers and the the lovely images. The silver Photo Corners – Classic Style, give it such a classic touch.
thanks so much for looking
Photo Corners – Classic Style, Silver 
Thin 3D Foam Squares – Mix White 


Prima Marketing Fariy Belle Print Paper and flowers