
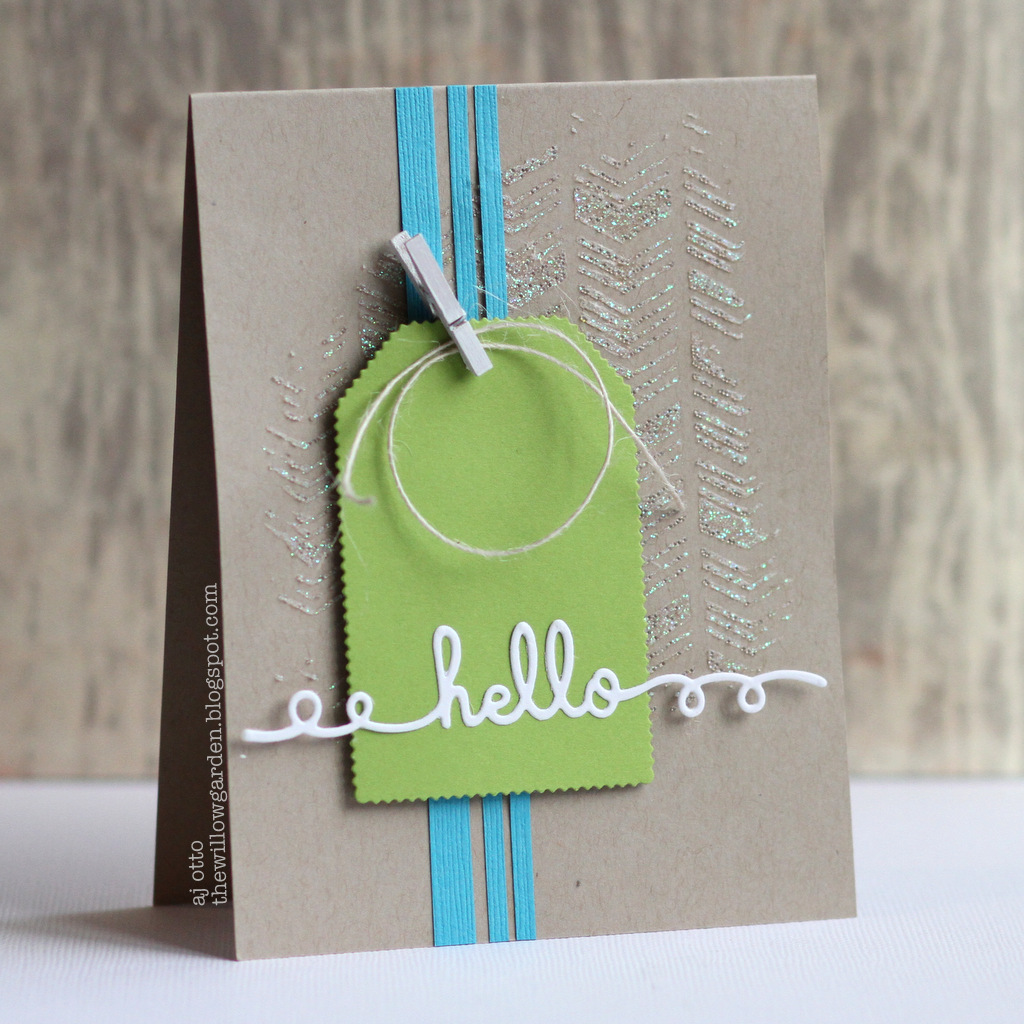
Hello! AJ here sharing how I use the Adhesive Sheets with my dies for quick and easy adhesive die cuts!
 Sometimes your die cuts are so small and thin getting your adhesive on them and not every where else is such a pain. When you start with the Adhesive Sheets, it’s only on your die cut and no mess elsewhere. And they come in 3 sizes, 4X6, 6 X 12, & 12 X 12.
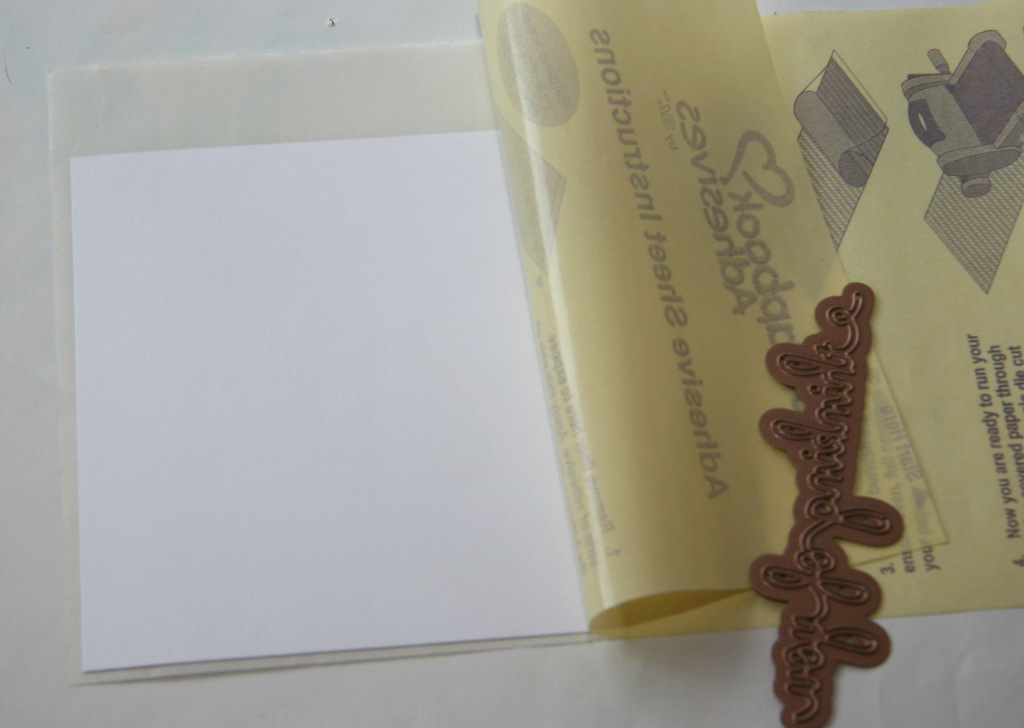
To get started with the Adhesive Sheets, (here I am using the 6 X 12 size) peel back the yellow baking and adhered your card stock down to the sticky side. Lay the yellow backing back over the card stock and gently burnish the adhesive to your card stock.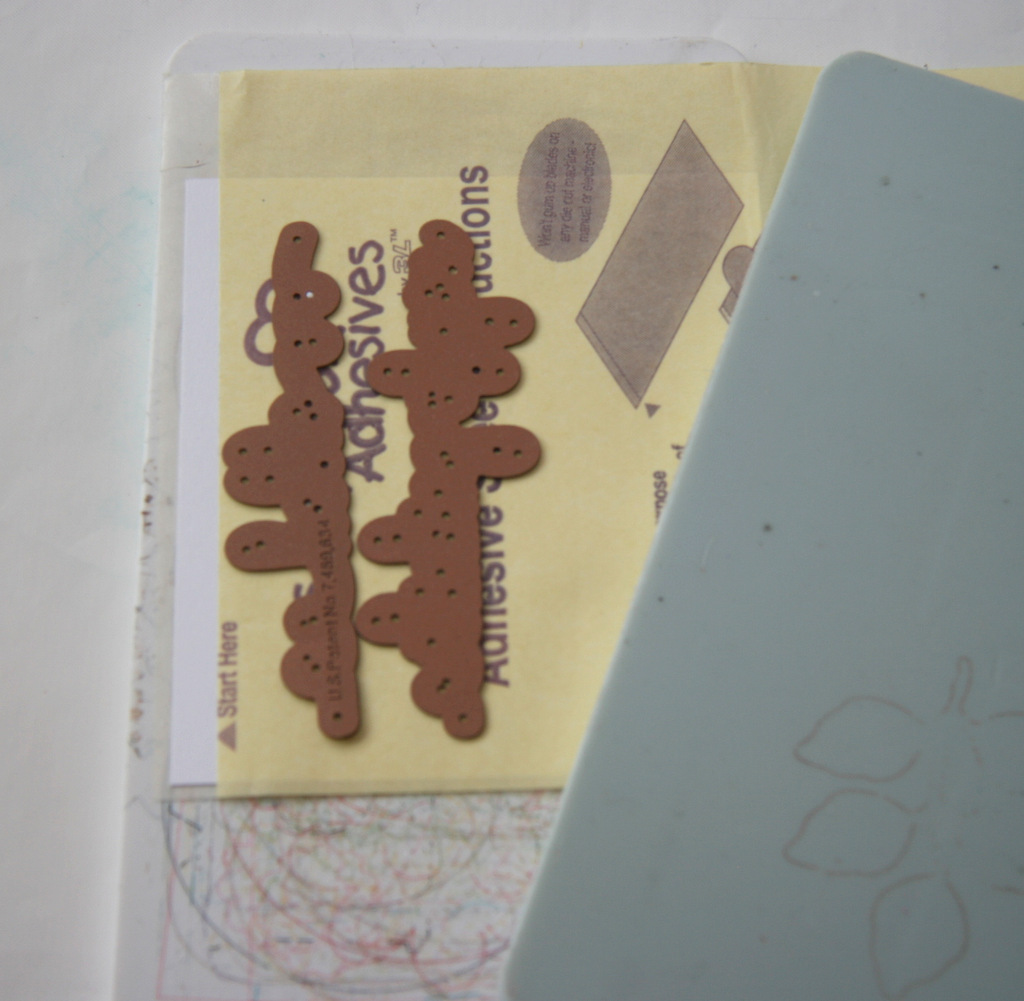 Because I want the backside of my dies sticky, I am placing my dies onto the yellow side, ensuring that when I pop them out, the backside will be covered with adhesive. (If you are wanting the front to be covered with adhesive, you would cut from the other side)
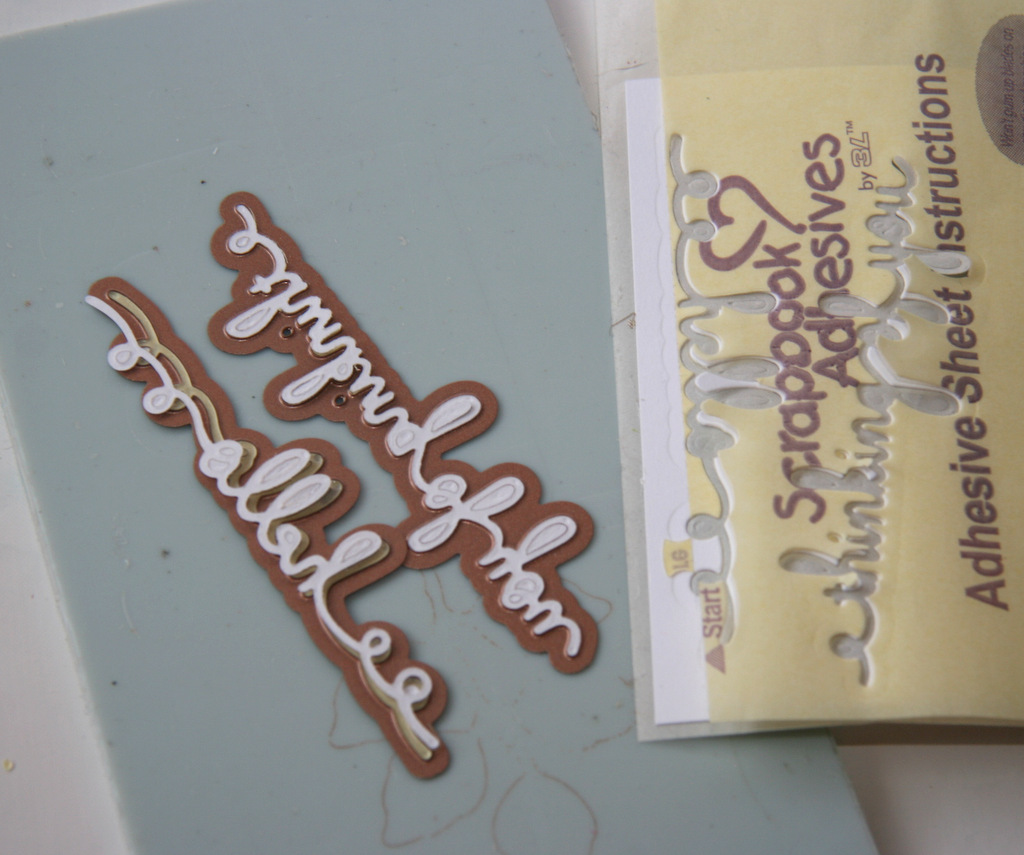 Pop your dies out of the sheet, and they should easily come out of the die as well, peel the backing off and adhere to your card. I adhered mine to my green tag.
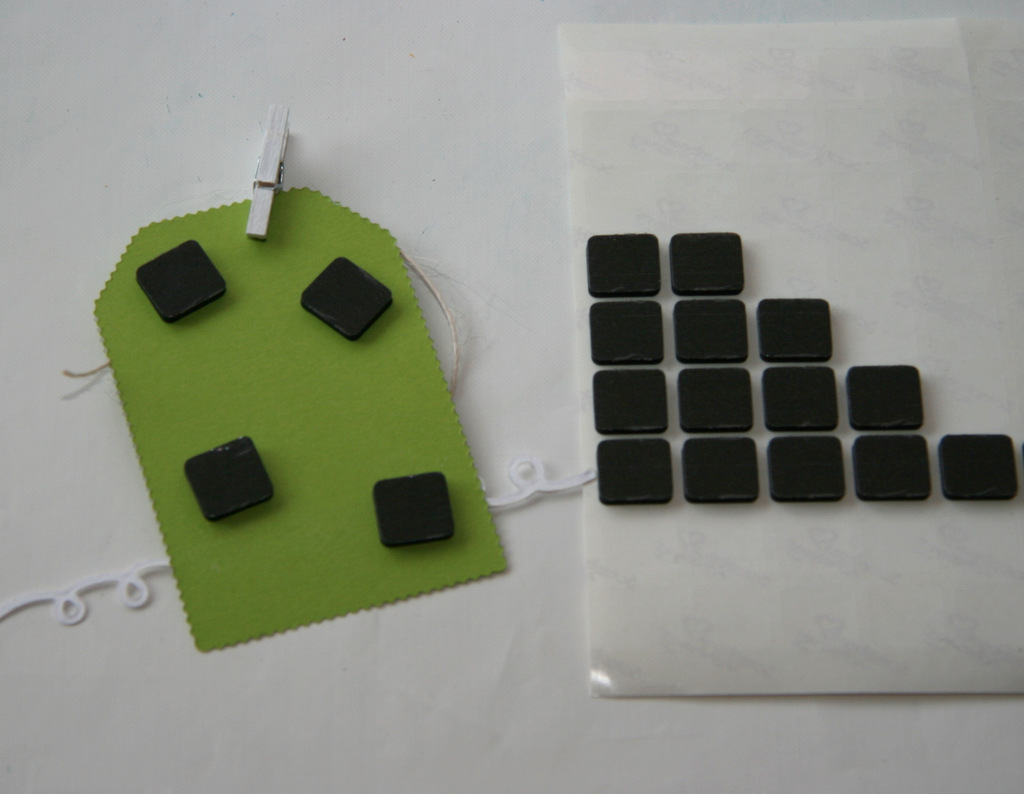 I then place a few 3D Foam Squares onto my tag, and secure it to my card.
Have you tried the Adhesive Sheets yet? love them!!
enjoy, AJ
Scrapbook Adhesives by 3L® products used: E-Z Runner® Permanent Strips Refillable, Adhesive Sheets, 3D Foam Squares
Supplies: Spellbinders dies, twine, & card stock; Faber-Castell Design Memory Craft Glass Bead Glitter Gel, stencil, clothespin.
By jean marmo March 15, 2015 - 9:48 am
THanks for this information! I have some of these and now need to try it!
By Kimberly March 21, 2015 - 1:15 pm
Beautiful card!