
Last week I was a baking fool, getting ready to visit my boys in college. I grabbed a cookie and my crafting supplies and got busy! I wish I could keep baked goods in the house all the time!
Stamping the Baked Treats
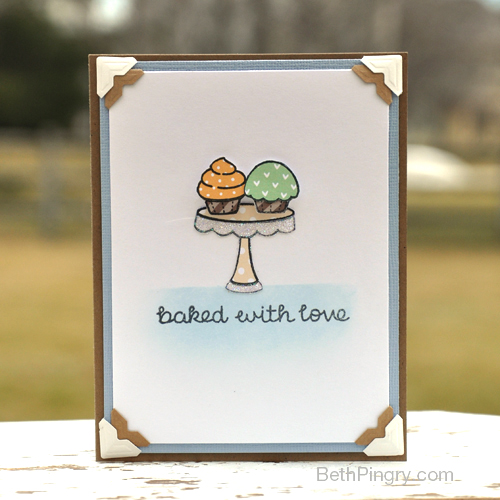
I stamped the images twice, once onto white cardstock, then patterned paper. Next, I added Adhesive Sheets to the top of the white cardstock.Then I fussy cut all the stamped pieces. I layered the patterned shaped pieces onto the white cardstock pieces.
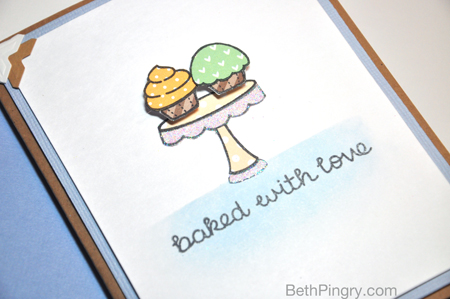
There are 2 spots on the serving dish without patterned paper; instead I covered the exposed adhesive with glitter.
To create a surface for the platter to ground it, I masked off the white cardstock with scrap paper and applied chalk with a stylus and foam tip. Using E-Z Dots Repositionable will hold the cardstock in place while chalking. Now it’s not floating in the center of the card.
Assembling the Layers and Creative Photo Corners
Next I stamped the sentiment, and assembled the card using Creative Photo Corners. I like to double up the Creative Photo Corners when I do layers, I feel like it creates a bit of a frame for the focal point. Here I used White and Kraft Corners, alternating the color of the corner with the color of the layer. White Corner on kraft paper, Kraft Corner on white paper.
You don’t need to use adhesive between the layers here, the Creative Photo Corners will hold securely. However, since my cards get a lot of handling, I usually add E-Z Squares® between the layers and to secure the card base.
Sweet!
Thanks for visiting today!
Supplies Used:
- Scrapbook Adhesives by 3L®: Adhesive Sheets 4×6“, Creative Photo Corners Kraft, Creative Photo Corners White, 3D Foam Squares White Small, E-Z Dots® Repositionable, E-Z Squares
- Lawn Fawn: Baked with Love stamps, Polka Mon Amie Papers
- Clearsnap®: Colorbox® Archival Dye Wicked Black ink, PaintBox Fluid Chalk ink Ocean Breeze, Stylus and Tip
- Cardstock: White, Kraft, Blue
By Kimberly March 22, 2015 - 1:19 am
Adorable card!!