
Happy National Ice Cream Day (7/19)!! Also, two special friends are celebrating birthdays too so why not make a Neapolitan Sundae Ice Cream Card? Hi, Margie here to create this classic ice cream block favorite 🙂 Let’s get started!
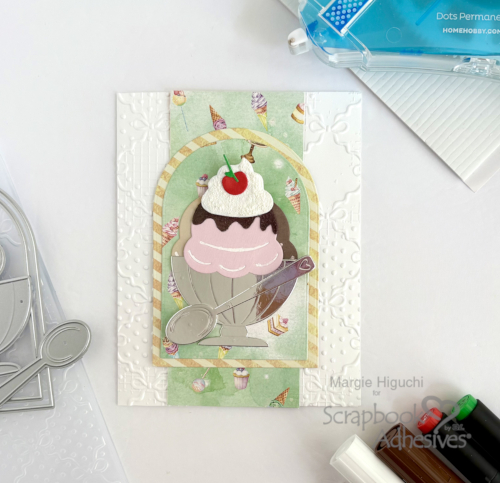
Neapolitan Sundae Pieces
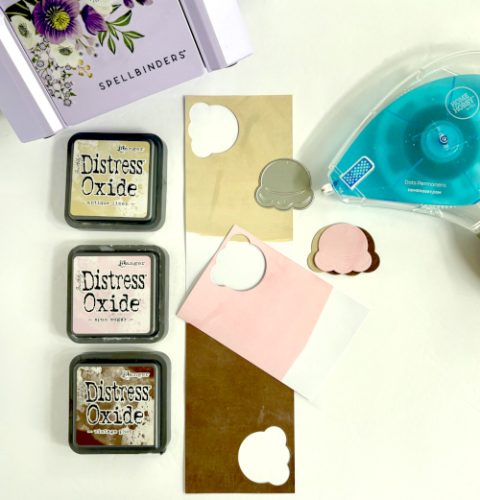
To customize my colors, I swiped Distress Oxide Inks in Antique Linen (vanilla), Spun Sugar (strawberry) and Vintage Photo (chocolate) on white cardstock. When dried, I die-cut one ice cream scoop for each color. Using the E-Z Runner® Grand Permanent Dots Refillable Dispenser, I assembled the three scoops together. The strawberry scoop was adhered on its top to make like a paper clip style. I wanted to have it hang over the sundae dish.
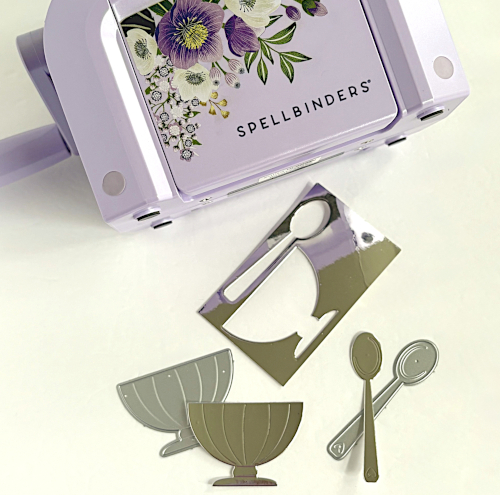
Then I used a silver mirror cardstock to die-cut the spoon and sundae dish. I loved how these turned out 🙂
Coloring Pieces
Die-cut the whip cream, topping, cherry and its stem with white cardstock. I colored the whip cream and topping with Puffy Velvet Markers in White (whip cream) and Brown (topping). Then use a heating tool to puff up the colors…SUPER COOL! Designer’s Tip: I rolled some E-Z Dots® Repositionable Refillable Dispenser on my board to secure my pieces from flying off.
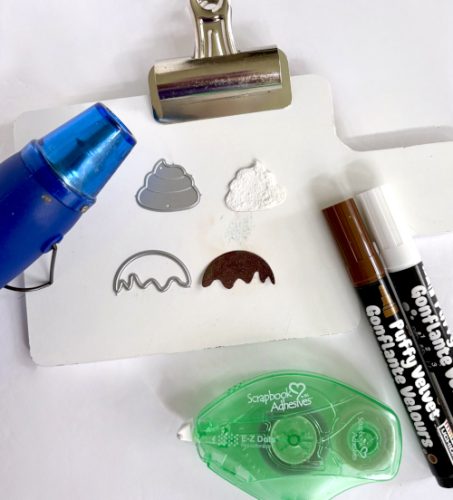
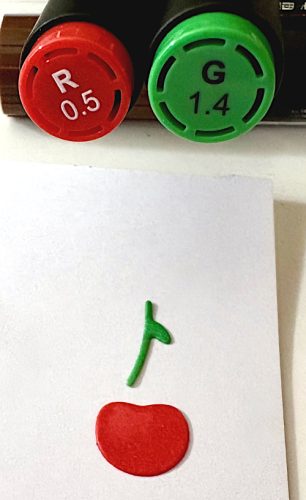
For the cherry and its stem, I colored with OLO Markers in R 0.5 (red) and G 1.4 (green)
Scooping Details
I attached the topping and whip cream with the E-Z Runner® Grand Permanent Dots Refillable Dispenser. The cherry and its stem were adhered with a combination of the E-Z Runner® Grand Permanent Dots Refillable Dispenser and an Adhesive Dots Medium.
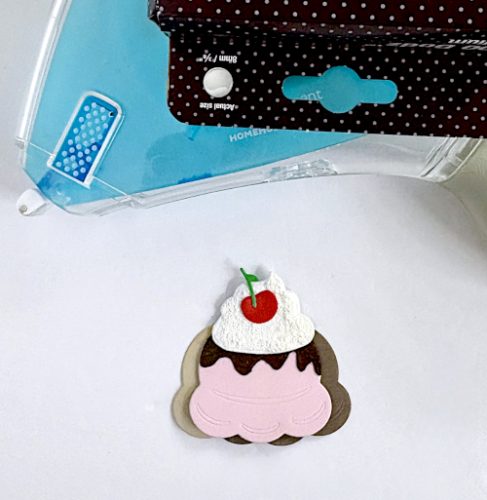
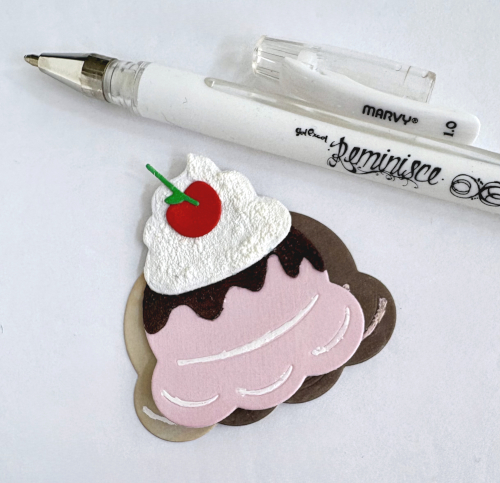
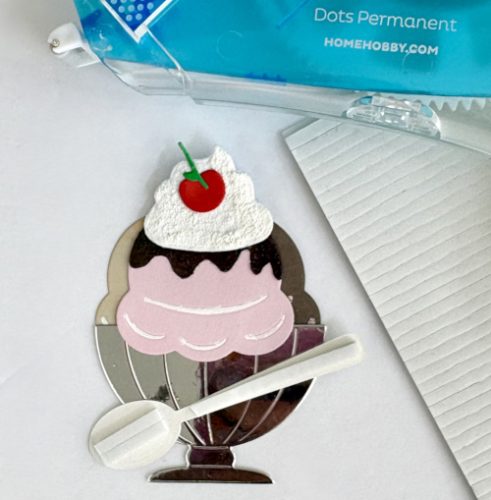
I drew highlights with a white pen on the strawberry, chocolate and vanilla scoops. Then attach the ice cream scoops to the sundae dish with the E-Z Runner® Grand Permanent Dots Refillable Dispenser. The spoon was popped up with a couple of 3D Foam Strips.
Assemble the Neapolitan Sundae Card
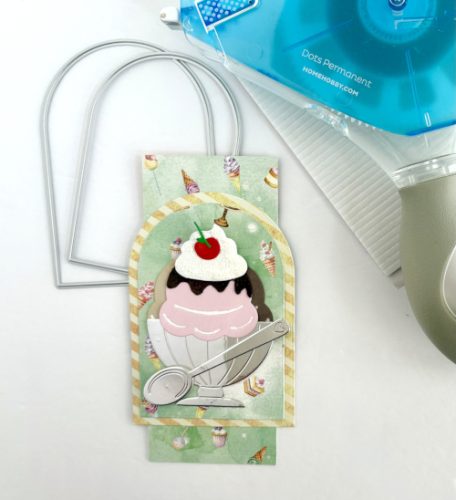
Die-cut two graduating arches with patterned paper and mat them together with the E-Z Runner® Grand Permanent Dots Refillable Dispenser. Using the same adhesive, attached a strip of the patterned paper in the back of the arch. Lastly, secure the Neapolitan Sundae on top.
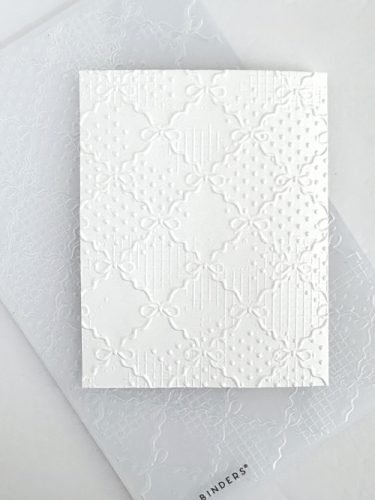
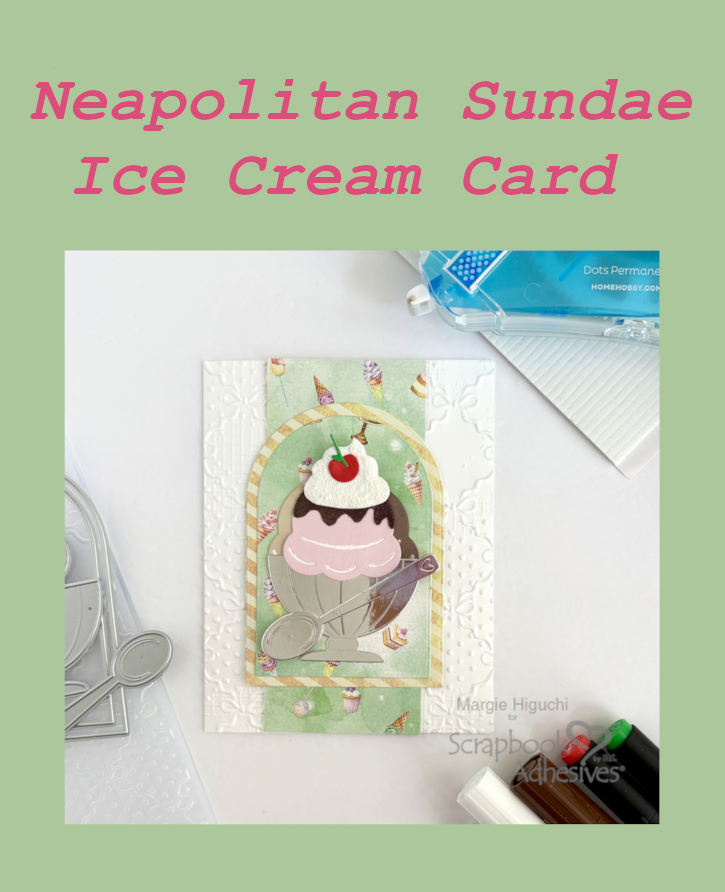
Emboss the white cardstock card base. Then adhere the Neapolitan Sundae ensemble on the card front. Love how it turned!!!
Thanks for visiting!
Margie
Creative Time: 40 mins
Skill Level: Intermediate
Materials Needed:
Scrapbook Adhesives by 3L®
E-Z Dots® Repositionable Dispenser
E-Z Runner® Grand Permanent Dots Refillable Dispenser
Other: Patterned Papers: Kawaii Paper Goods/Memory Place (So Sweet Collection); Craft Dies: Catherine Pooler Designs (Build-A-Sundae Dies) and Scrapbook.com (Nested Arches Dies); Embossing Folder: Spellbinders Paper Arts (E3D Ribbons & Seams 3D Embossing Folder by Frank Garcia); Ink: Ranger Ink (Distress Oxide in Antique Linen, Spun Sugar and Vintage Photo); Markers: Marvy Uchida (Puffy Velvet Makers in White and Brown + Reminisce Gel Pen in White) and OLO Markers (R 0.5 + G 1.4); Heating Tool; Heating Board; Silver Mirror Cardstock; White Cardstock
Click Preferred Retailers List
Save to Pinterest!
Visit our Website and Blog!
Sign up for our Newsletter so you never miss a contest or giveaway!





