
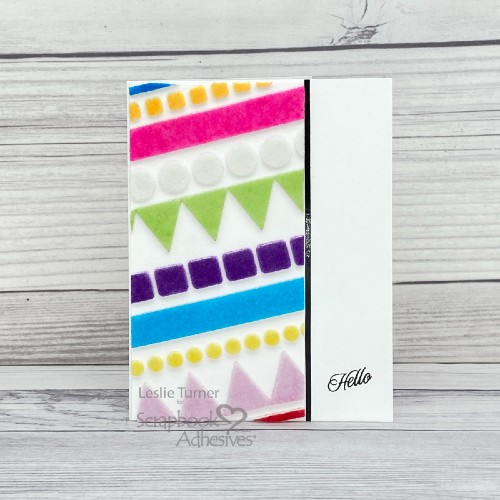
Hey everybody, happy Thursday! I hope your week is going along nicely! Are you a fan of using flock on your projects? Raising my hand here… although I haven’t used much flock over the past few years, I’m a huge fan! Leslie here, sharing a tutorial for making a friendship card with flock. Have used a variety of our 3D products to feature the Wear Your Adhesive on the Outside technique. 3D Foam Strips Large White, 3D Foam Circles White Mix, and 3D Foam Pennants. Then added 3D Foam Squares White Mix and 3D Foam Strips. And, of course, used the E-Z Runner® Grand Permanent Strips Refillable Dispenser to put it together!
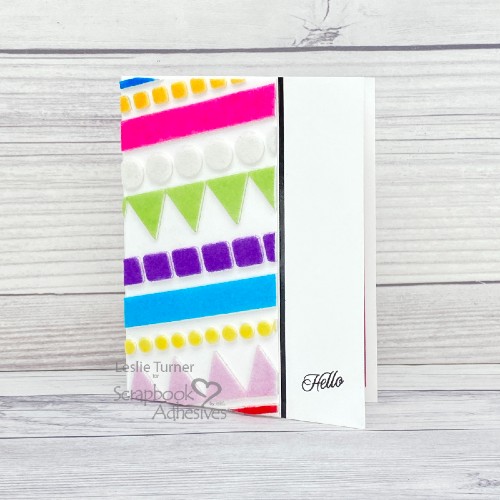
Cut the Card Base & Layers
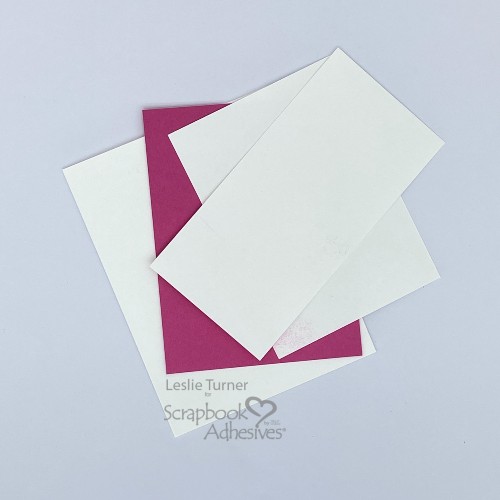
- Cut a 5-1/2″ x 8-1/2″ card base and score it at 4-1/4″ on the long side. Designer’s Tip: Use a pre-folded card base (like I did) which is a huge time-saver.
- For the inside of the card, cut a 3-3/4″ x 5″ layering panel from pink cardstock and a 3-1/2″ x 4-3/4″ sentiment panel from white cardstock.
- For the front of the card, cut a 2-3/4″ x 5-7/16″ layering panel from heavyweight white cardstock.
Wear Your Adhesive on the Outside with Flock
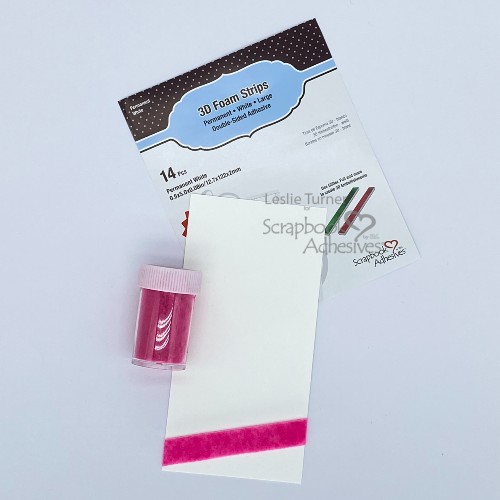
Using the various 3D shapes and strips, let’s build the flocked panel for the front. Love the Wear Your Adhesive on the Outside technique! Start by applying the first row of 3D Foam Strips Large White at an angle on the narrow panel. Then remove the liner, apply the flock, and rub with your finger to secure.
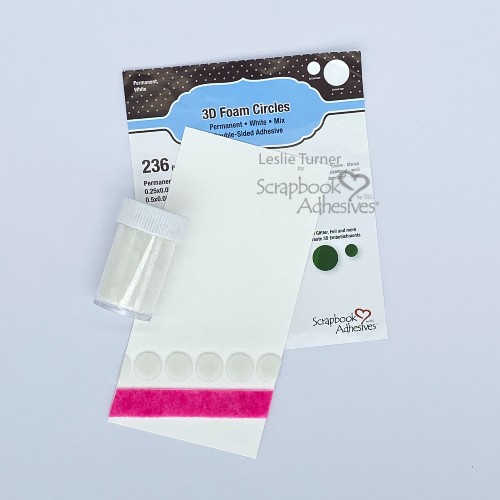
Subsequently, affix the next row using large circles in the 3D Foam Circles White Mix. Also remove the liners from the circles, apply the flock, and rub with your finger to secure.
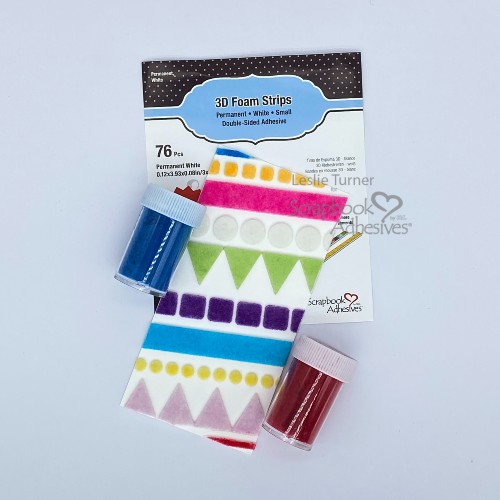
Similarly, add the remaining rows using 3D Foam Pennants, 3D Foam Squares White Mix and 3D Foam Strips Large White. Alternate between small and large squares and circles, and reverse the orientation of the pennants as you go. As seen in the series of photos below, I ended up turning my panel upside down.
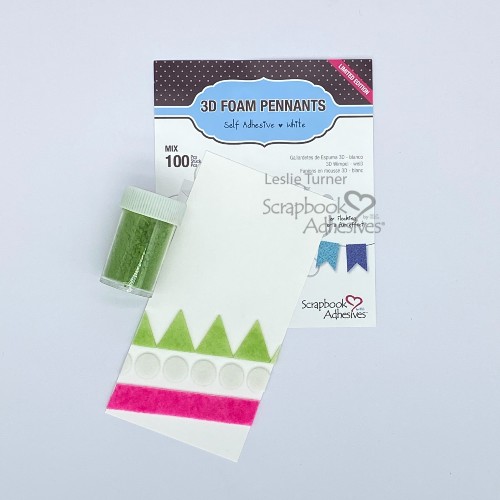
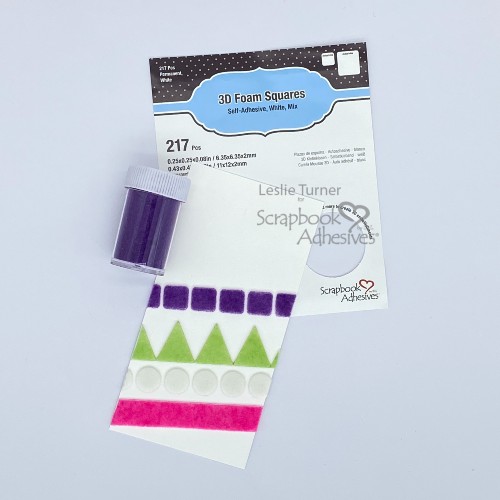
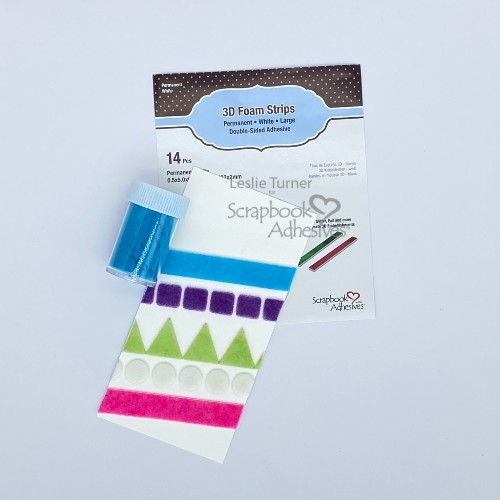
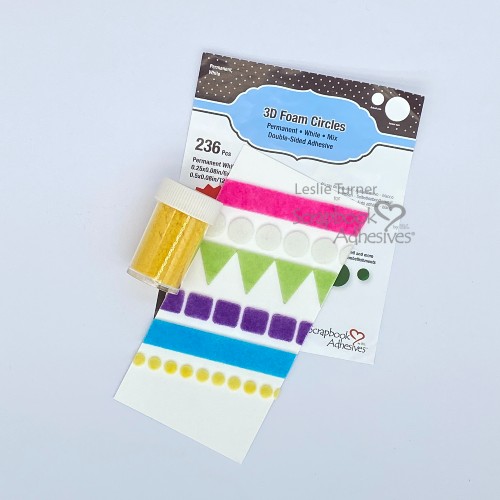
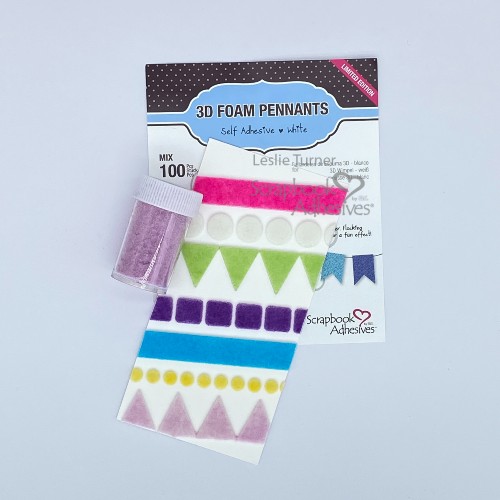
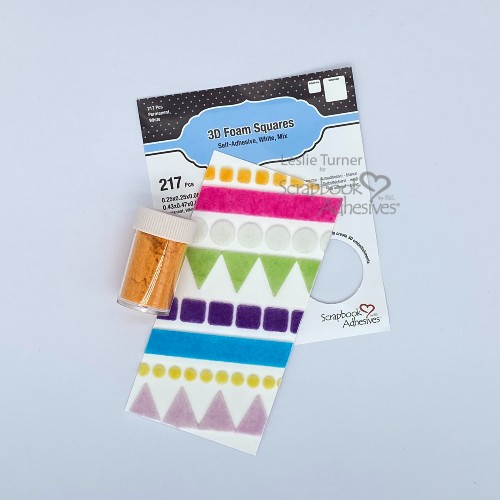
Finally, complete the panel using 3D Foam Strips at the top and bottom. These narrow strips fill in the corners nicely. Now the flocked front panel is complete.
Adhere Layers & Add Sentiments
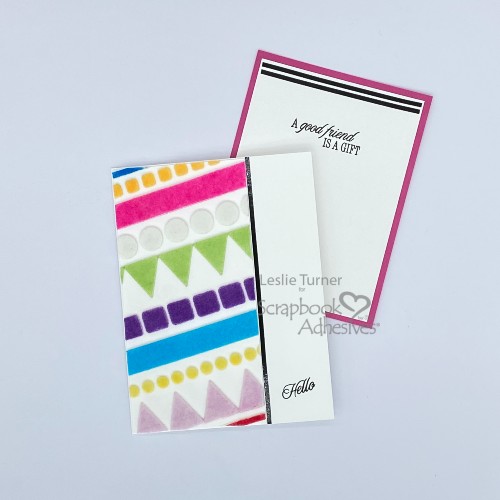
Use the E-Z Runner® Grand Permanent Strips Refillable Dispenser to adhere the flocked front panel to the card base. Additionally, add a very narrow strip of black vinyl vertically for a little interest.
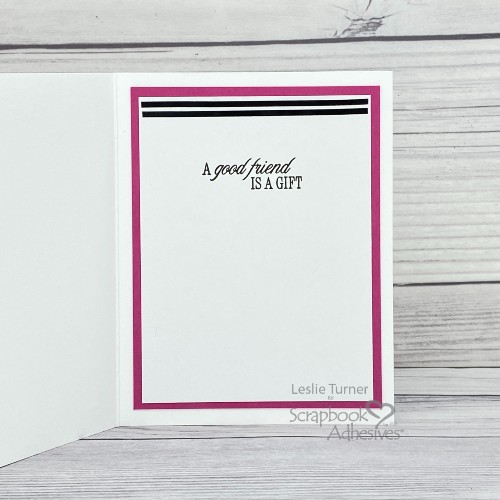
Once again using the E-Z Runner® Grand Permanent Strips Refillable Dispenser, adhere the inside sentiment panel to the pink cardstock. In addition, adhere two very narrow strips of black vinyl horizontally. Lastly, stamp sentiments in black ink on both panels.
Complete Friendship Card with Flock
Afterwards, adhere the sentiment panel to the inside, which completes this card! Here are views of the front and inside of this friendship card with flock. So pretty and such a fun technique!
Thanks for visiting!
Leslie
Creative Time: 60 mins
Skill Level: Intermediate
Materials Needed:
Scrapbook Adhesives by 3L®
3D Foam Strips Large White and 3D Foam Strips
3D Foam Circles White Mix, 3D Foam Pennants and 3D Foam Squares White Mix
E-Z Runner® Grand Permanent Strips Refillable Dispenser
Other: Cardstock: Premium Classic Crest 110# Solar White Folded cardstock, Classic Crest 110# Solar White cardstock, CutCardStock Raspberry Ice cardstock
Stamps: Stampin’ Up Perfectly Pears stamp set
Ink: Versafine Onyx Black ink
Accessories: Fiskars 12″ ProCision Rotary Bypass Paper Trimmer; Flocking- hot pink, white, lime green, dark purple, turquoise, yellow, light purple, orange, blue and red; black vinyl, Mini MISTI
Click Preferred Retailers List
Save to Pinterest!
Visit our Website and Blog!
Sign up for our Newsletter so you never miss a contest or giveaway!





