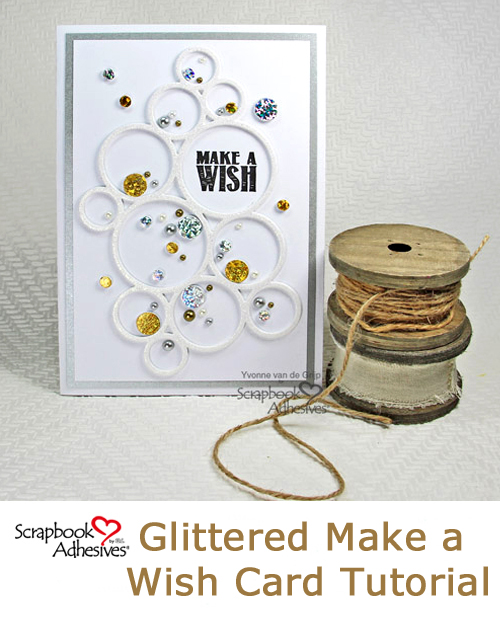
Hi everyone, Yvonne here with a festive card embellished with glittered 3D Foam Sheets. Have you seen the NEW 3D Foam Creative Sheets Medium White? They are perfect for those larger die cuts like the one I used on my card! With this 6 x 12-inch size, I am able to die-cut this fun bubble shape with ease! No more piecing together small sheets to cover the large design.
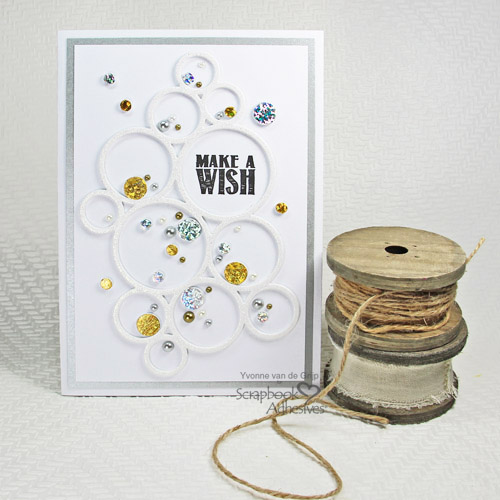
Make a Wish Glittered Card
Let’s start with layering a rectangle piece of white cardstock to a grey panel (slightly larger than the white top layer). Next, adhere it to a white card base using the E-Z Runner® Ultra Strong Refillable Dispenser for all the layers.
To make my focal point, I first scissor cut a piece of 3D Foam Creative Sheets Medium White to fit the size of my etched die. Simply use the die as my guide.
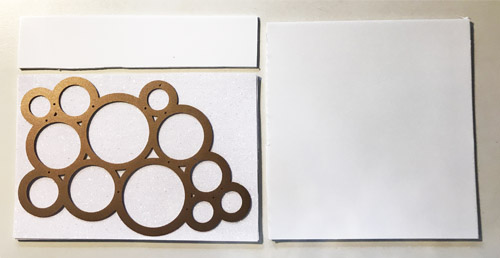
Remove the liner from the cut piece of 3D Foam Creative Sheets Medium White and apply a piece of white glitter paper on top. Make no air bubbles form in between the layers. Place the etched die onto the glittered 3D Foam Sheet with the cut blade facing down to the glitter) and run through your manual die-cutting machine.
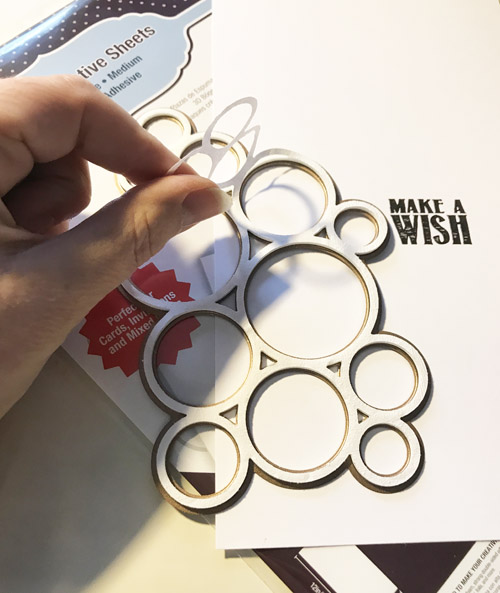
Leaving the foam paper in the etched die, remove the excess. This will not only help place the die cut on the card front but give me better control in keeping its shape as the design is intricate.
Now to position the glittered die-cut onto the card. Remove the liner and gently rub over the back of the filled etched die and the die cut will adhere in perfect shape to the card front.
Embellishing the Card
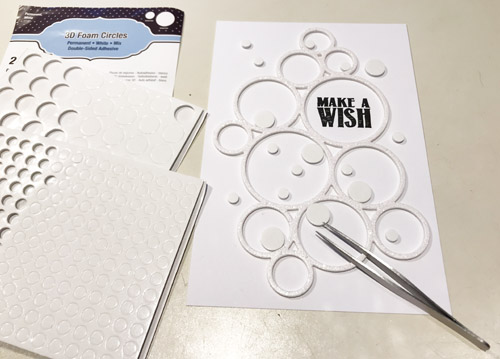
Stamp the sentiment in black ink. Randomly place 3D Foam Circles White in both regular and small sizes on the card front. Make sure to keep the top liner on.
Cut small pieces of Silver and Gold Glitter Foil sheets from the NEW Metallic Transfer Foil Sheets Holographic Colors. It’s easy to handle that the larger 6 x 12-inch format. Remove the liner from 3D Foam Circles and place the pieces from Metallic Transfer Foil Sheets Holographic Colors with the color side UP. Rub softly to transfer the color to 3D Foam Circle. Just peel off to see the color = instant gratification! LOL!
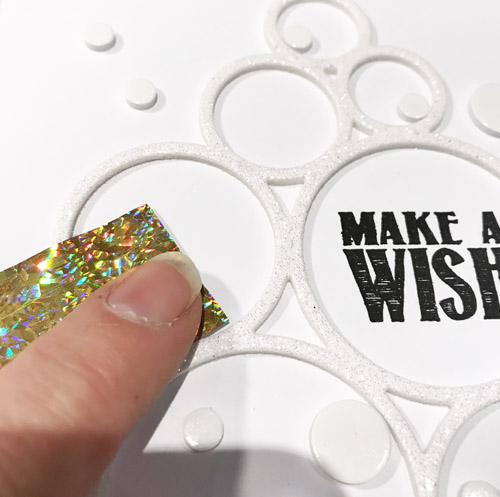
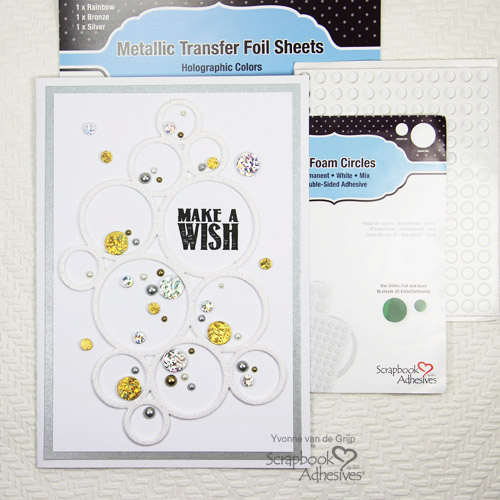
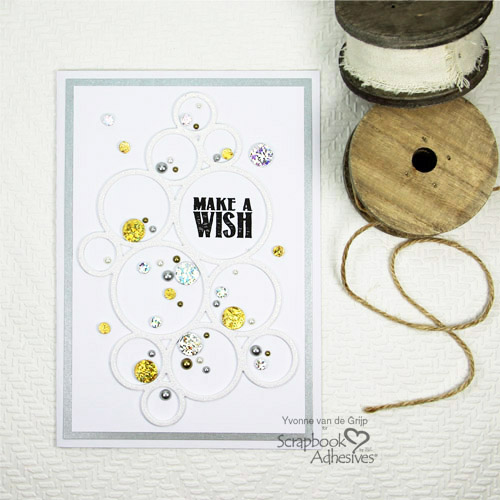
Repeat for all the 3D Foam Circles White Mix on to the card. For the final touch, add pearls to the card for a festive touch!
Creative Time: 40 minutes
Skill Level: Intermediate
Materials Needed
Scrapbook Adhesives by 3L®
E-Z Runner® Ultra Strong Refillable Dispenser
3D Foam Creative Sheets Medium White
Metallic Transfer Foil Sheets Holographic Colors
3D Foam Circles White Mix
Other
Etched Dies: Spellbinders® Paper Arts (Cascading Circles by Donna Salazar, Platinum 6 Die Cutting and Embossing Machine), Cardstock (White, Silver, White Glitter), Stamp (Lili of the Valley), Black Inkpad, Self-adhesive Pearls, Tweezers, Paper Trimmer, Scissors
Pin It!
