
Hi, everyone! Teri here to show you how to make a couple of colorful cards with 3D Foam Frames. These framed friends fun cards are easy to create and are sure to make your friends smile. Let’s get started!
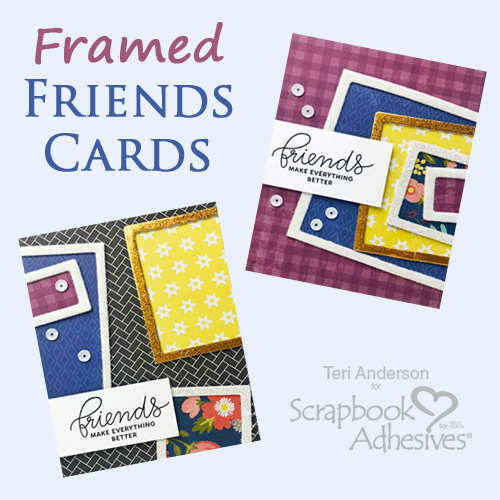
Create Framed Friends Fun Cards
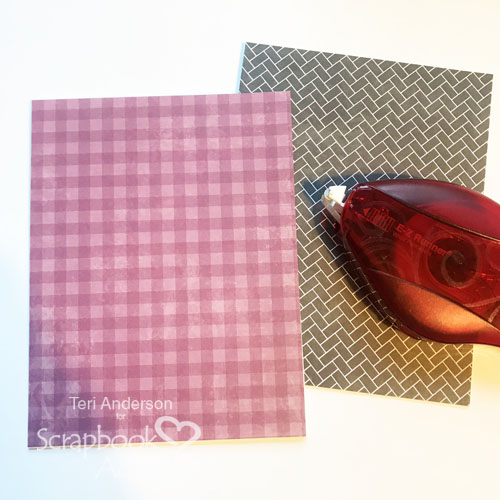
First, you’ll want to make two card bases from cardstock. Cover each one with patterned paper using E-Z Runner® Permanent Strips Refillable Dispenser. Set the cards aside.
Make Frame Designs
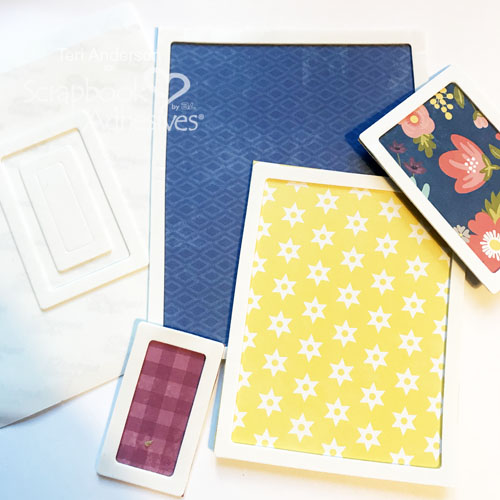
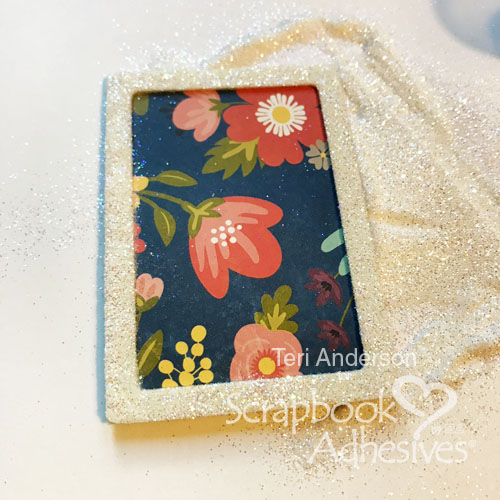
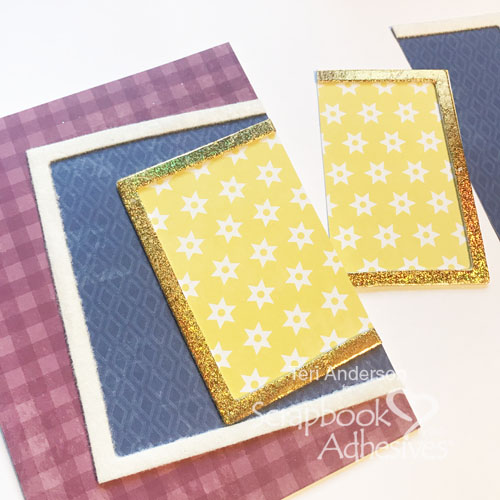
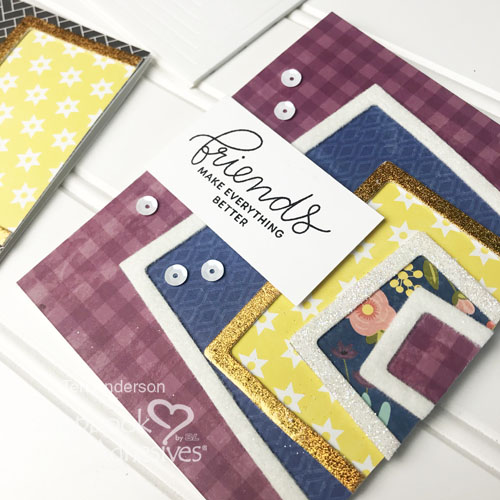
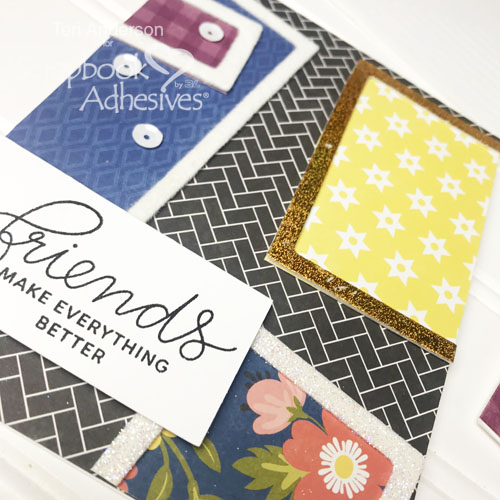
Take several 3D Foam Frames and adhere them to various patterned papers. I recommend using a ruler to measure each frame and cut the paper pieces to size.
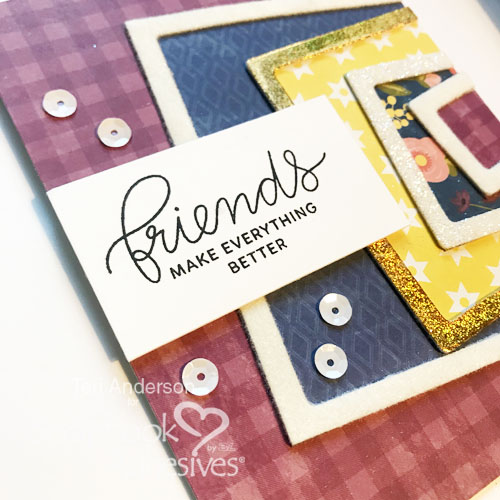
There are several ways to embellish the frames’ edges. Let’s apply flock. Simply remove the top liner from a couple of the frame and dump flock all over the frames. Press the flock into the frame to secure. Tap off the excess.

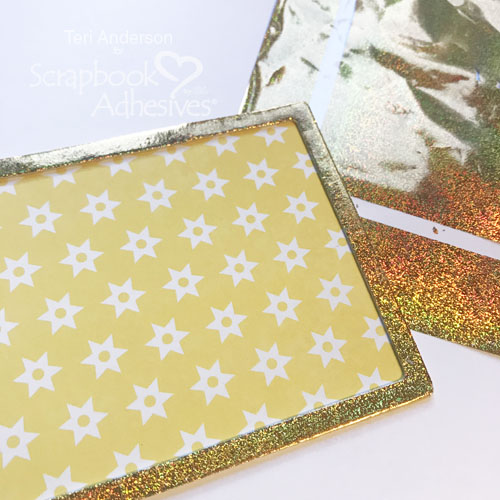
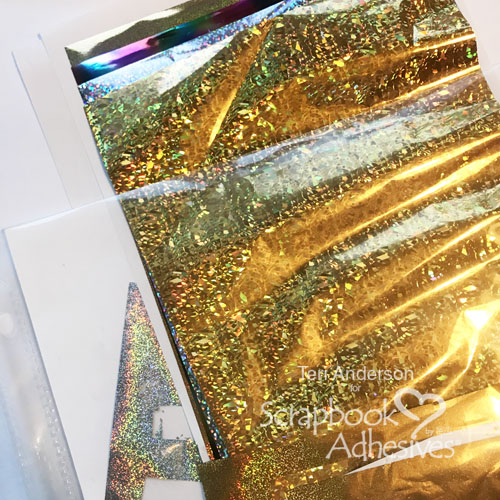
Another application is foil. The Metallic Transfer Foil Holographic is perfect and easy – no special tools! Remove the top liner from a frame, set a piece of transfer foil on top (color side up) and burnish the foil to the frame. You’ll end up with a nice, sparkly frame!
Designer’s Tip: to store your transfer foil sheets, put a piece of cardstock in a page protector. Then add the sheets. This will keep them nice and tidy!
For the last frame, just add glitter to it! Using the same step with the flock, take the top liner off and sparkle the glitter on the exposed adhesive. Press into the frame to secure and tap off the excess glitter. Done!
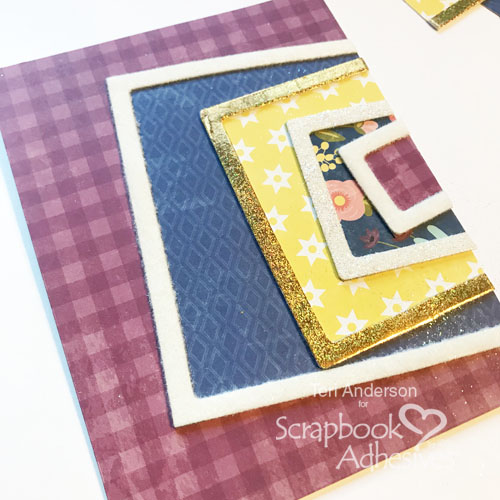
Adding the Frames to the Card Base
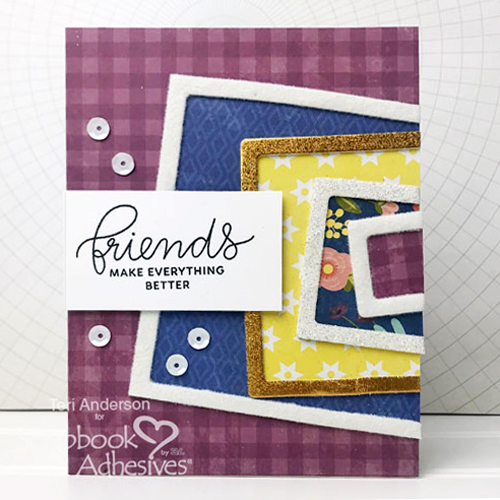
Let’s decorate the card bases! Partially place a frame on one of the card bases with E-Z Runner® Permanent Strips Refillable Dispenser. Trim off the excess frame. Be sure to keep the leftover frame for the second card.
Keep adding frames to the card until you get your desired look.
Finishing the Card
Complete the card by stamping a sentiment on white cardstock and add it with 3D Foam Squares to really pop on the card. Lastly, secure a few sequins using Adhesive Dots Micro.
Creating a Second Card
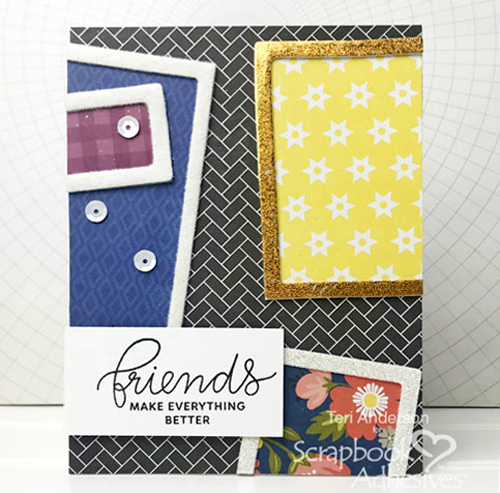
What’s fun about this technique is you can use all those leftover frames to make a second card. You lay the second card out the same way or you can throw caution to the wind! You can arrange the frames differently for a totally different design!
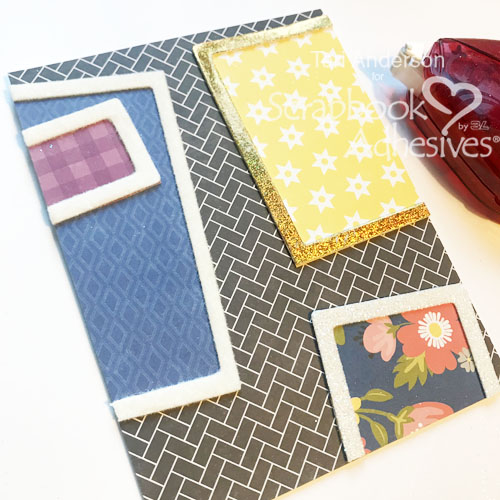
You’ll finish the card just like the first card by adding a sentiment and a few sequins to it!
I hope you are inspired to make a couple of cards with frame designs of your own!

Happy creating!
Teri Anderson
Creative Time: 45 Minutes
Skill Level: Intermediate
Materials Needed
Scrapbook Adhesives by 3L®
- 3D Foam Squares White Regular Size and 3D Foam Frames
- Metallic Transfer Foil Sheets Holographic Colors
- E-Z Runner® Permanent Strips Refillable Dispenser
- Adhesive Dots Micro
Other
White Cardstock: Neenah Paper; Patterned Papers: Jillibean Soup (You Make MISO Happy and Garden Harvest Collections); Stamp: Pretty Pink Posh (Encouraging Greetings); Ink and Glitter: Ranger Ink; White Flock: Stampendous!; Sequins: Cartwright’s Sequins
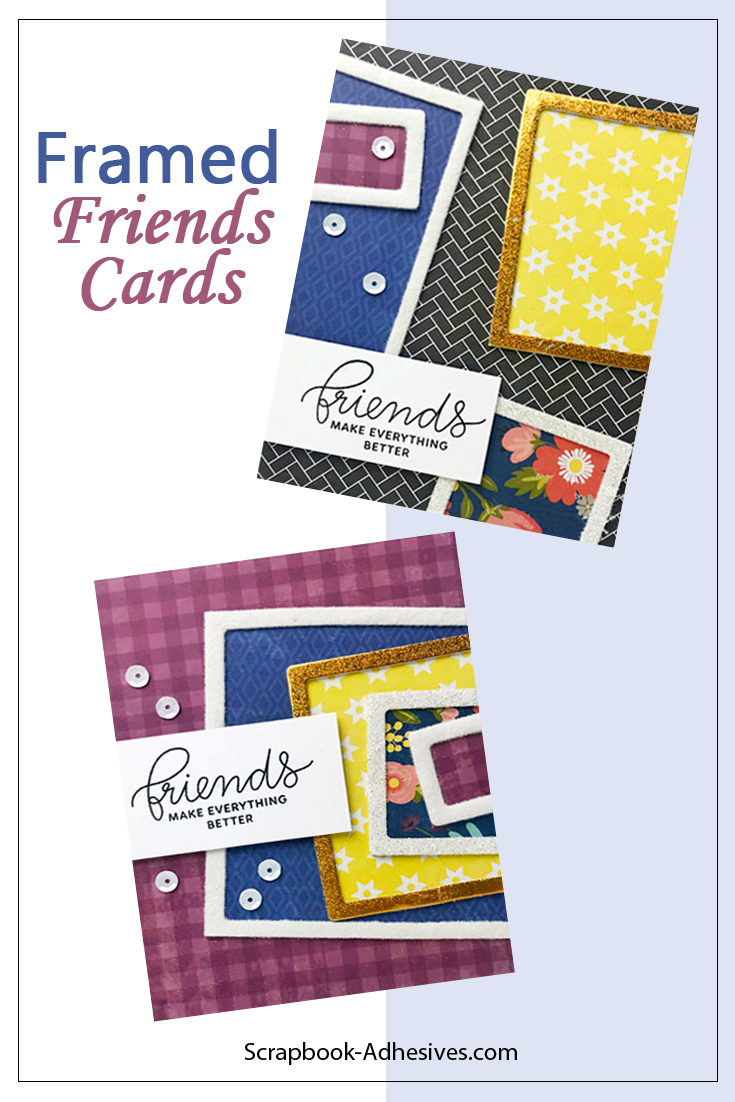
Love It? Save It to Pinterest!
Visit our Website and Blog!
Sign up for our Newsletter so you never miss a contest or giveaway!


By Beverly Jordan February 24, 2020 - 7:21 am
Great graphic cards, Teri!