
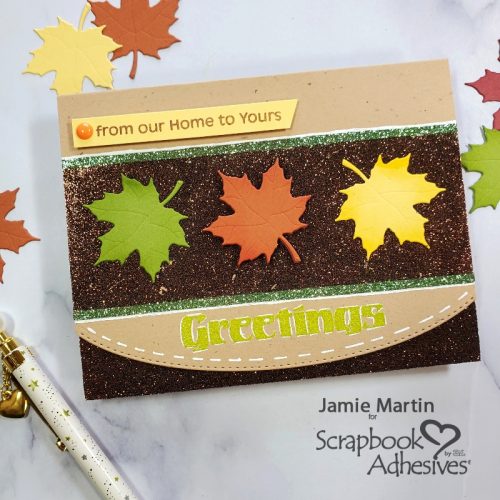
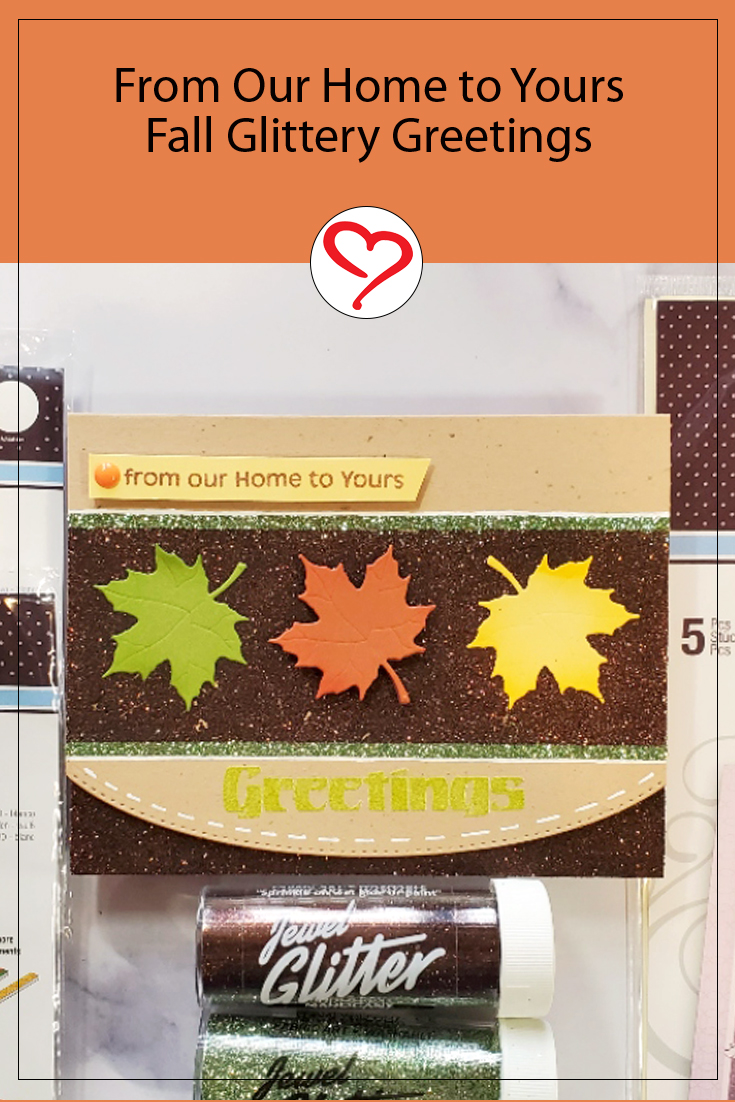
Hi, Jamie here with you today and I have a Fall Glittery Greetings card that has tons of sparkle – a beautiful way to bring in the fall season!
Glittery Greetings Card Base
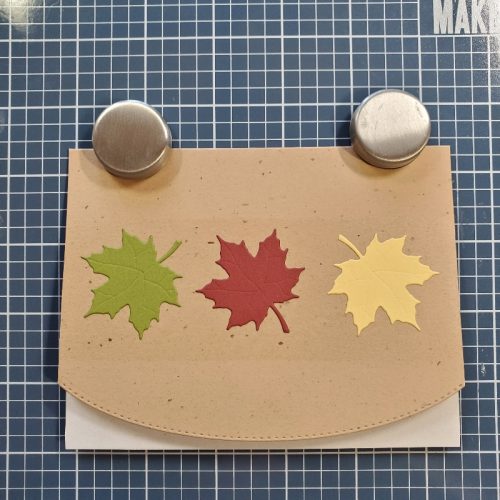
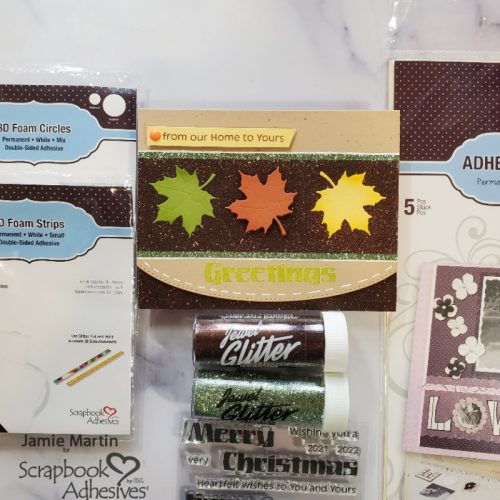
Start with a tan card and die-cut the top flap with an edge die. Cut a strip of Adhesive Sheet that’s a little larger than your leaves, remove one side of the liner and place it in the center of your card. Cut an additional piece to place on the bottom of the inside of the card so that it is seen when the card is closed.

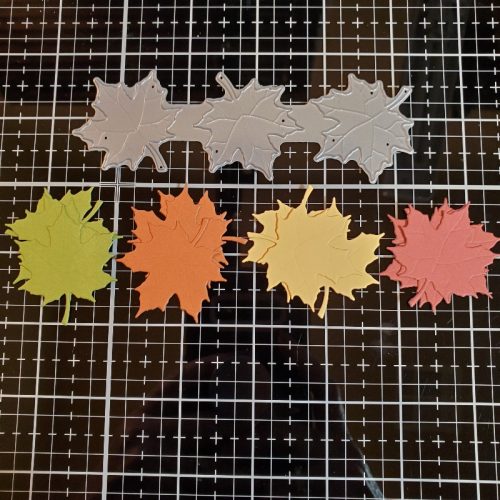
Die-cut your leaves from Fall colored cardstock.
Remove the top liner from the adhesive sheet and place three leaves on the adhesive as shown.
Sprinkle the rest of the adhesive with Mahogany glitter and rub with your finger to ensure adhesion. Also, remove the liner from the strip on the inside of the card and add glitter. Shake off the excess and return it to the bottle.
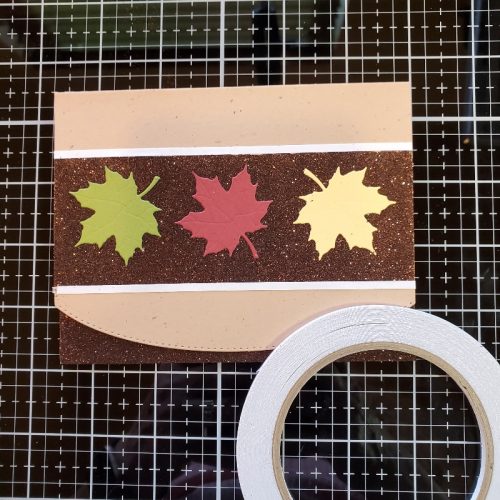
Place a strip of Crafty Power Tape above and below the glitter piece on the front of the card, remove the liners and sprinkle with Seafoam Green Glitter. Stamp Greetings on the bottom of the card with VersaMark Ink and emboss with Lettuce Embossing Powder. Stamp the sentiment on a strip of goldenrod cardstock with brown ink and pop up on the top of the card using 3D Foam Strips. Use a white gel pen to outline parts of the card as shown.
Skill Level: Intermediate
Creative Time: 35 minutes
Materials Needed:
Scrapbook Adhesives by 3L®
Crafty Power Tape Polybag 81ft.
3D Foam Circles White Mix
3D Foam Strips
Adhesives Sheets 4 x 6in.
Plus
Stampendous- Stamps, Glitter, Embossing Powder; Rubbernecker Stamps- Leaves Die
Save to Pinterest!
Visit our Website and Blog!
Sign up for our Newsletter so you never miss a contest or giveaway!


