
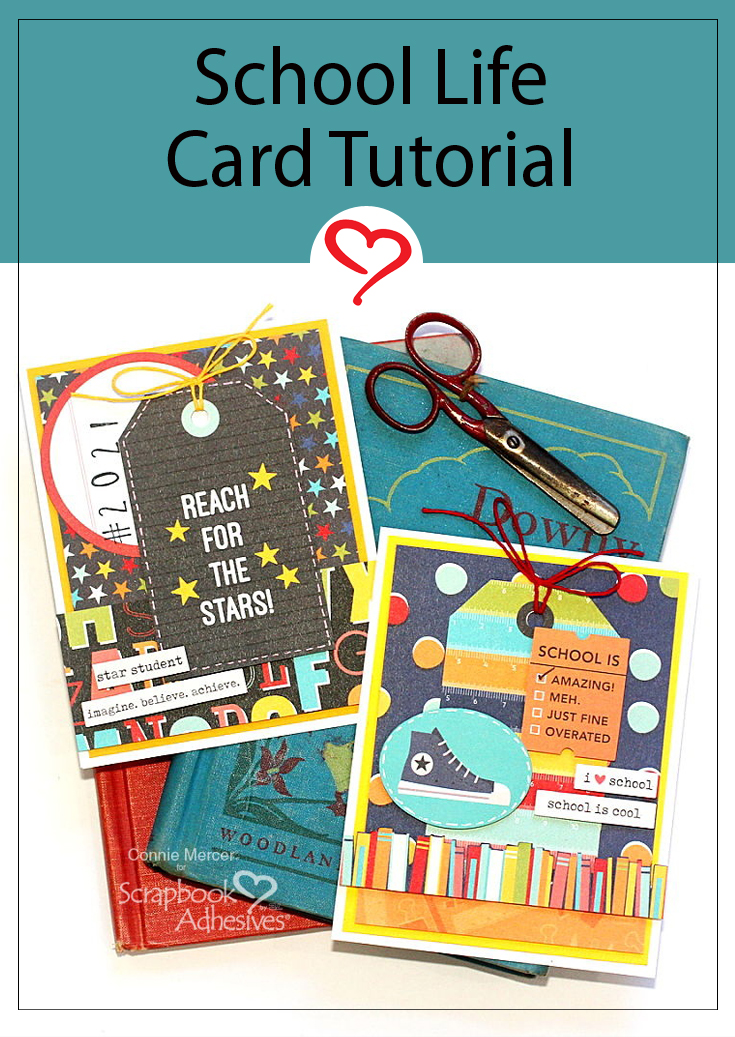
Hi, Connie here with two cards celebrating “Back to School”. I’m using the School Life Paper Collection by Simple Stories along with 3D Foam adhesive for some fun dimensions. My inspiration came from a pair of antique children’s scissors. Check them out in the photos. They still have the original twine tied on the handle.
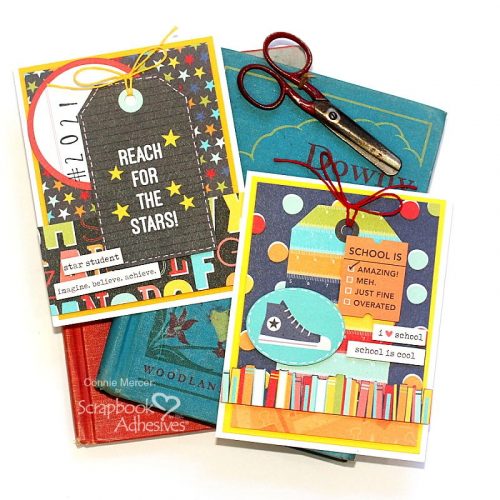
I did a quick step-out photo collage on the process of the “I Love School” card. Both cards were created with the same elements just arranged differently.
School Life Card Step Outs
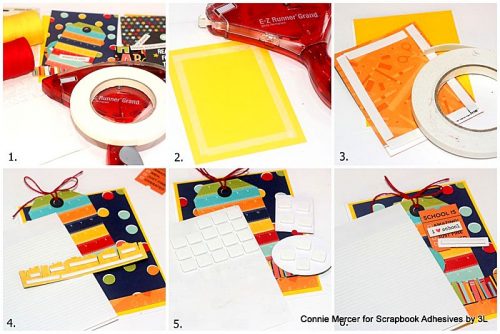
- 1. Gather supplies and cut card stock and pattern paper to card size.
2. Adhere yellow cardstock to folded card using the EZ Runner Grand Refillable Dispenser.
3. Secure the patterned papers to the yellow cardstock with Crafty Foam Tape (my favorite)!
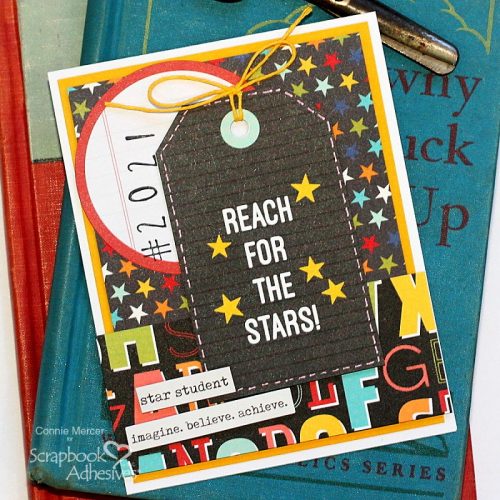
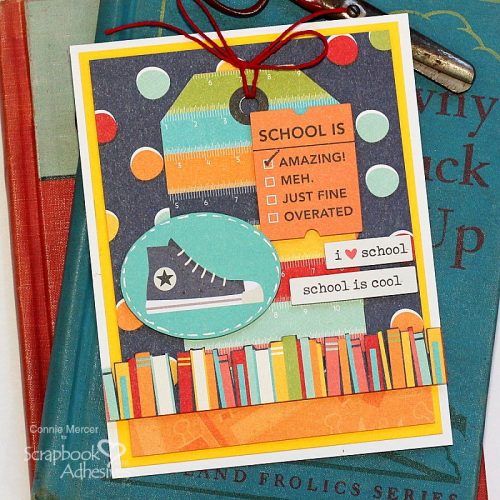
4. Layer coordinating die cut shapes to the card front. I used the tags for my focal on both cards. The 3D Foam Strips were used to adhere the borders at the bottom of the cards.
5. To lift layers, use 3D Foam Squares White Mix to give dimension to the die cut shapes and add to the card fronts.
6. The words strips were adhered using the 3D Foam Strips, so perfect for this!! I think they were made for this!!!
Thanks for stopping by and have a wonderful school year!!! Christmas break will be here before you know it :):)
Connie Mercer
Creative Time: 40 Minutes
Skill Level: Beginner
Materials Needed:
Scrapbook Adhesives by 3L®
EZ Runner Grand Refillable Dispenser
E-Z Runner Grand Permanent Strips Refill
3D Foam Squares White Mix
3D Foam Strips
Crafty Foam Tape 108′
Other: Simply Stories: School Life Collection; Cardstock; Number Stamp; Twine
Save It to Pinterest!
Visit our Website and Blog!
Sign up for our Newsletter so you never miss a contest or giveaway!


