
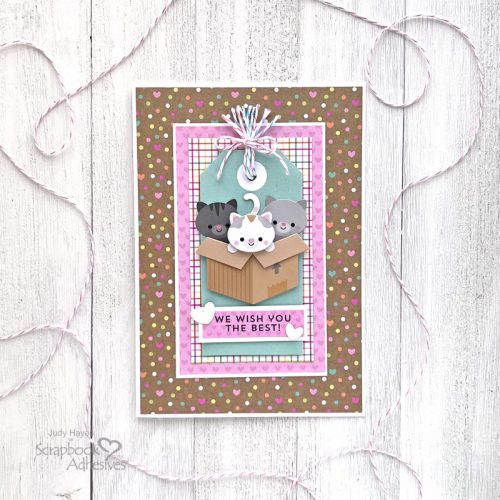
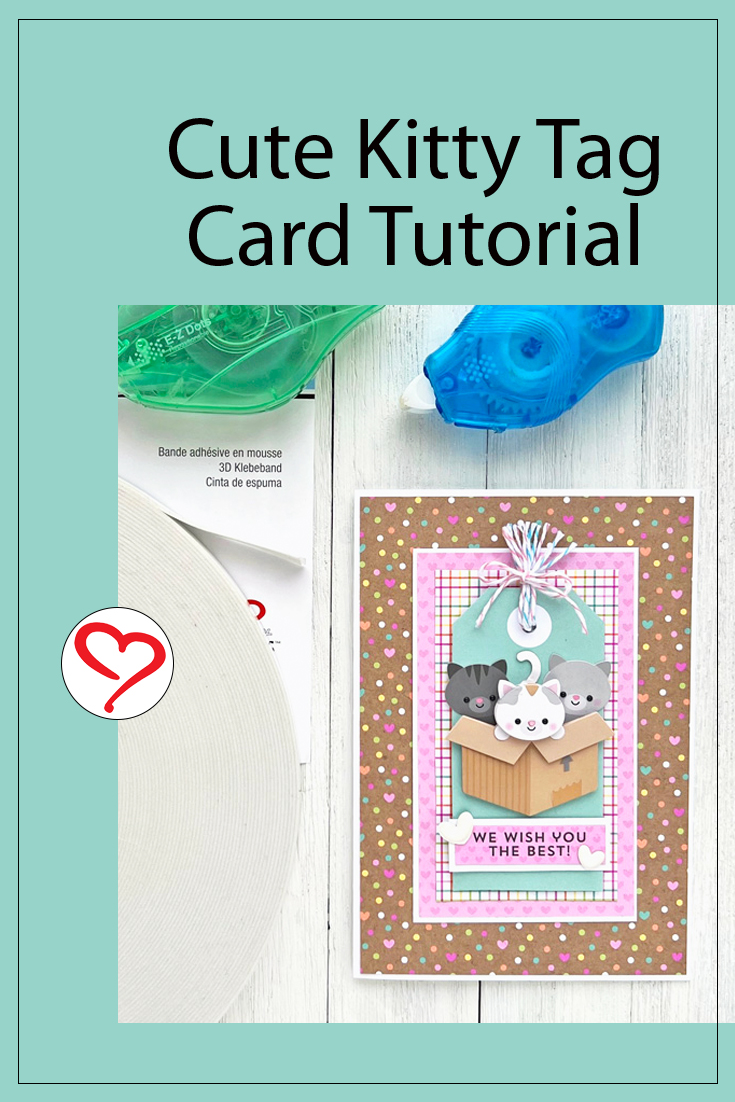
Hi, Judy here today! I’ve put together a Cute Kitty Tag Card with papers, a dimensional sticker from Doodlebug Design, and assembled with Scrapbook Adhesives products. It’s so easy that it is purrfect for a beginner card maker!
Layers for the Kitty Tag Card
First, cut a piece of 6.5 x 9-inch white cardstock, and score in half to fold into a 4.5 x 6.5-inch side fold card base.

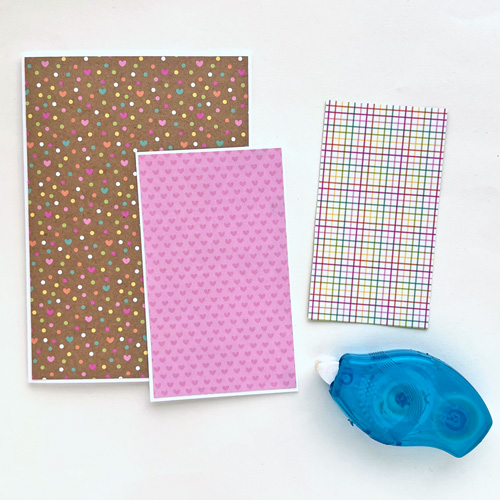
Cut a 4.375 x 6.375-inch piece from the brown with dots, and hearts patterned paper.
From a piece of white cardstock, cut it to a 3 x 5-inch layer.
Use the pink hearts patterned paper, and cut a piece to 2.875 x 4.875 inches.
Take a piece of plaid patterned paper and cut it to 2.375 x 4.375 inches.
Assemble Card Base
Use E-Z Runner® Petite Permanent Dots Refillable Dispenser to apply adhesive to the back of the brown with dots, and hearts patterned paper, and secure it to the card front.
Attach the pink hearts patterned paper to the white cardstock layer using the E-Z Runner® Petite Permanent Dots Refillable Dispenser. With the same adhesive, adhere the plaid patterned paper on top of that matted layer, and then place the layered panel to the card front.
Creat the Cute Kitty Tag
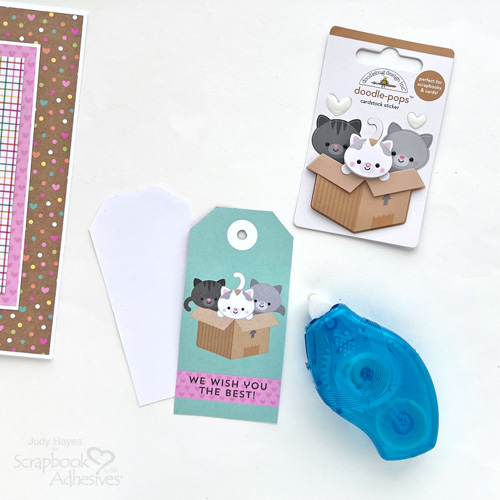
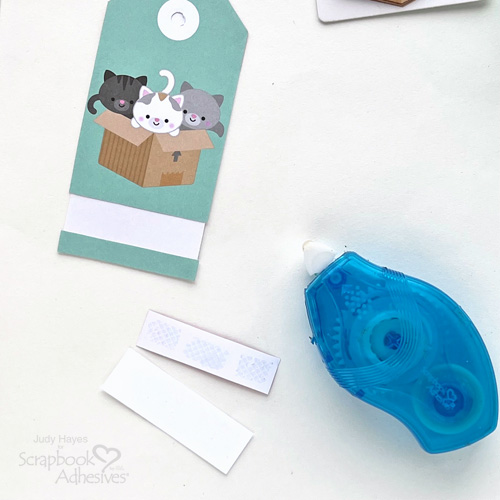
Fussy cut a tag from a patterned paper from the collection. Use it as a guide to cut another tag shape from a scrap of white cardstock. Trim off the sentiment. Apply the E-Z Runner® Petite Permanent Dots Refillable Dispenser to the back of the top portion of the tag and attach it to the white tag.
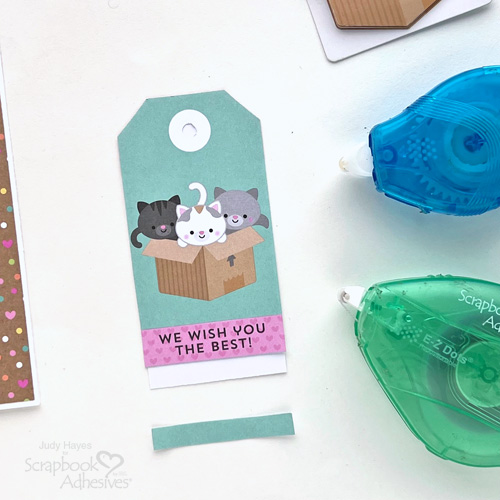
Apply a small amount of the E-Z Dots® Repositionable Refillable Dispenser to the back of the sentiment, and place it on the white tag as it was before cutting apart. Then use the E-Z Runner® Petite Permanent Dots Refillable Dispenser to apply adhesive to the bottom piece from the cut tag and place it below the greeting. Remove the greeting piece. Punch a hole at the top of the tag.
Embellish Tag
Cut a mat for the greeting from white cardstock. Apply the E-Z Runner® Petite Permanent Dots Refillable Dispenser to the back of the greeting, and secure it to the white mat.
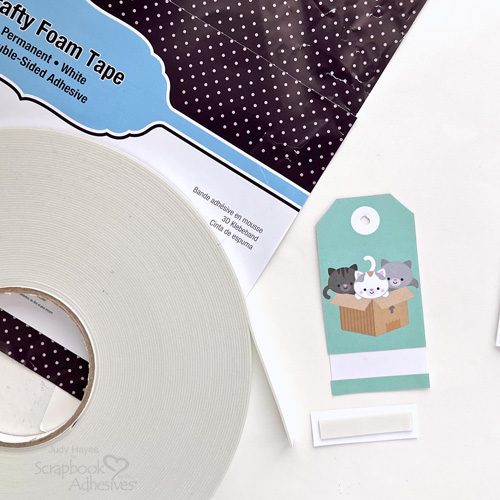
Cut a piece of Crafty Foam Tape White 108ft. to fit the greeting, fasten it to the back, peel the liner, and place it on the tag over the space where the greeting was cut from the tag.
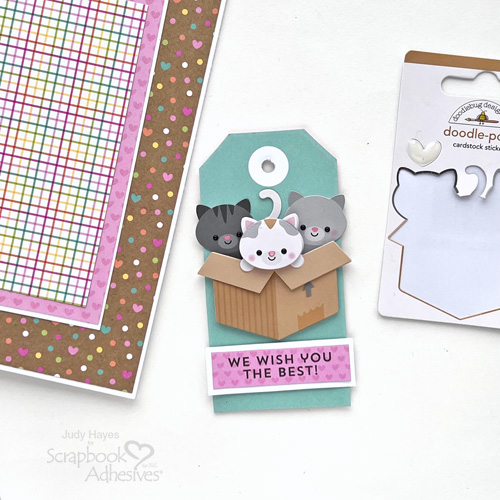
Place the Doodle-Pops cardstock sticker over the image on the tag and press firmly to secure.
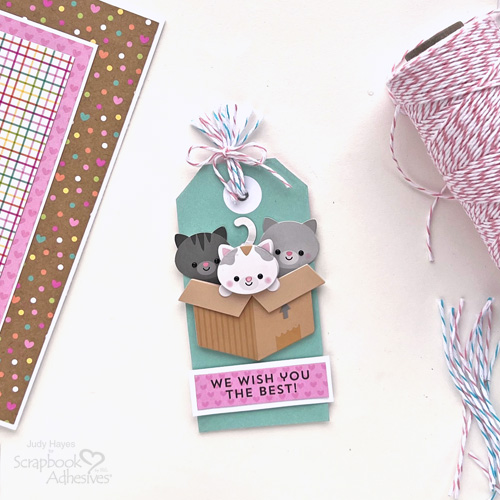
Cut six strands of baker’s twine, and thread them through the hole in the tag. Gather twine together near the tag and tie another piece of twine around the twine, knot, and tie a bow. Trim twine ends.
Attach the Tag to the Card
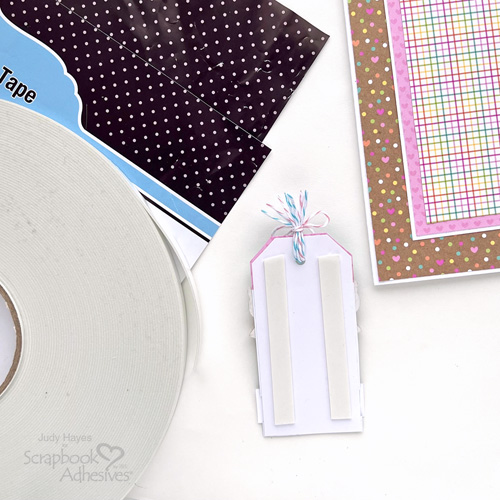
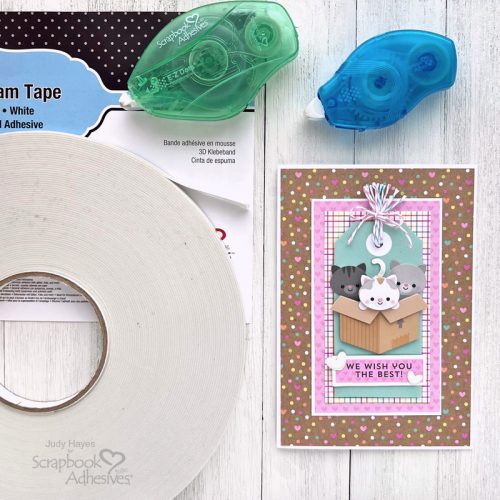
Cut pieces of Crafty Foam Tape White 108ft. to fit the back of the tag and press in place. Peel liners from the foam tape and fasten the tag on the card.
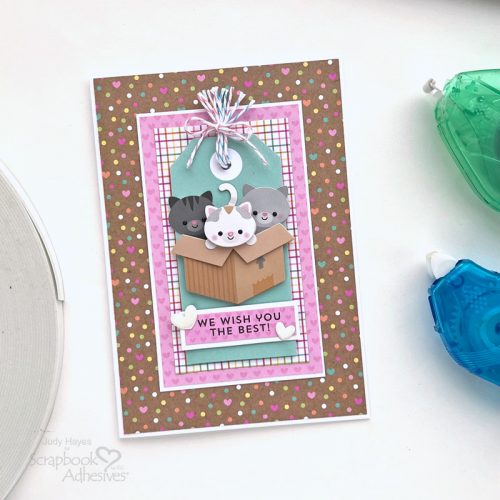
Peel hearts that came with the Doodle-Pops sticker and press them in place with the greeting. Done!
Thanks for Visiting!
Judy Hayes
Creative Time: 20 mins
Skill Level: Beginner
Materials Needed:
Scrapbook Adhesives by 3L®
E-Z Runner® Petite Permanent Dots Refillable Dispenser
E-Z Dots® Repositionable Refillable Dispenser
Other: Papers, Stickers + Ephemera: Doodlebug Design Inc. (Pretty Kitty Collection); White Cardstock; Bakers Twine
Click Preferred Retailers List
Save to Pinterest!
Visit our Website and Blog!
Sign up for our Newsletter so you never miss a contest or giveaway!


