Hi, Judy here today! The idea for this Number Birthday card came about when I was recently invited to a 70th birthday party. I stamped some recycled Kraft packing paper to make gift wrap. With the leftover paper, I made this card. Any number or greeting can be used to fit any birthday age.
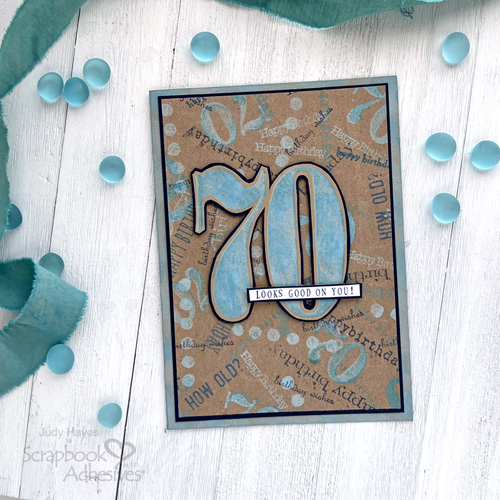
Number Birthday Card Panel Background
Find a piece of Kraft packing paper and iron it. (Paper from a grocery bag or Kraft cardstock can be used instead.) Start by stamping the numbers randomly over the paper with Distress Oxide Tumbled Glass ink. Next lightly ink number stamp with Distress Oxide Broken China ink and stamp over previously stamped numbers.
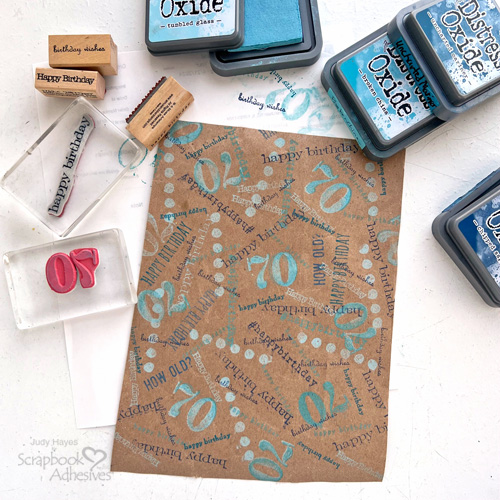
Next, gather assorted birthday stamps. Use Distress Oxide inks Chipped Sapphire, Broken China, Tumbled Glass, and Uncharted Mariner to stamp birthday greetings randomly. Stamp dots with Tumbled Glass ink. Mist lightly with water to activate the Distress Oxide inks. Then cut the background to 4.5 x 6.5 inches.
Card Base Assembly
Cut Kraft cardstock 10 x 5 inches and navy cardstock 4.625 x 6.625 inches. Fold Kraft cardstock to form a 5 x 7-inch card.
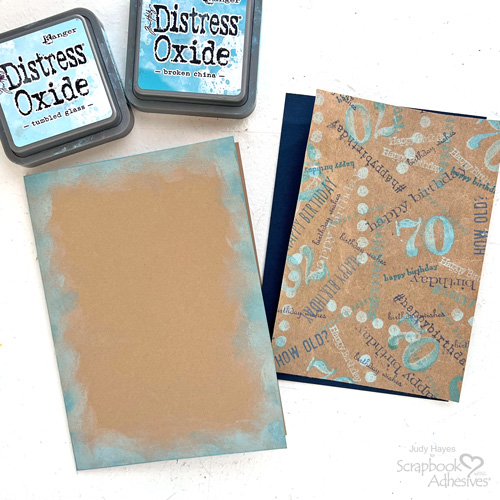
Apply Distress Oxide Tumbled Glass ink with a finger or applicator tool around the edges of the card front. Next, add random light applications of Broken China ink over that.
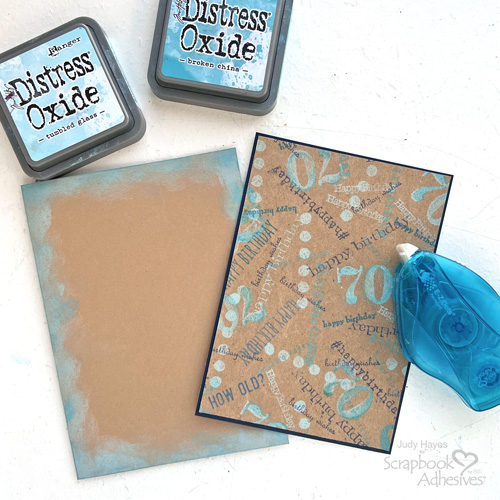
Apply adhesive to the back of the stamped background with E-Z Dots® Permanent Refillable Dispenser and fasten it to navy cardstock. Then use the E-Z Dots® Permanent Refillable Dispenser to apply adhesive to it and attach it to the card front.
Stamp Number
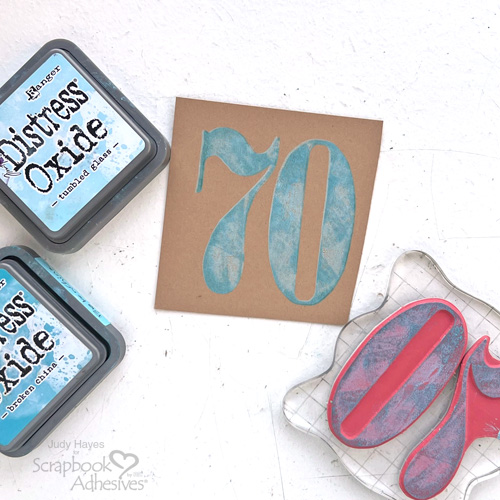
Cut a scrap of Kraft cardstock large enough for the number. Ink number stamp with Tumbled Glass ink and stamp onto Kraft cardstock. Lightly apply Distress Oxide Broken China ink to stamp and stamp over the first image. Mist lightly with water. Allow it to dry for a couple of minutes or use a heat gun to dry it.
Fussy Cut Number and Mat
Fussy cut around number leaving a narrow border. To cut inside of zero, use a craft knife to make a slit or hole and then use small scissors to cut out the center.
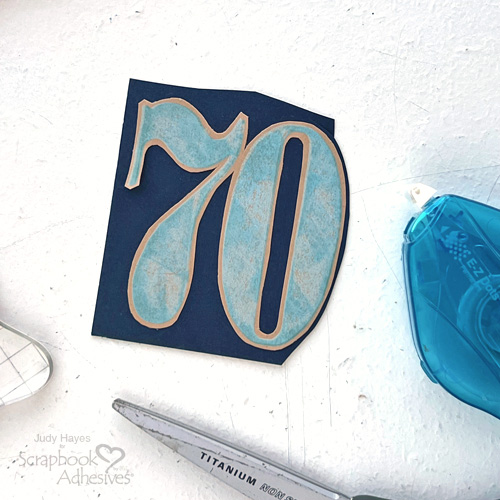
Cut a piece of navy cardstock large enough for the numbers. Use E-Z Dots® Permanent Refillable Dispenser to apply adhesive to the back of the numbers and secure them on the navy cardstock. Fussy cut around the number leaving a narrow border of navy.
Greeting
Use alphabet letter stamps to form words and stamp the greeting with Distress Oxide Chipped Sapphire ink on white cardstock, cover with clear embossing powder, remove excess and heat emboss. Trim to narrow strip. (Or use a computer and printer to print verse).
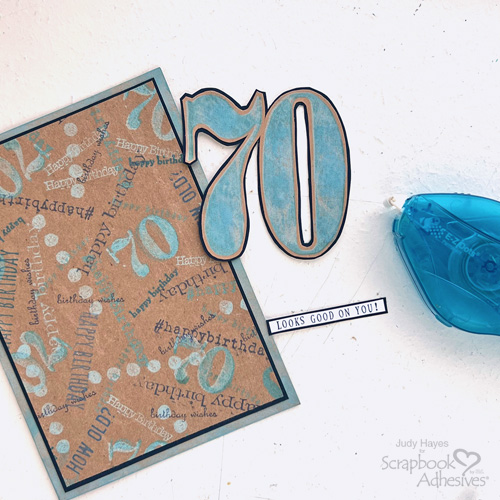
Apply adhesive with E-Z Dots® Permanent Refillable Dispenser to the back of the greeting strip and fasten on scrap on navy cardstock. Trim around the strip with scissors leaving a narrow border.
Final Assembly
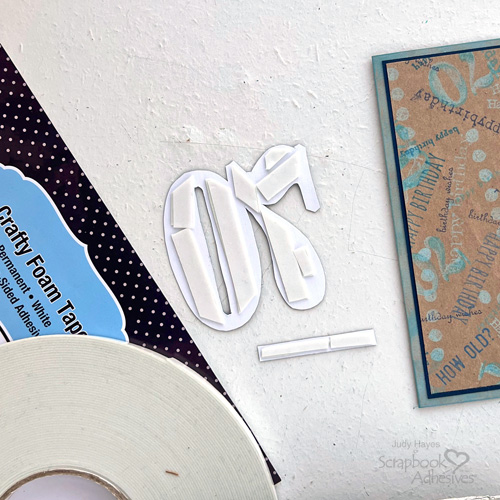
Put pieces of Crafty Foam Tape 108ft on the back of the number. Cut narrow pieces to put on the back of the greeting.
Remove liners from the foam tape on the number and place it on the card front. Then peel off liners from the greeting and fasten across the number. Designer Tip: Crafty Foam Tape 108ft adds dimension yet is thin enough to layer and not add bulk to a card.
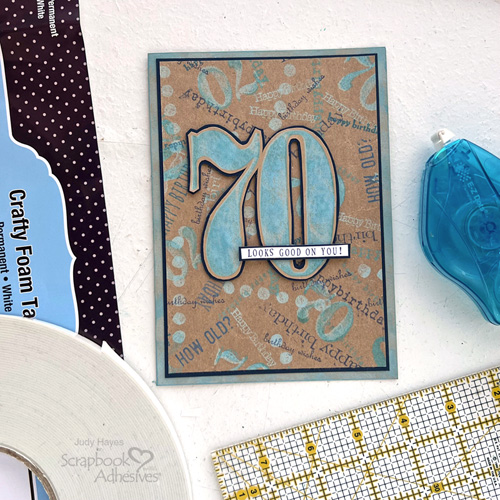
Thanks for stopping by!
Judy Hayes
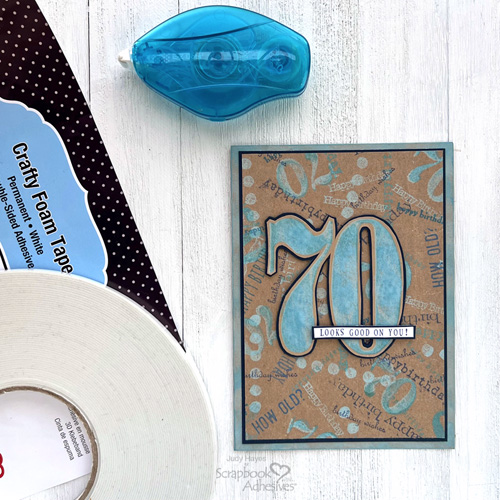
Creative Time: 30 mins
Skill Level: Intermediate
Materials Needed:
Scrapbook Adhesives by 3L®
E-Z Dots® Permanent Refillable Dispenser
Other: Inks: Ranger Ink (Distress Oxides Tumbled Glass, Broken China, Chipped Sapphire, Uncharted Mariner); Embossing Powder: Ranger Ink (Clear); Stamps: Stampers Anonymous Tim Holtz (Numeric, Merchant, Simple Sayings, Inquisitive, Crazy Talk), Small Alphabet Set; Paper: Recycled Kraft Packing Paper; Kraft, Navy and White Cardstock
Click Preferred Retailers List
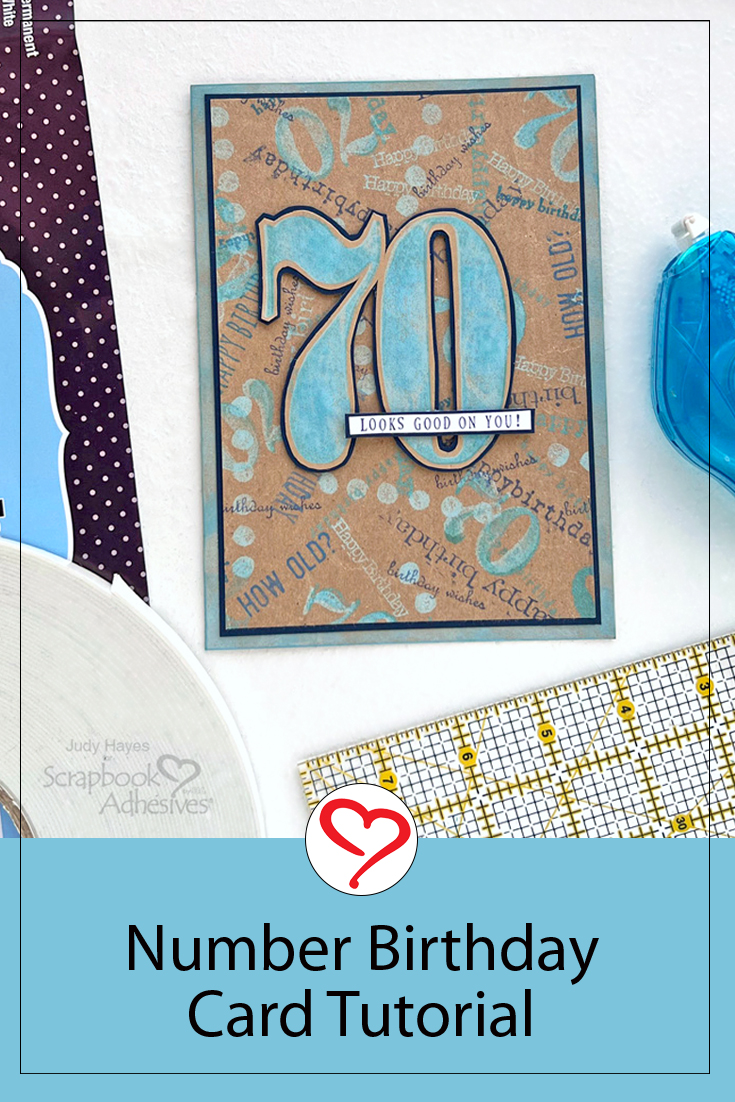
Save to Pinterest!
Visit our Website and Blog!
Sign up for our Newsletter so you never miss a contest or giveaway!


