
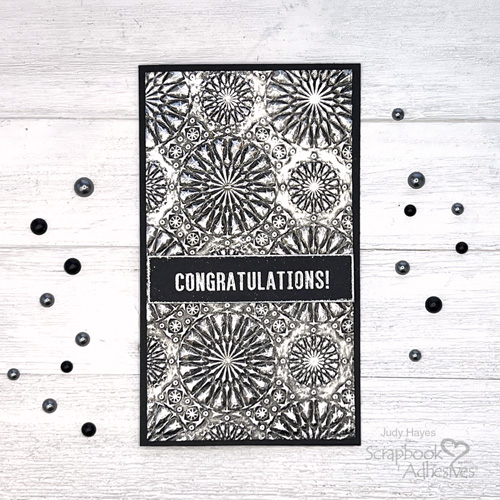
Hi, Judy here today! Using what I have in my kitchen, I took out my cooking foil to make this Metallic Embossed Card. Featuring the Adhesive Sheets, the card was embossed and WoW! So easy to do! Let’s see how it’s done!
Metallic Emboss Card Layers
Cut a piece of 7 x 6-inch black cardstock and fold in half to make a 3.5 x 6-inch card base. Next, cut a 4 x 6-inch panel and a 0.75 x 3.25-inch strip from black cardstock. Lastly, cut a piece of 5 x 7-inch aluminum foil.
Creating the Card Panel
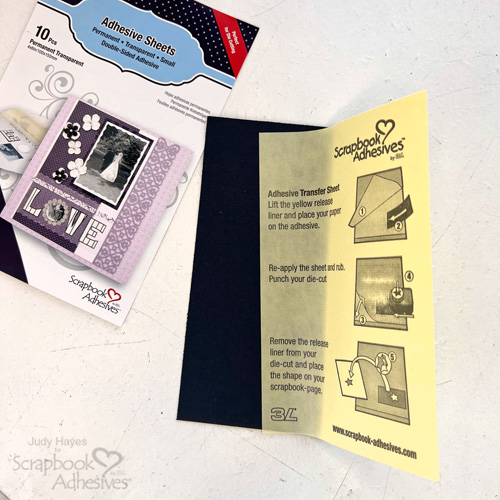
Peel away the edge strip from one of the Adhesive Sheets 4 x 6in., align along the edge of the 4 x 6-inch panel, and press in place. Curl the Adhesive Sheet back and peel the remaining liner while pressing the Adhesive Sheet onto the cardstock. Burnish the sheet well with a bone folder to transfer the adhesive to the panel.
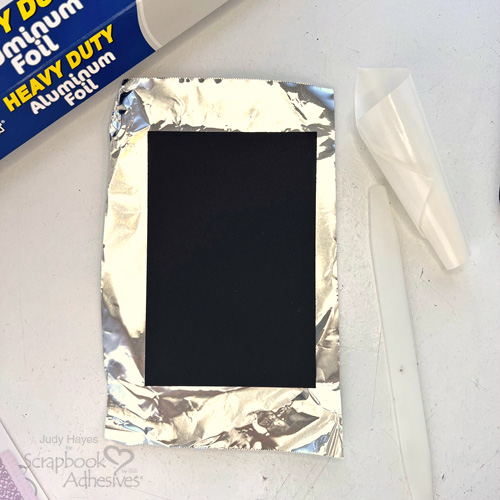
Lay aluminum foil on the work surface. Peel the liner from the panel and place the adhesive side down onto the aluminum foil. Turn it over and smooth the foil. Cut away excess foil along the edges of the panel.
Embellish the Panel
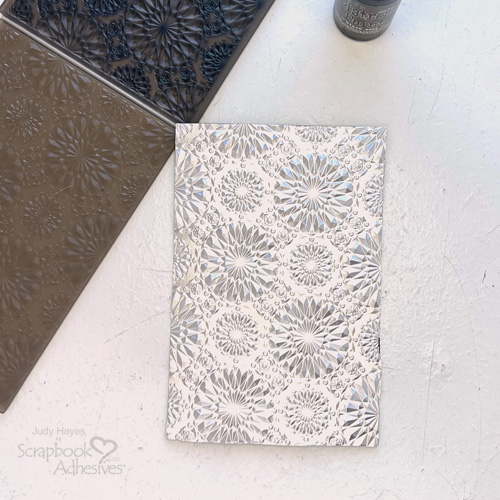
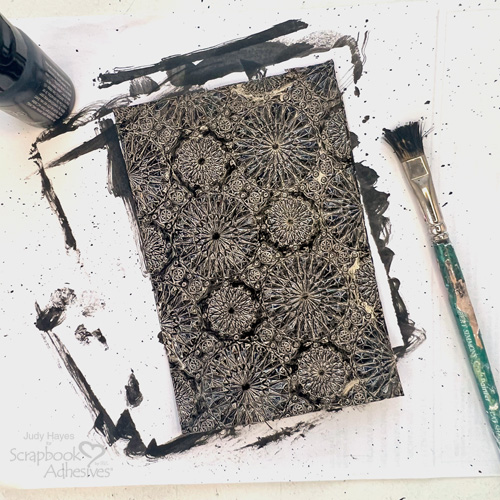
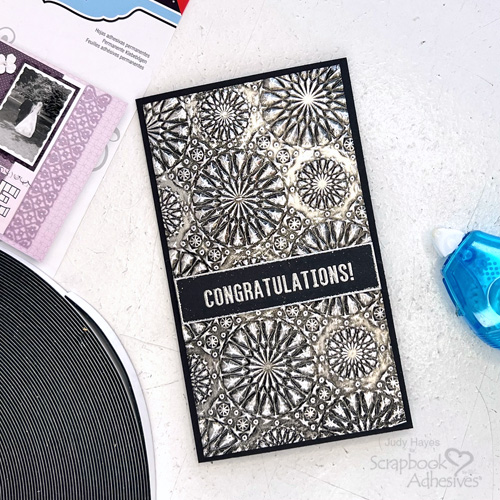
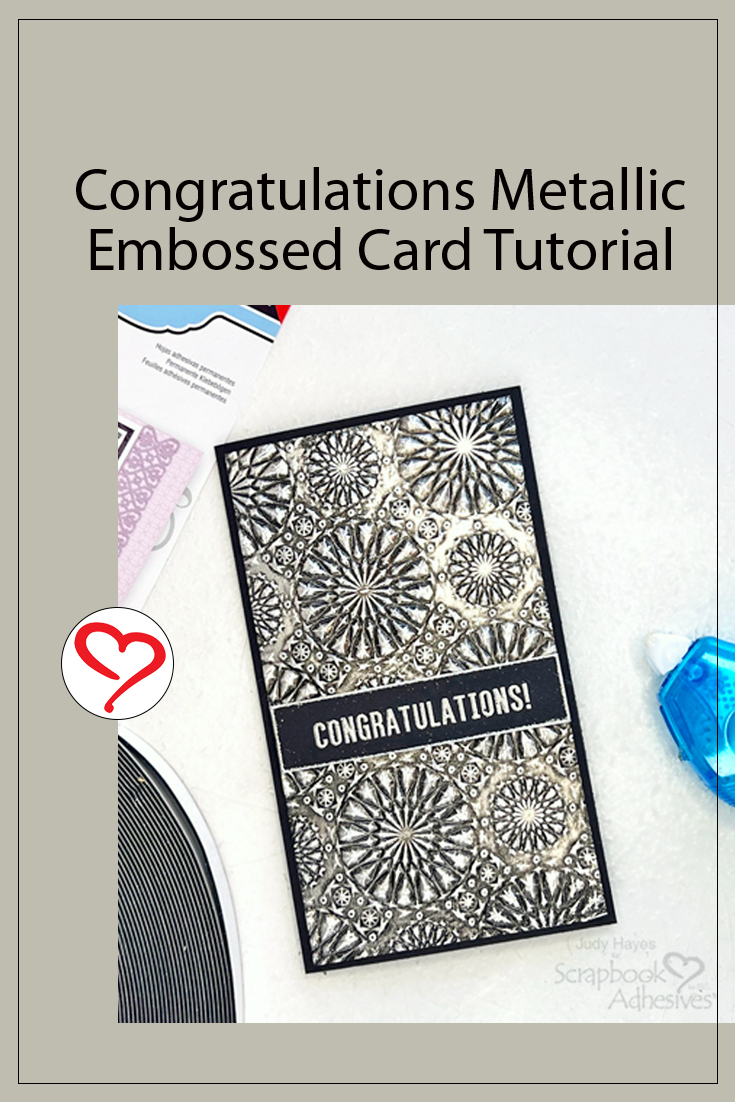
Place the foiled cardstock in an embossing folder with the foil side up on the raised pattern of the folder. Pass it through a die-cutting machine to emboss.
Apply Paint
Add a light coat of black paint with a brush and work it into the embossed pattern. Allow the paint to partially dry. Designer’s Tip: Can’t wait? Use a heat tool to speed up the process.
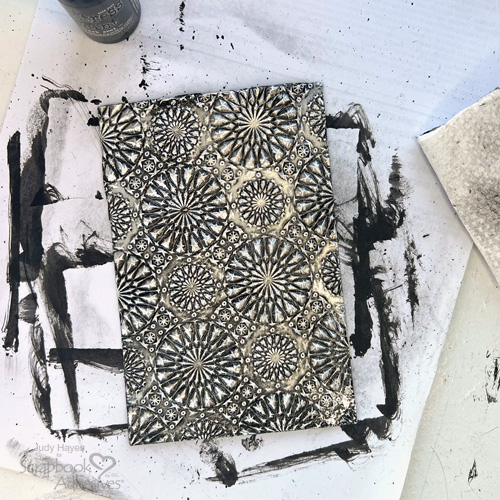
Rub gently with a folded piece of paper towel to remove paint off the embossed pattern. Allow it to completely dry or again, dry with a heat tool. Stunning!
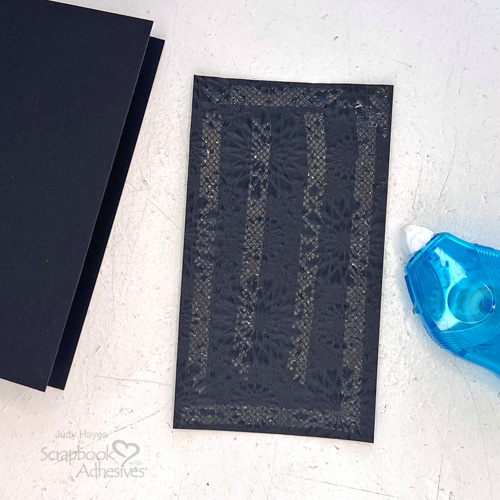
Secure to the Card
Apply adhesive to the back of the embossed panel with E-Z Runner® Petite Permanent Dots Refillable Dispenser and attach to the card front.
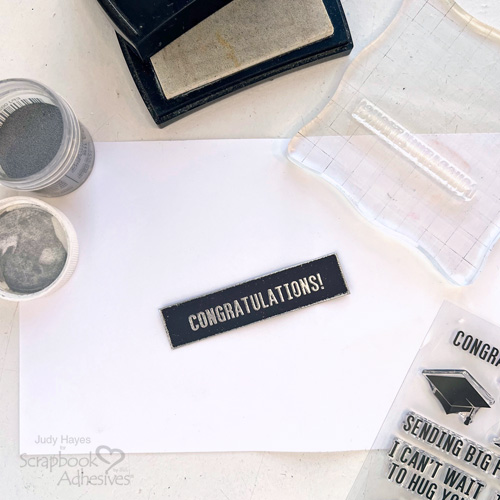
The Greeting
Stamp a greeting with the Versamark ink on the 0.75 x 3.25-inch black cardstock strip. Cover it with silver embossing powder, remove the excess, and heat with a heat tool to emboss. To frame the sentiment, press an edge of the strip onto the Versamark ink pad, cover it with silver embossing, remove excess and heat emboss. Repeat for all edges of the greeting strip.
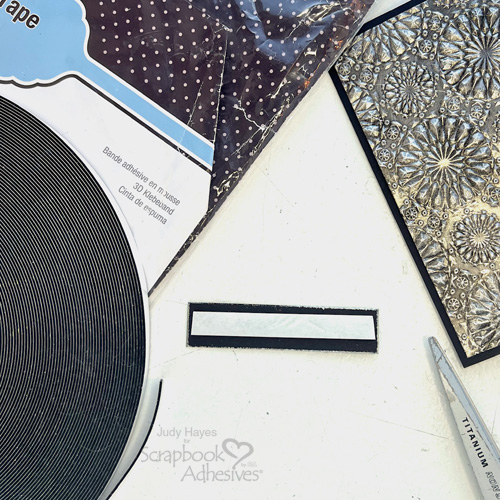
Finally, cut a piece of Crafty Foam Tape Black 108ft. and place it to the back of the greeting strip. Peel the liner and secure it on the card front.
Thanks for visiting!
Judy Hayes
Creative Time: 20 mins
Skill Level: Beginner
Materials Needed:
Scrapbook Adhesives by 3L®
E-Z Runner® Petite Permanent Dots Refillable Dispenser
Crafty Foam Tape Black 108ft.,
Other: Stamp: Ranger Ink (Simon Hurley Big Hugs); Ink: Tsukineko (Versamark); Embossing Powder: Ranger Ink (Silver); Embossing Folder: Sizzix (Tim Holtz Kaleidoscope); Paint: Ranger Ink (Distress Black Soot); Black Cardstock; Aluminum Foil
Click Preferred Retailers List
Save to Pinterest!
Visit our Website and Blog!
Sign up for our Newsletter so you never miss a contest or giveaway!


