
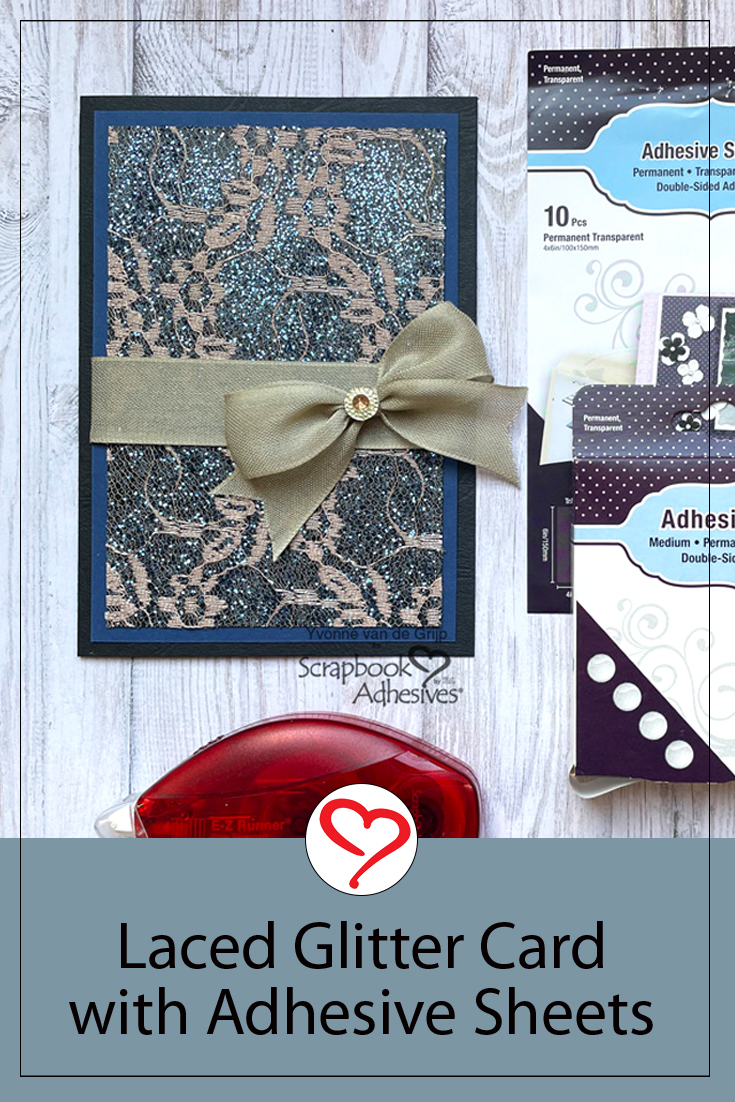
Hi everyone, Yvonne here with a tutorial on how to make a card using the Wear Your Adhesive on the Outside. This Laced Glitter Card is super easy to create so, also suitable for beginner cardmakers.
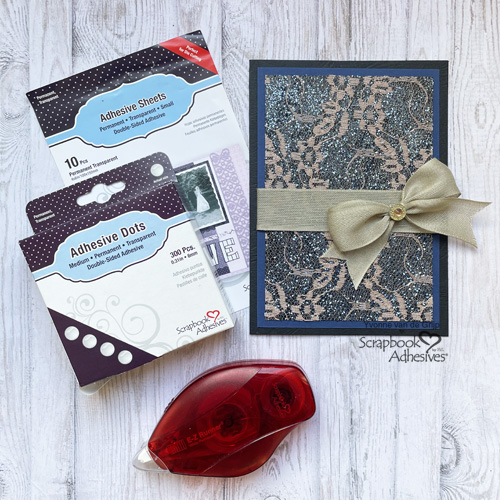
I would love to share how I made this card! Shall we get started?
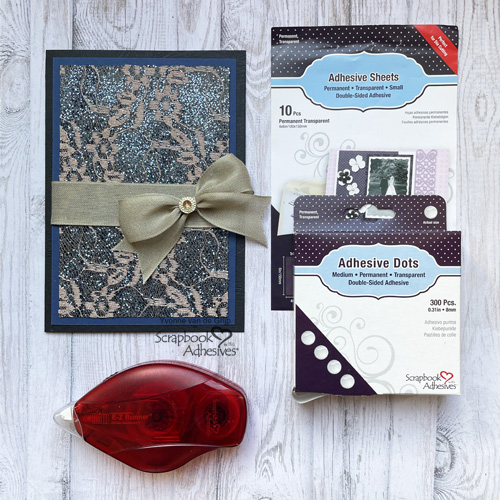
Laced Glitter Top Card Panel
Start by adhering an Adhesive Sheet 4×6 inch onto a piece of black cardstock. Remove the yellow liner and place it on the back of the black panel. Rub the white liner into the panel to transfer the adhesive before removing it. For a visual, view the video below…
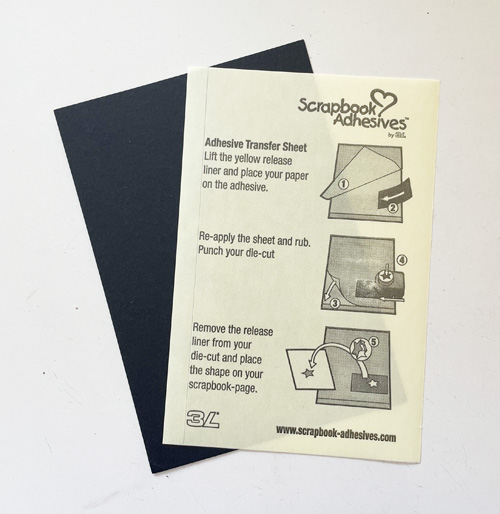
How to Use Adhesive Sheets Video
To see this in action, view How to Use Adhesive Sheets video.
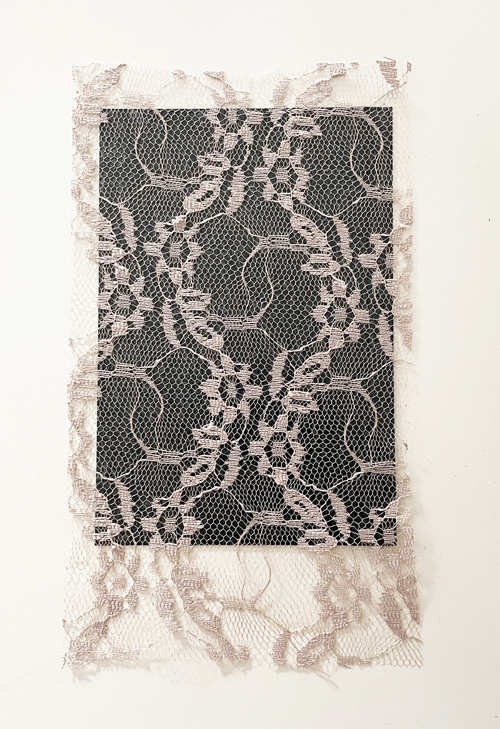
After having removed the white liner, lay a piece of lace over the sticky card panel and rub gently to secure. Now it’s time for the fun….Glitter. All. The. Things!
Glitter the Lace
Since the lace is transparent, the stickiness of the Adhesive Sheets 4×6 inch is still there. I covered the area by adding dark blue glitter. Simply cover the laced panel with glitter and rub the glitter into the panel to secure, and then tap off any excess.
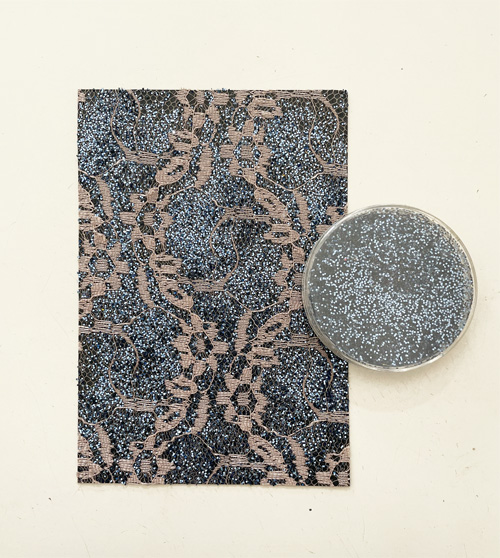
This technique, Wear Your Adhesive on the Outside, brings your adhesives out from the layers and makes them shine as embellishments like this Laced Glitter Card.
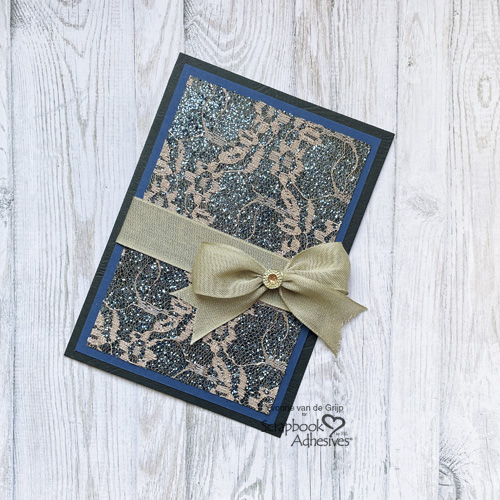
Card Base Layers
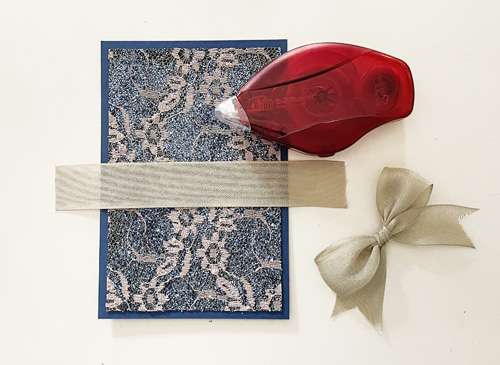
Mat the panel on a dark blue card panel using the E-Z Runner® Permanent Strips Refillable Dispenser. Next, wrap a piece of ribbon around the matted panel and adhere the ends to the back using the E-Z Runner® Permanent Strips Refillable Dispenser.
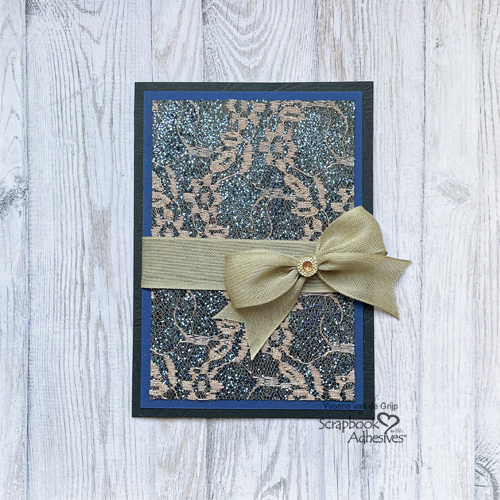
Lastly, adhere the embellished panel to a black card base using the same E-Z Runner® Permanent Strips Refillable Dispenser.
Finish with a Bow
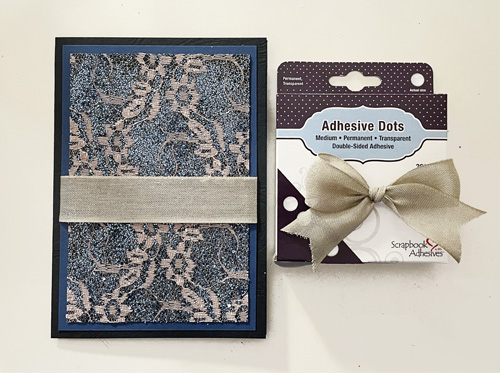
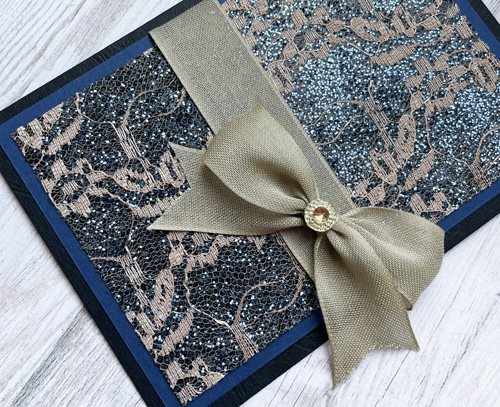
Let’s finish with a stunning bow for the card. Using the same ribbon, I tied a bow and secured it with the Adhesive Dots Medium – perfect for stain-free adhesion.
For a little sparkle, I added a self-adhesive rhinestone. Voilá, your Laced Glitter Card is ready.
I hope you enjoyed this tutorial and wish you happy crafting.
Creative Time: 30 minutes
Skill Level: Intermediate
Materials needed:
Scrapbook Adhesives by 3L®:
E-Z Runner® Permanent Strips Refillable Dispenser
Other: Rhinestone: Jolee’s Boutique (Dual Tone Prizm Spinel); Lace; Beige Ribbon; Dark Blue Glitter; Black and Dark Blue Cardstock; Paper Trimmer; Scissors
Save to Pinterest!
Visit our Website and Blog!
Sign up for our Newsletter so you never miss a contest or giveaway!


