
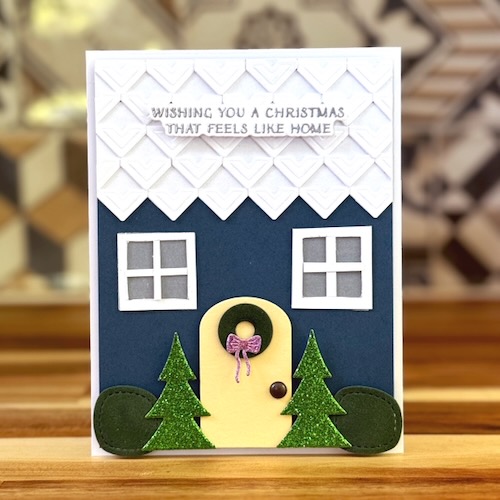
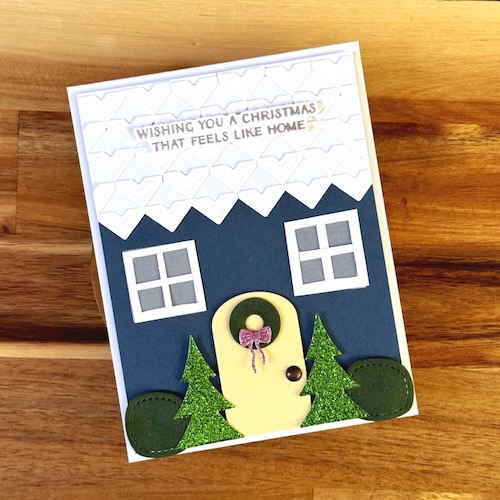
Hi, Jingle here! I can’t wait to share this fun idea with you. Today, I have a tutorial showing you how to create this Holiday House Card with a fun and textured Photo Corner Rooftop!
Prep the Holiday House Card Panel
Trim a navy cardstock panel to 4 x 5 1/4 in. Then use a T-Square ruler to set a straight line across the card panel. Lightly draw that line with a pencil. Don’t worry, this will be covered up in our next step!

Create the Photo Corner Rooftop
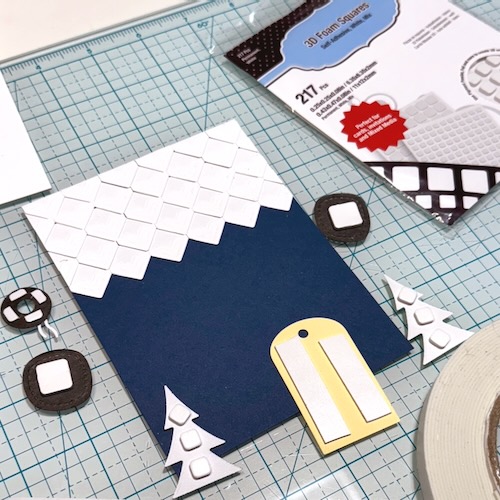
Adhere the self-adhesive Creative Photo Corners White across the line. Once the first line is set, alternate the placement and do a line above. Continue this until the top third of the card is fully covered win Creative Photo Corners. This is the roof of our house!

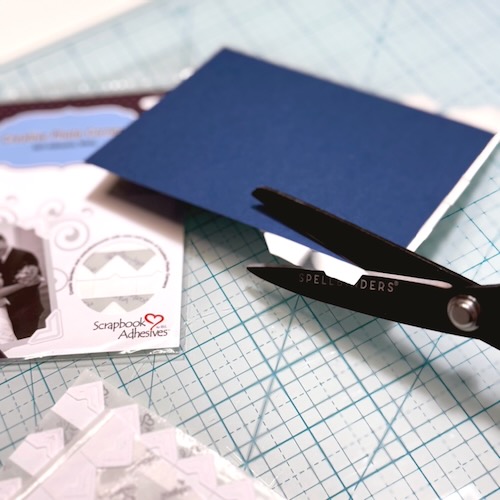
Complete the roof by carefully trimming the excess photo corner pieces off the edges of the card with a pair of shears.
Adding Elements for the Holiday House Front
Now we will work on the rest of the house design. Die cut several different pieces for the door and bushes. I used a rounded top tag die for my door, and a couple of different tree style dies. Choose interesting papers to really make these pop. I used a velvet paper and a glitter paper for my trees.
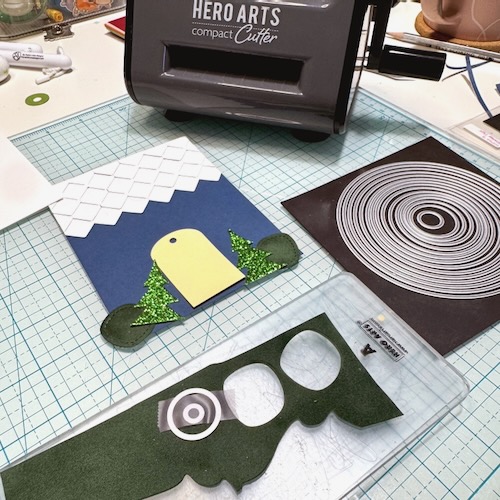
To make the wreath, nest a smaller circle die inside a larger circle die to foam a ring/wreath. Secure with washi tape and die cut. Next, die cut a bow to finish it off!
Assemble the house
Scrapbook Adhesives by 3L provide the perfect options for adding depth and dimension to your designs. Using 3D Foam Squares White Regular, 3D Foam Squares White Small, and Crafty Foam Tape White 108ft adhere the various elements to the front of the house as well as giving varying heights for interest.
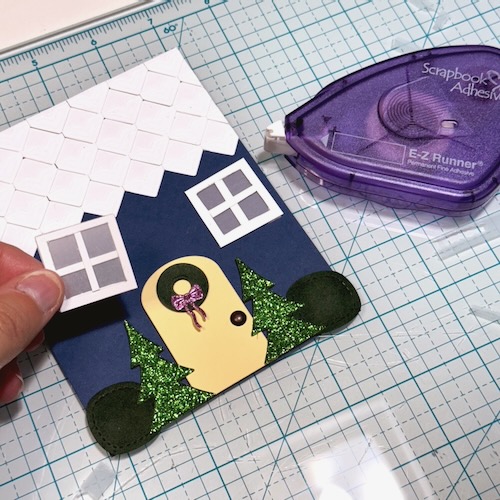
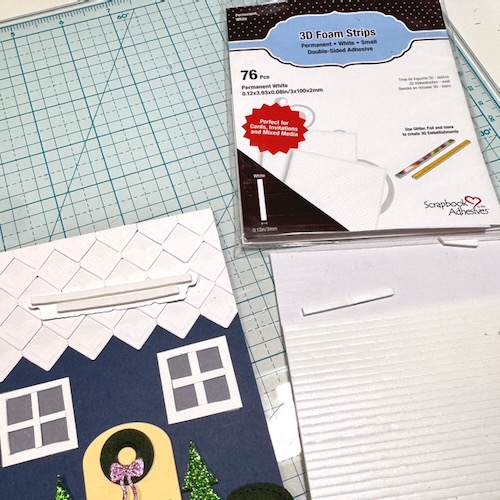
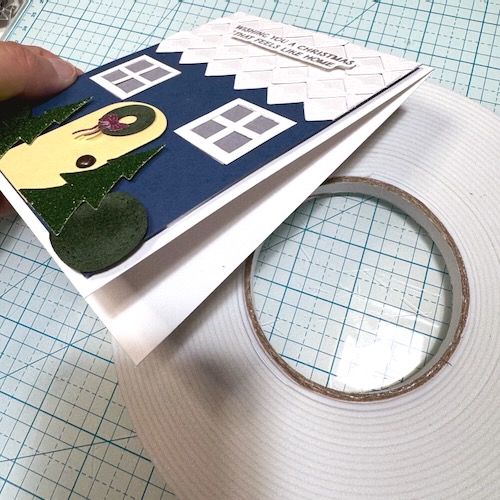
Create your windows with vellum and cardstock strips. Adhere them to the house with the E-Z Runner® Permanent Fine Adhesive Dispenser (aka Vellum Runner). Then stamp and emboss the sentiment. Die cut the sentiment shape and adhere using 3D Foam Strips.
Assemble the Holiday House Card
Adhere the panel to the card base with the Crafty Foam Tape White 54ft. to add that last bit of dimension. Finally, add a metal or enamel dot to the door as a knob.
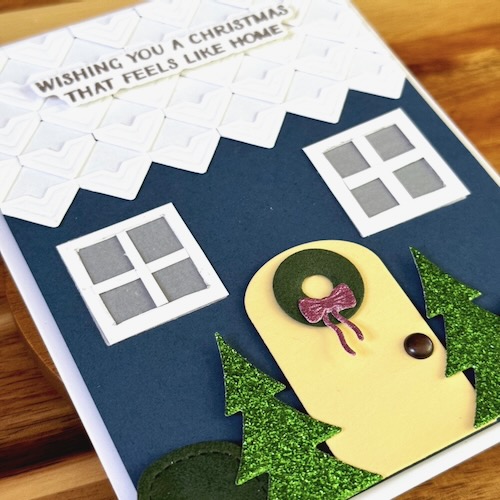
And there you have your beautiful house card! This is great for the holidays or for a house warming. You can change things up to represent different seasons, as well!
Thank you so much for stopping by! I can’t wait to see what you create!
Jennifer Ingle (aka Jingle)
Creative Time: 30 mins
Skill Level: Intermediate
Materials Needed:
Scrapbook Adhesives by 3L®
E-Z Runner® Permanent Fine Adhesive Dispenser (aka Vellum Runner), 3D Foam Squares White Regular, 3D Foam Squares White Small, 3D Foam Strips, 3D Foam Strips Black, Crafty Foam Tape White 54ft., Crafty Foam Tape White 108ft., Creative Photo Corners White
Other: Specialty Papers: Your Paper Insider; Ink: (Tsukineko) VersaMark; Embossing Powder: (Sterling) Brutus Monroe; Craft Dies: Waffle Flower Crafts (Nested Circles), Lawn Fawn (Stitched Tree Border), Pink and Main (Little Trees), WPlus9 (Tag); White, Navy, and Yellow Cardstock
Click Preferred Retailers List
Save to Pinterest!

Visit our Website and Blog!
Sign up for our Newsletter so you never miss a contest or giveaway!


