
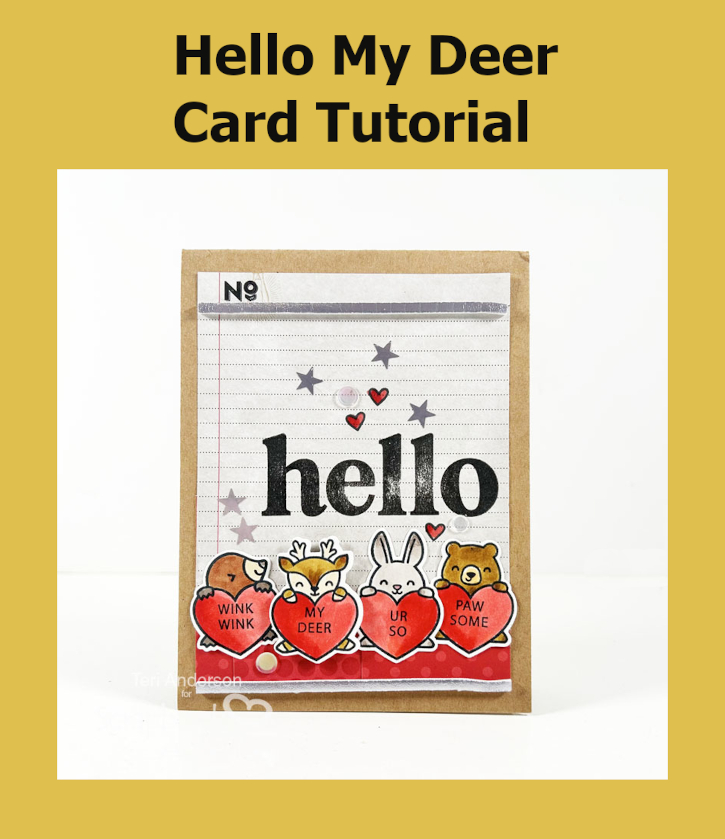
Hi, friends! When was the last time you let a long-distance friend know you were thinking of them? Teri here to show you how to make a handmade Hello My Deer Card that’s perfect to send a friend. I’ll also show you how to add some fun touches using the Wear Your Adhesive on the Outside technique featuring Metallic Transfer Foil in Nature Colors.

Create and Embellish the Hello Deer Card Base
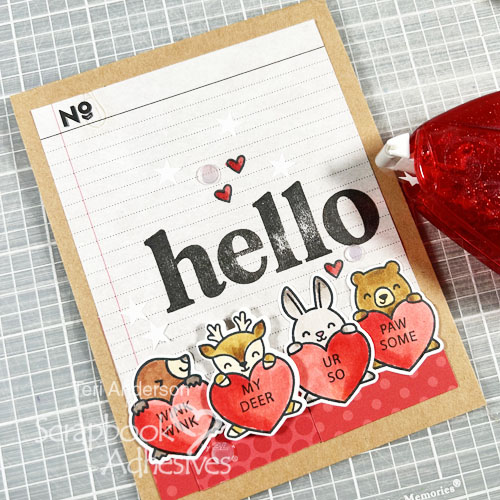
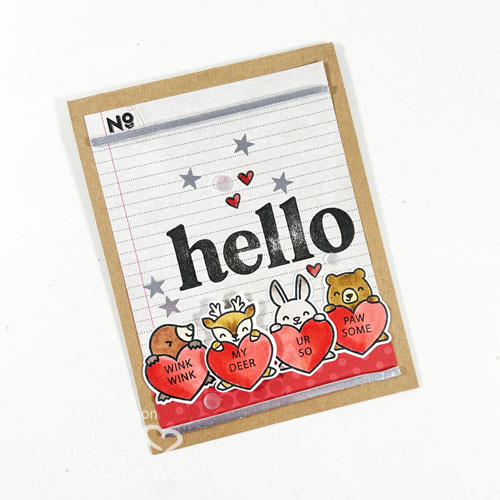
Start by creating a card from cardstock. Add a few panels of patterned paper to it. Stamp a sentiment onto the card.
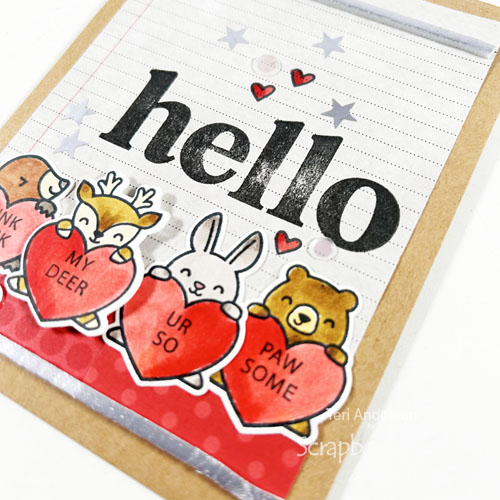
Next, stamp and die-cut some critters and adhere them on the card. Use 3D Foam Strips to pop out one of the critters to stand out.
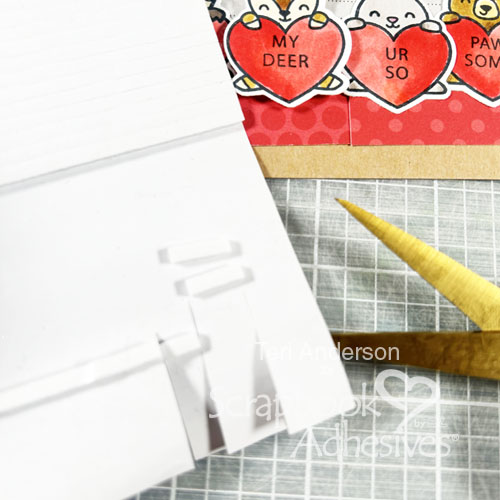
These foam strips are a great way to get more bang for your crafty buck because you use them long or short by cutting them up to make smaller pieces. Designer’s Tip: I like to keep my strip on a backing paper and cut through the strip and the paper.
Stamp a few small images on your card. Use Adhesive Dots to affix a few sequins or gems on it. Position the dots on your card first and then add the embellishments.
Wear Your Adhesive on the Outside with Metallic Transfer Foil
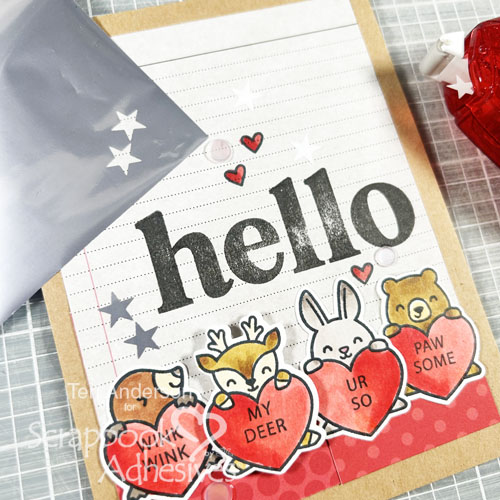
Randomly add a few stars from the E-Z Runner® Stars to your card. Designer’s Tip: I like to adhere one on scratch paper first before my project, just to make I know how to hold the dispenser so my stars are not all going different directions.
Set a piece of Platinum foil from the Metallic Transfer Foil in Nature Colors on top of each star (color side facing you). Gently burnish the foil to transfer the color the stars and peel to reveal the shine! Repeat the foiling steps to the other stars.
Use Metallic Transfer Foil with 3D Foam Strips
Complete your card by adding a 3D Foam Strip to the top and bottom of your card. Trim any excess. The strips will give it a nice framed look. Apply Metallic Transfer Foil to each strip using the same foiling steps.
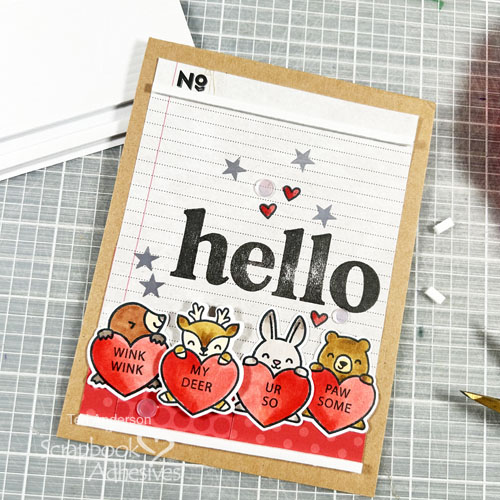
I hope you enjoyed today’s Hello My Deer Card tutorial and recreate a friendship card with some of the tips shared!
Happy Creating!
Creative Time: 60 minutes
Skill Level: Intermediate
Materials needed:
Scrapbook Adhesives by 3L®:
E-Z Runner® Permanent Strips Refillable Dispenser
Metallic Transfer Foil Sheets Nature Colors
E-Z Runner® Stars Refillable Dispenser
E-Z Runner® Petite Permanent Dots Refillable Dispenser
Other: Cardstock: Neenah (White, Kraft); Patterned Paper: Sunny Studio (Red), Michaels (Ledger); Stamps: Hero Arts (Hello Friend Stamp Set), Lawn Fawn (Critter Conversation Hearts Stamp Set and Dies); Markers: Copic; Ink: Ranger Ink (Black); Sequins: This Calls For Confetti
Save to Pinterest!
Visit our Website and Blog!
Sign up for our Newsletter so you never miss a contest or giveaway!


