
Hello crafty friends! Tracy here, and today I have the sweetest little Fur You Thank You Doggie Card to share. Here are all of the details on how I created it.
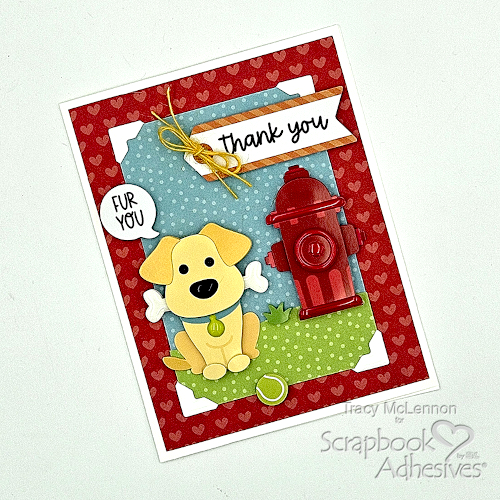
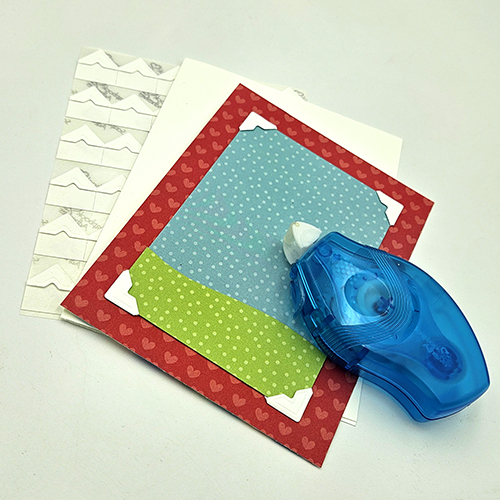
Layers for the Fur You Thank You Doggie Card
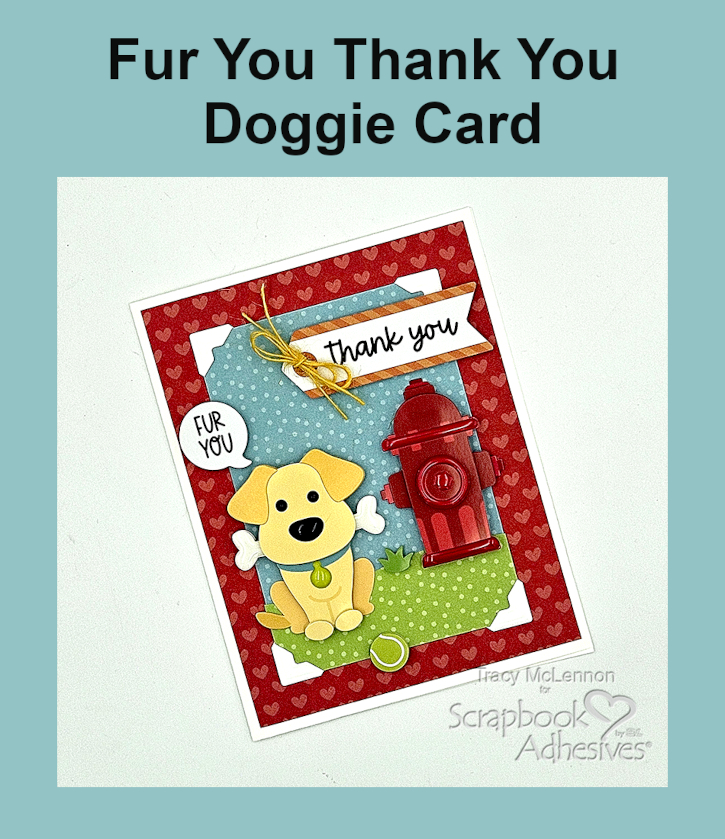
Cut the layers for the card face and card base. Start with a white cardstock card base and add a red heart patterned paper card panel. Then place a smaller piece of the blue patterned paper. Next, cut a small section of green pattern to emulate grass. To adhere the smaller pieces, I used the E-Z Runner® Petite Permanent Dots Refillable Dispenser. But for the red patterned paper, I used the Creative Photo Corners White on all four corners.
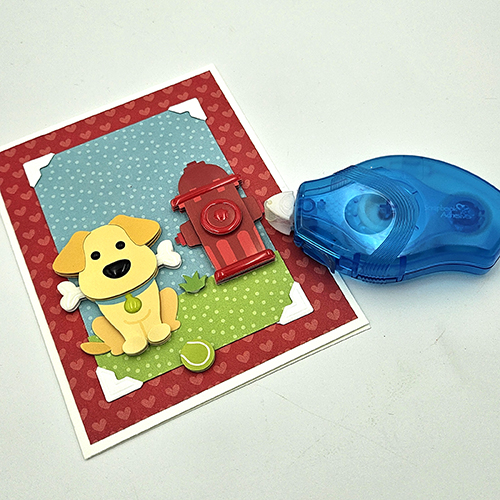
Add the Elements
Adhere the card front to the card base of the Fur You Thank You Doggie Card using the E-Z Runner® Petite Permanent Dots Refillable Dispenser. Next I add the sweet Doodle Pops into the scene I created.
Create the Sentiment and Final Touches
I wanted to continue with the dimension of this card front by adding the die cut sentiment pieces using 3D Foam Circles Black Mix.
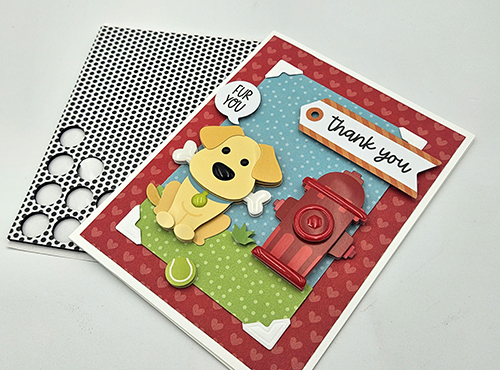

The final touch is to add the yellow burlap string to the sentiment tag. A quick and easy card is perfectly complete.
Thanks so much for stopping by!
Tracy
Creative Time: 30 mins
Skill Level: Beginner
Materials Needed:
Scrapbook Adhesives by 3L®
E-Z Runner® Petite Permanent Dots Refillable Dispenser
3D Foam Circles Black Mix
Creative Photo Corners White
Other: Doodlebug Designs Collection; Yellow Burlap String; White Cardstock
Save to Pinterest!
Visit our Website and Blog!
Sign up for our Newsletter so you never miss a contest or giveaway!


