
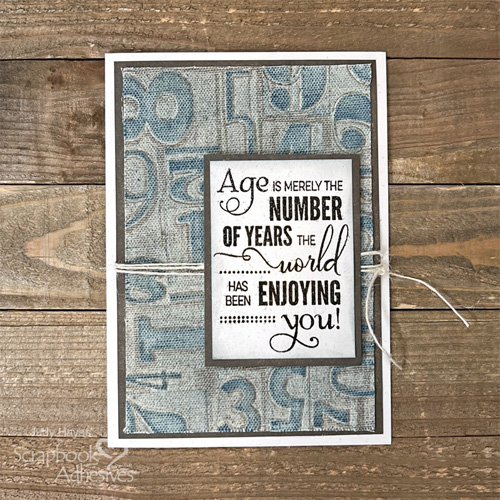
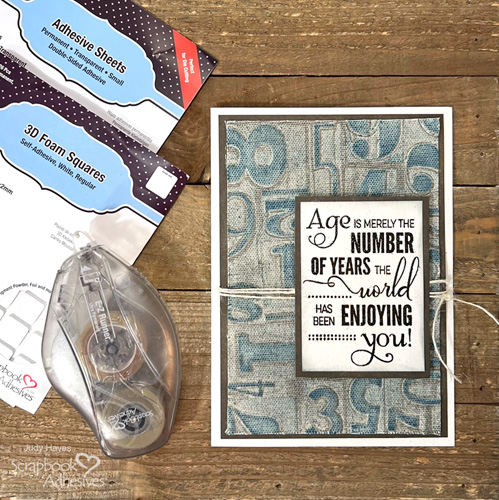
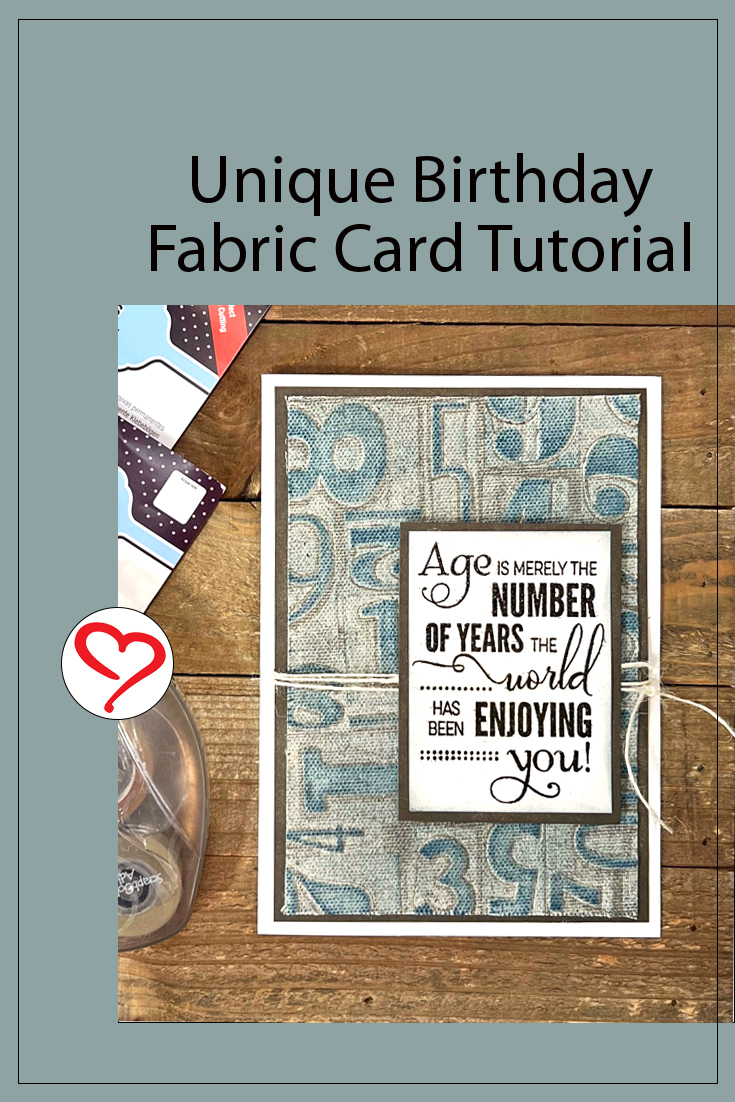
Hi, Judy here today! I created a Unique Birthday Fabric Card to share with you. Its background consists of fabric adhered to cardstock, embossed, and inked. Wish I could capture the feel of it in a photograph. Something different to try in your next card creation.
Fabric Birthday Card Parts
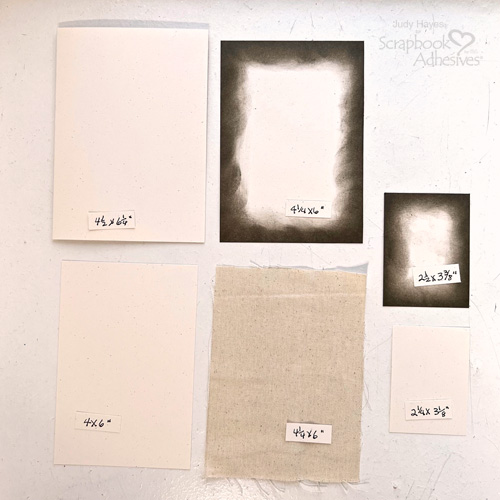
- Card: From a piece of 9 x 6.25 in. Birch cardstock, score + fold it to form a 4.5 x 6.25-in. card base.
- Mat: Cut a piece of 4.25 x 6 in. Birch cardstock.
- Sentiment: Cut 2 different rectangle sizes from Birch cardstock at 2.25 x 3.125 in. and 2.5 x 3.375 in.
- Embossed Background: Cut 4 x 6 in. Birch cardstock and cut 4.25 x 6 in. fabric.
Ink the Mats
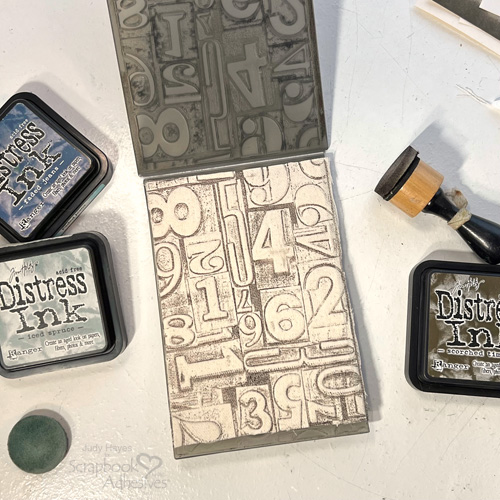
Use a foam applicator to apply Distress Scorched Timber around the edges of the 4.25 x 6 inches mat and the larger sentiment mat (2.5 x 3.375 inches). The above photo shows the pieces with inked edges.
Fabric Birthday Background
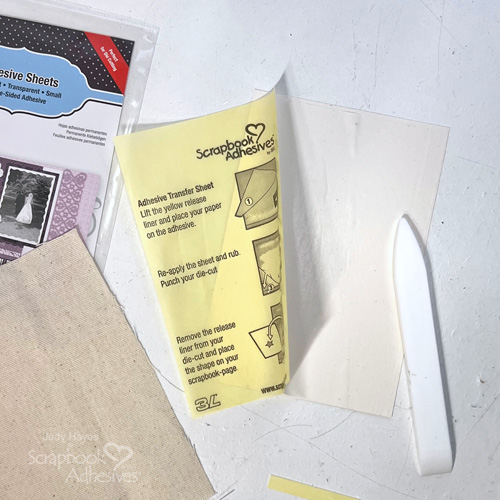
Peel the liner strip from the edge of Adhesive Sheets 4 x 6in., align it with the edges of 4 x 6 inches cardstock, press the edge in place, and then continue to peel the liner and press the Adhesive Sheet to cardstock. Rub well with a bone folder.
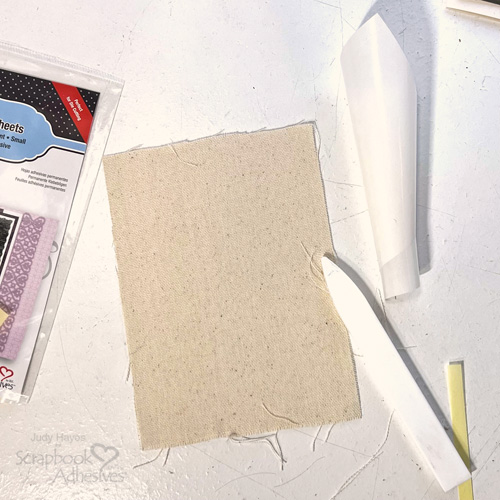
Peel the liner and press the adhesive side onto the fabric. Press and smooth fabric in place. If fabric extends far beyond the cardstock, trim fabric near the edge of the cardstock but not necessary to trim exactly to the cardstock.
Emboss Fabric
Rub Distress Ink Scorched Timber direct to the smooth side of the embossing folder. Carefully align fabric-covered cardstock on the opposite side of the embossing folder with the fabric side up and close the folder. Pass the embossing folder through the die-cutting machine to emboss. The photo shows the fabric in the folder after being embossed.
Apply Ink to Fabric
Keep the embossed fabric piece in place in the embossing folder for support when applying ink. Use a foam applicator to apply Distress Ink Iced Spruce over the fabric. Continue until the ink is evenly spread over the fabric.
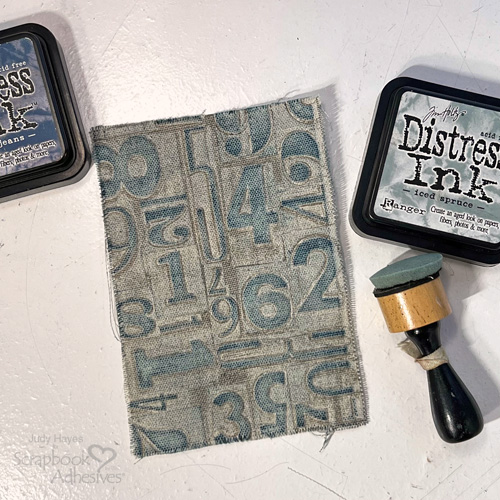
Then gently rub the Distress Ink Iced Spruce ink pad directly to the fabric to apply more ink to raised numbers. Repeat with Distress Ink Faded Jeans to add more color to the numbers. Spray with a very fine mist of water.
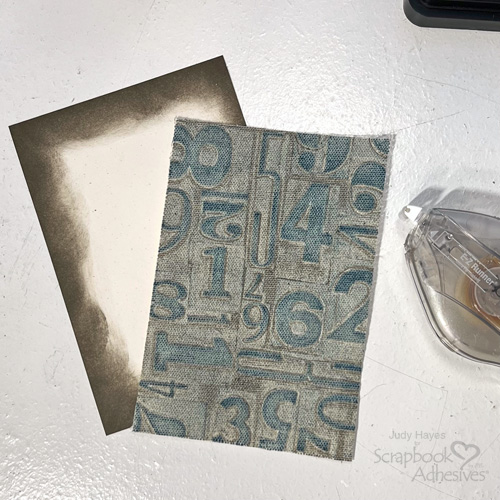
The Card Front
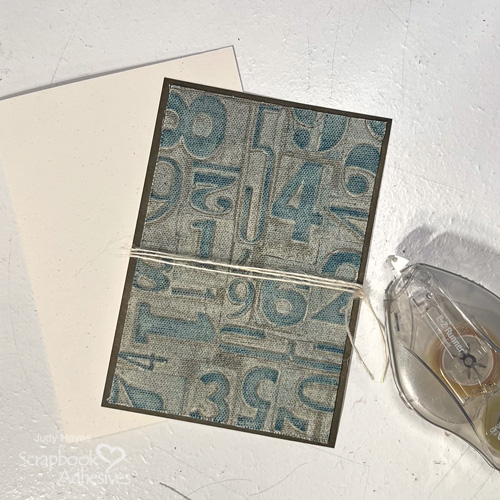
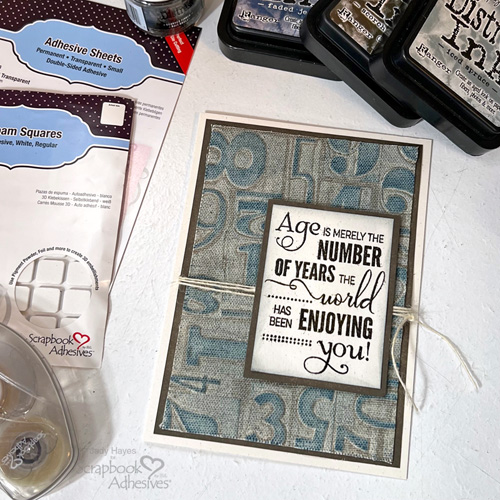
Trim all edges of the embossed fabric piece so it measures 3.875 x 5.75 inches. Apply adhesive to the back of the embossed fabric piece with E-Z Runner® Ultra Strong Refillable Dispenser and fasten to the mat with inked edges. Wrap cream color twine around the matted piece 3 times and tie a knot at the right edge. Use the E-Z Runner® Ultra Strong Refillable Dispenser to apply adhesive to the back and fasten it to the card front.
The Sentiment
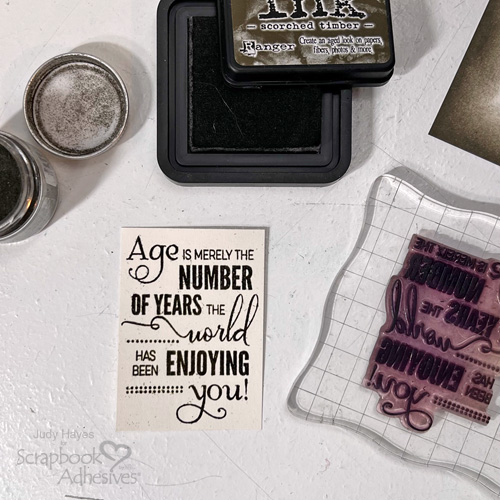
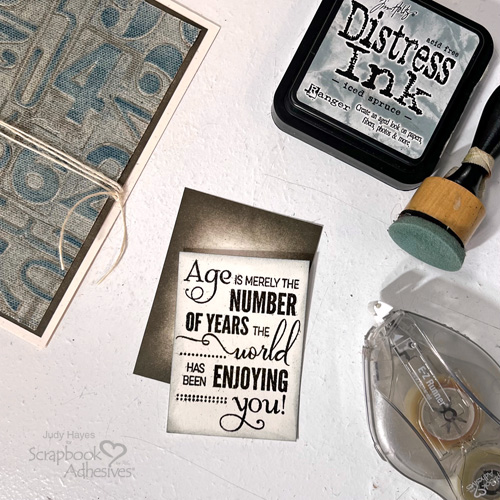
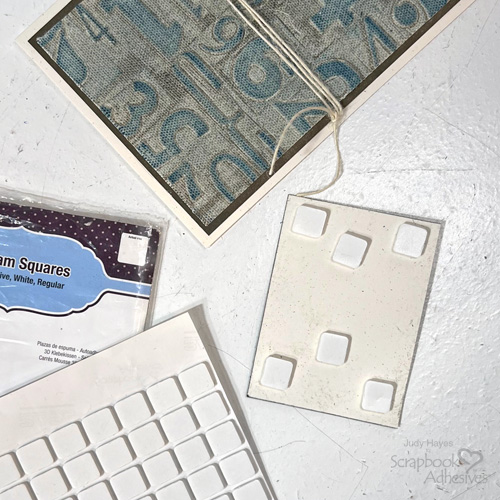
Stamp the sentiment on the 2.25 x 3.125 in. birch cardstock with Distress Ink Scorched Timber and quickly cover with Distress Glaze Scorched Timber. Remove excess glaze and then heat with a heat gun. Then lightly edge with Distress Ink Iced Spruce. Adhere it with the inked 2.5 x 3.375 in. mat using the E-Z Runner® Ultra Strong Refillable Dispenser. Place 3D Foam Squares White Regular on the matted sentiment and place it on the card front.
I hope you enjoyed my Unique Birthday Fabric Card tutorial. Give it a try on your next card creation!
Thanks for visiting!
Judy Hayes
Creative Time: 40 mins
Skill Level: Intermediate
Materials Needed:
Scrapbook Adhesives by 3L®
E-Z Runner® Ultra Strong Refillable Dispenser
Other: Stamp: Penny Black (Birthday Love); Ink: Ranger Ink (Distress Ink Scorched Timber, Iced Spruce, Faded Jeans); Embossing Powder: Ranger Distress Glaze (Scorched Timber); Embossing Folder: Sizzix (Tim Holtz Numbered); Birch Cardstock; Fabric (Natural Color Light Weight Canvas); Cream Color Twine
Click Preferred Retailers List
Save to Pinterest!
Visit our Website and Blog!
Sign up for our Newsletter so you never miss a contest or giveaway!


