
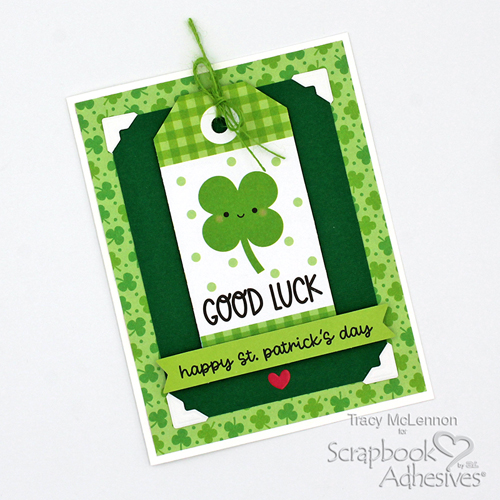
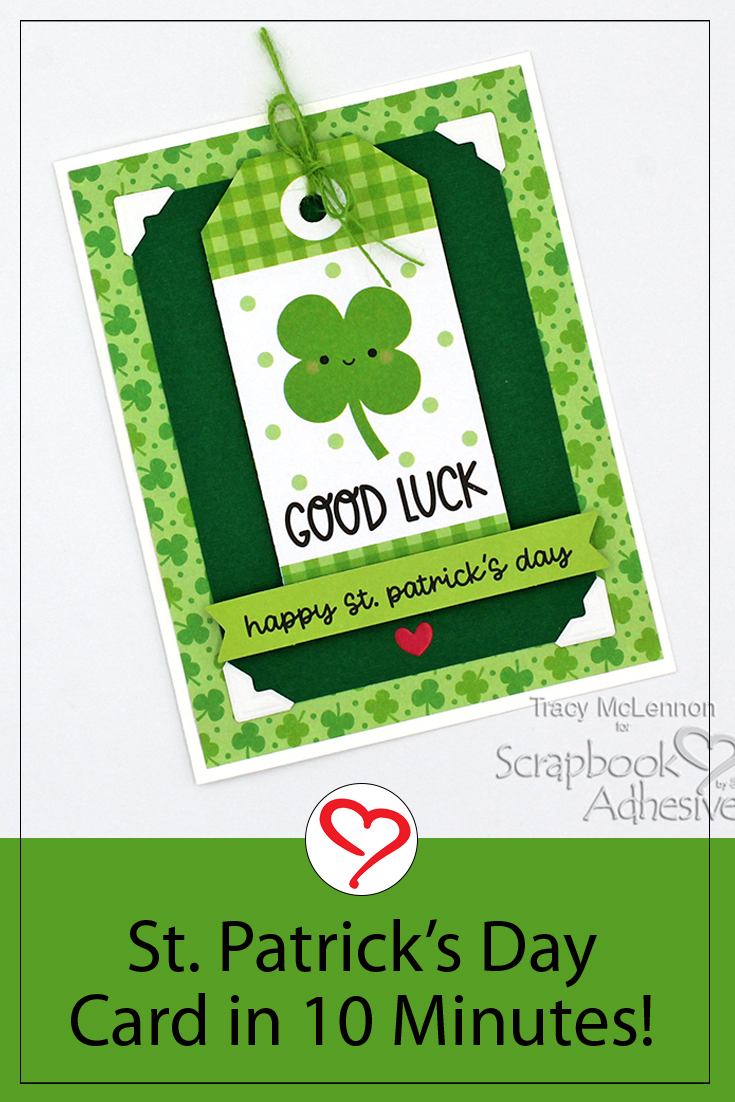
Hello crafty friends! Tracy here. Today, I have a quick and easy St. Patty’s Day 10 Minute Card to share. Here are all of the details.
St. Patty’s 10 Minute Card Base and Layers
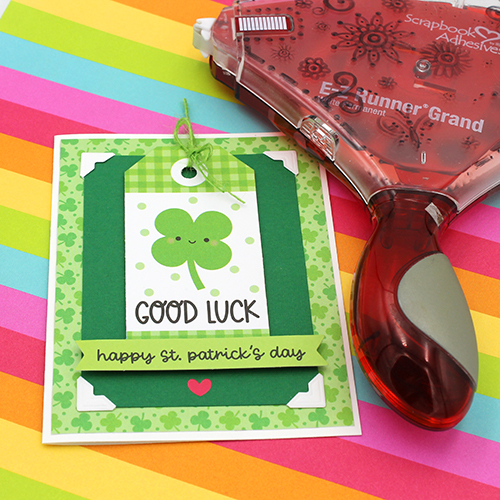
Cut the card base from white cardstock. Cut the card front from green patterned paper. The top layer of this St. Patty’s 10 Minute Card is cut from green cardstock. Adhere the bottom layers together using the E-Z Runner® Grand Refillable Dispenser.
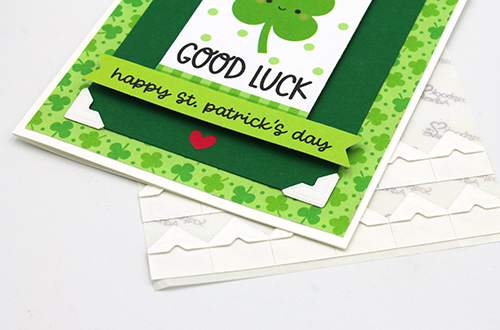
I chose to add the green cardstock layer to the card front using Creative Photo Corners White. Using Creative Photo Corners on a card front frames layers nicely, and adds dimension and texture.
Add the Tag Element and Finishing Touches
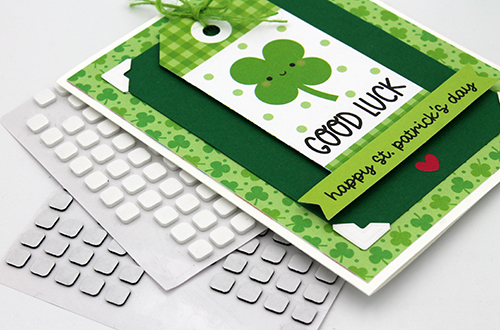
Place the coordinating tag to the St. Patty’s 10 Minute Card using Thin 3D Foam Squares Black Mix. Then pop up the sentiment towards the bottom of the card front with 3D Foam Squares White Small Size. Create differing heights from the 3D Foam Squares adds so much interest to a simple card.
The final touches are to add the heart sticker and the burlap string to the top of the tag.
Thanks so much for stopping by!
Tracy
Creative Time: 10 mins
Skill Level: Beginner
Materials Needed:
Scrapbook Adhesives by 3L®
E-Z Runner® Grand Refillable Dispenser
Thin 3D Foam Squares Black Mix
3D Foam Squares White Small Size
Creative Photo Corners White
Other: Patterned Paper and Elements: Doodlebug Designs (Over the Rainbow Collection); Green Burlap String; White and Green Cardstock
Save to Pinterest!
Visit our Website and Blog!
Sign up for our Newsletter so you never miss a contest or giveaway!


By GovAssist Service March 21, 2025 - 11:59 am
Honestly, it’s perfect for people like me who love the idea of handmade stuff but usually get overwhelmed by anything that requires more than two steps and a glue stick 😅.
What I loved most is how simple but thoughtful the design is. The layered shamrocks, the pop of green (obviously), and just enough sparkle to make it festive without going overboard—it strikes a great balance between easy and elegant. Plus, the instructions are super clear and beginner-friendly, which is always a win in the world of DIY.
Also, the idea that you can whip this up in just 10 minutes? That’s amazing. It makes it easy to add a personal touch to your holiday greetings without turning it into a weekend-long project. Perfect for surprising a friend, coworker, or even just decorating your desk for a little festive flair.
Whether you’re a seasoned scrapbooker or a casual crafter looking for a quick win, this little card tutorial is a total gem.