
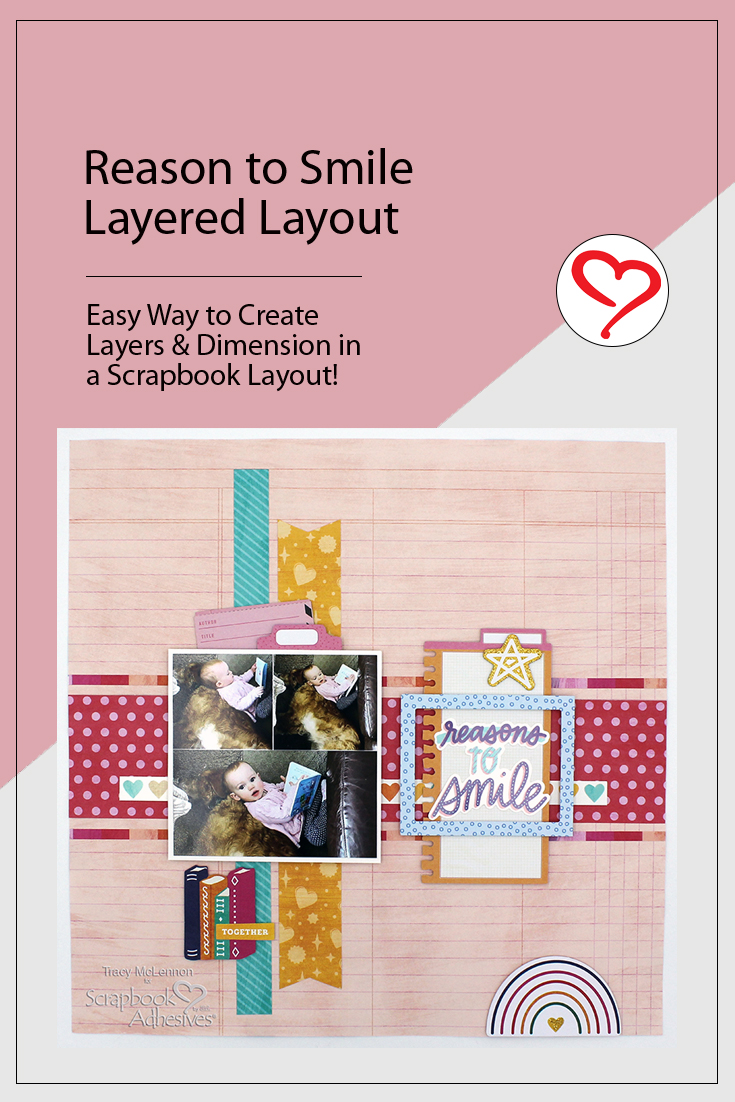
Hello crafty friends! Tracy here, and today I have a fun Reasons to Smile Layered Layout to share. Here are all of the nitty gritty details.
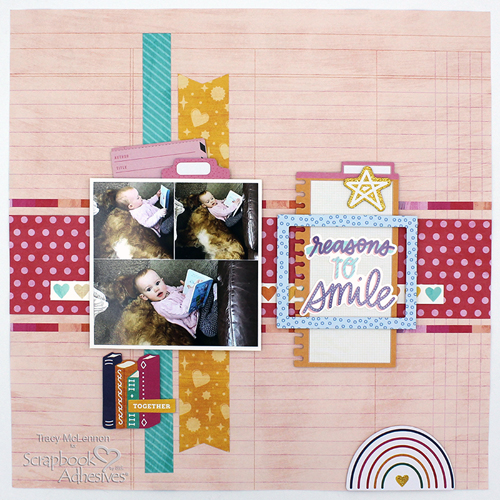
Reasons to Smile Layered Layout Foundation
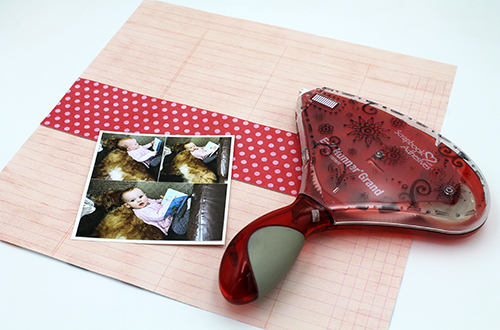
First, pick out a patterned paper background and a nice bold polka dot piece to go across the layout. Attach this piece to the layout using the E-Z Runner® Grand Refillable Dispenser.
Layout Design
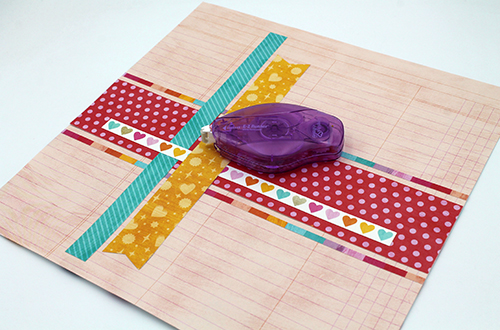
Cut two narrow strips of striped patterned paper and adhere here them above and below the polka dot piece using the E-Z Runner® Micro Refillable Dispenser. Cut three more strips of patterned paper and attach those also with the E-Z Runner® Micro Refillable Dispenser.
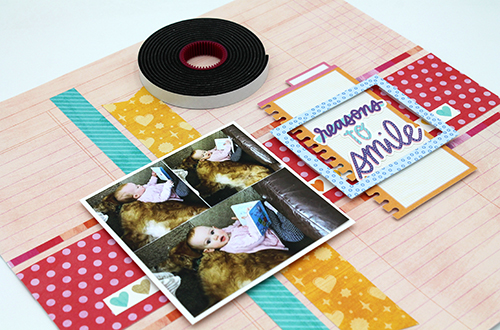
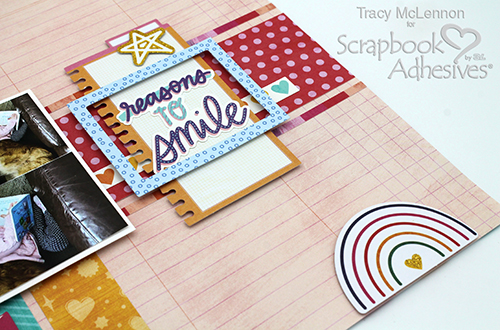
Reasons to Smile Title Cluster
Create a focal cluster piece for the title. Pick the sticker to use and stick it to the die-cut piece. Then using 3D Foam Strips White, I added the frame around the title sentiment. Now you have the perfect layered title for this Reasons to Smile Layered Layout!
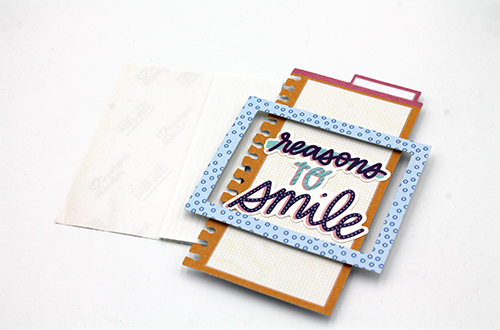
Photo Collage Placement and Design
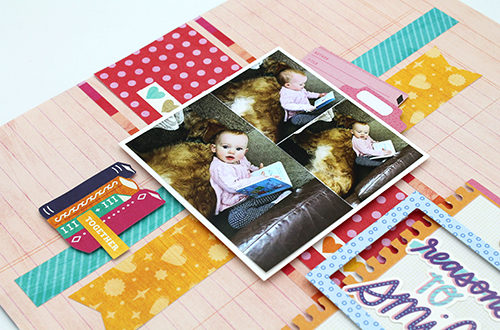
Mat the 4×4 photo collage in white cardstock. Then adhere to the left hand side of the layout using Crafty Foam Tape Black. Next, add the title piece to the right hand side of the layout using Crafty Foam Tape Black again.
This is when I began to choose other die cut pieces and stickers to add around the matted photo. Add these using a combo of 3D Foam Squares White Mix and Thin 3D Foam Squares Black Mix, for a little extra dimension.
Thanks so much for stopping by!
Tracy
Creative Time: 45 mins
Skill Level: Beginner
Materials Needed:
Scrapbook Adhesives by 3L®
E-Z Runner® Grand Refillable Dispenser
3D Foam Strips White
Crafty Foam Tape Black
Thin 3D Foam Squares Black Mix
3D Foam Squares White Mix
E-Z Runner® Micro Refillable Dispenser
Other: Shimelle Collection; White Cardstock
Save to Pinterest!
Visit our Website and Blog!
Sign up for our Newsletter so you never miss a contest or giveaway!


