
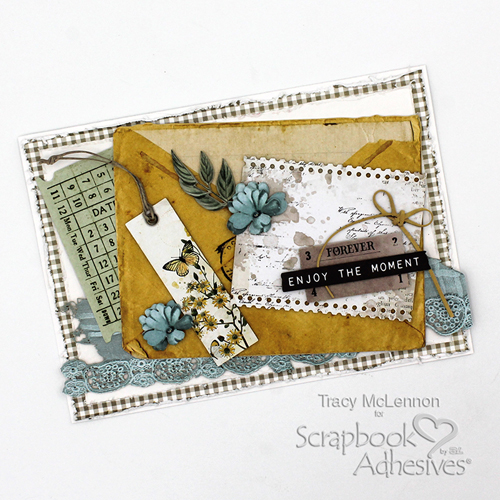
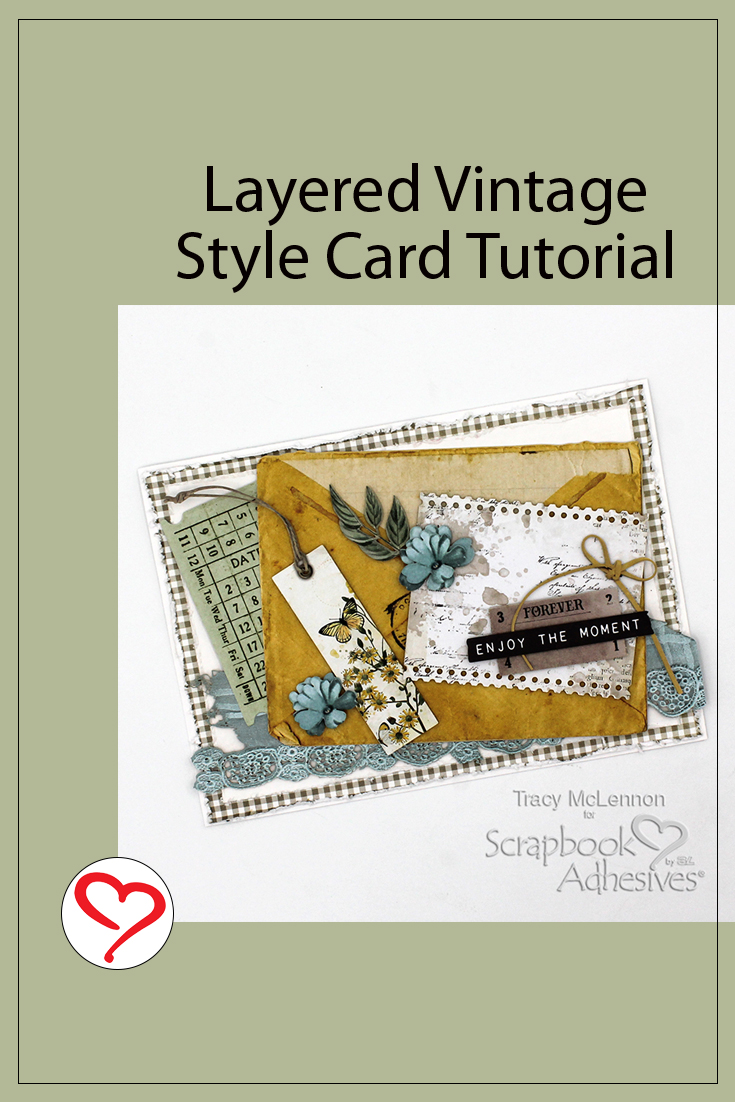
Hello crafty friends! Tracy here, and today I have a beautiful little Layered Vintage Style Card to share. Here are all of the details.
Let’s Get Started!
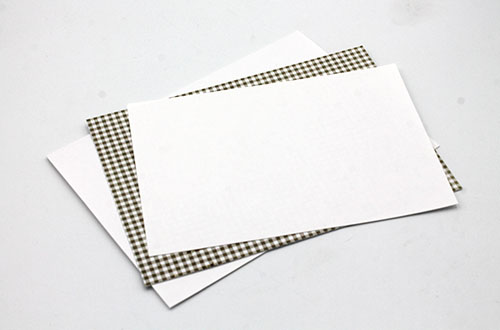
The first step in creating this Layered Vintage Style Card is to cut the white cardstock card base. The gingham patterned paper card layer and the white cardstock card front. Using the paper distress tool, distress the edges of the top 2 layers.
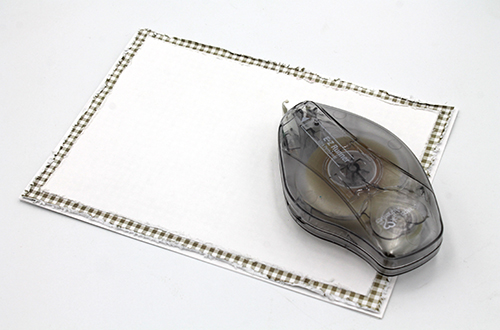
Adhere these layers together using a nice strong adhesive, my go-to is the E-Z Runner® Ultra Strong Refillable Dispenser.
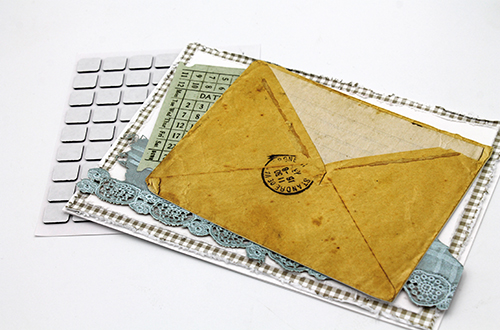
The next step is to choose and adhere the large layer die cut pieces. I adhered all of these pieces to the card front using Thin 3D Foam Squares Black Mix. Just that little bit of thickness adds so much dimension between layers of this Layered Vintage Style Card.
Designer’s Note: You can also use our Crafty Foam Tape 108ft. in Black as it has the same height (1mm) but on a large roll that can be long or short, depending on the project!
Adding on the FUN Layers
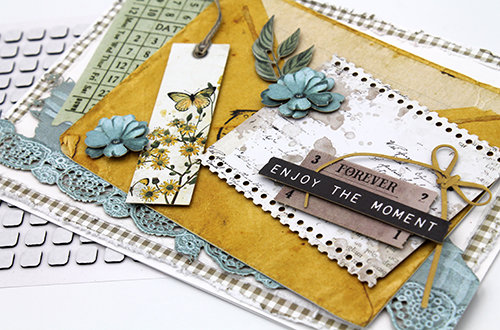
Choose the next smaller ephemera pieces for the card, and once again adhere them to the card front using Thin 3D Foam Squares Black Mix.
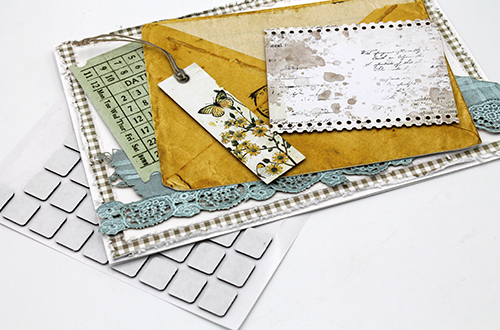
As I created this Layered Vintage Style Card, I chose smaller and smaller ephemera pieces to add. Now it’s time for the smallest pieces and the final touches. I used, once again….Thin 3D Foam Squares Black Mix, but this time the 1/4″ size from the pack. Even then, sometimes I snipped them into smaller pieces to layer the flowers and add the ephemera bow.
Thanks so much for stopping by!
Tracy
Creative Time: 45 minutes
Skill Level: Intermediate
Materials needed:
Scrapbook Adhesives by 3L®:
Thin 3D Foam Squares Black Mix
E-Z Runner® Ultra Strong Refillable Dispenser
Other: 49 & Market Collection; White Cardstock; Paper Distressing Tool
Save to Pinterest!
Visit our Website and Blog!
Sign up for our Newsletter so you never miss a contest or giveaway!


