
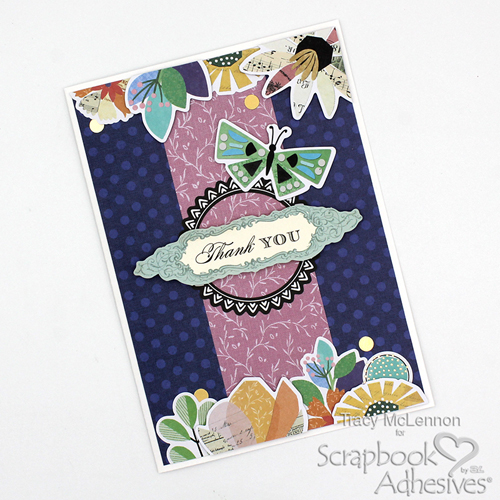
Hello crafty friends! Tracy here, and today I have a pretty Layered Thank You Card to share. Here are all of the crafty details.
Layered Thank You Card Pieces
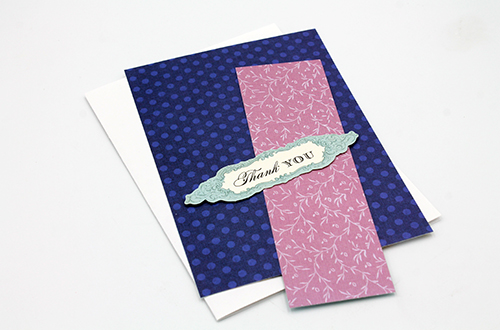
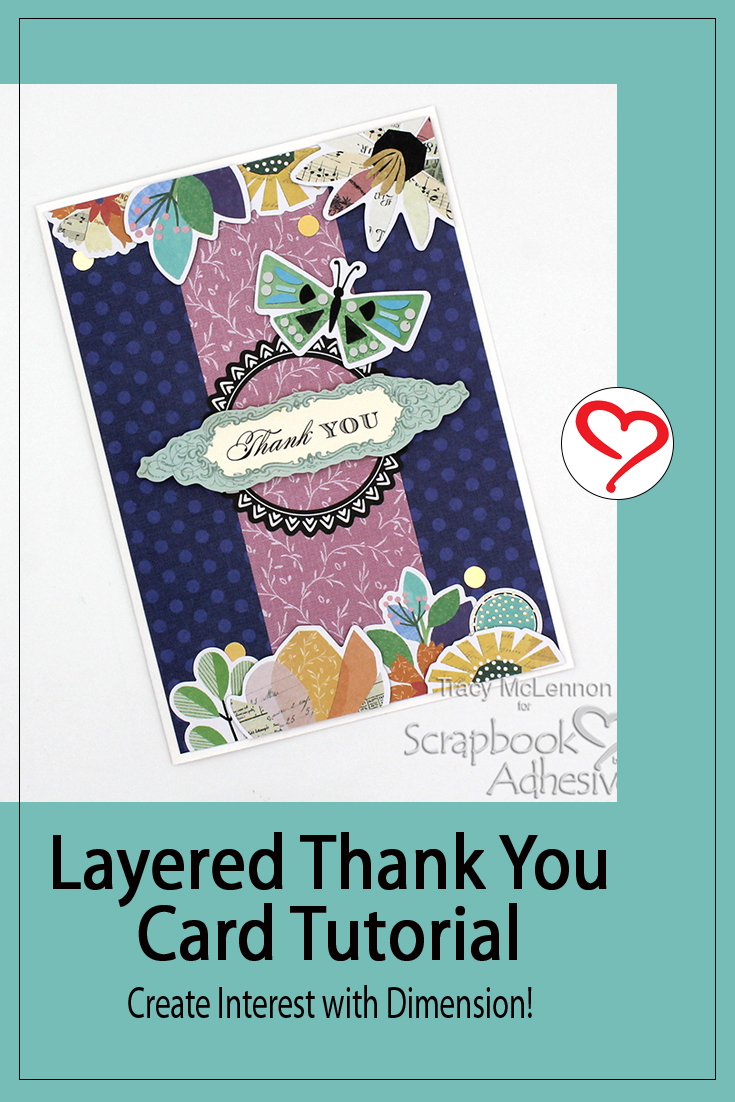
First, I cut a 5×7 card base from white cardstock and a card front from blue patterned paper. Next, cut a strip of pink patterned paper to go up the middle of the card front. I also chose a die-cut sentiment shape to focus the design around.
Assemble the Card Front Foundation
Adhere the patterned paper layers to the card base using the E-Z Runner® Ultra Strong Refillable Dispenser. Add the frame sticker to the middle of the card front and then adhere the die-cut sentiment shape using 3D Foam Squares White Regular Size to start this Layered Thank You Card foundation.

Give the Card Interest with Embellishments
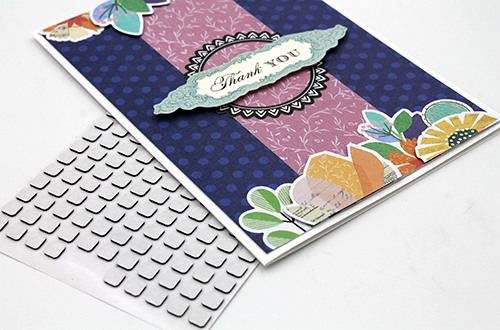
The borders at the top and bottom of the card front are created using a mix of stickers and die cuts. I used the stickers first, placing them straight on the card front. Then I added the die-cut pieces with Thin 3D Foam Squares Black Mix for dimension but not TOO much thickness.
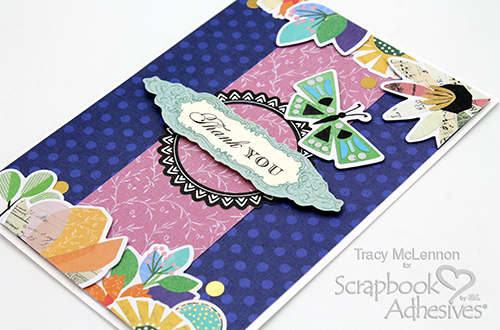
The finishing touches were to add some gold sticker pieces and the die-cut butterfly shape using the Thin 3D Foam Squares Black Mix.
Thanks so much for stopping by!
Tracy
Creative Time: 30 minutes
Skill Level: Beginner
Materials needed:
Scrapbook Adhesives by 3L®:
E-Z Runner® Ultra Strong Refillable Dispenser
Thin 3D Foam Squares Black Mix
3D Foam Squares White Regular Size
Other: Vicki Boutin Collection; White Cardstock
Save to Pinterest!
Visit our Website and Blog!
Sign up for our Newsletter so you never miss a contest or giveaway!


