
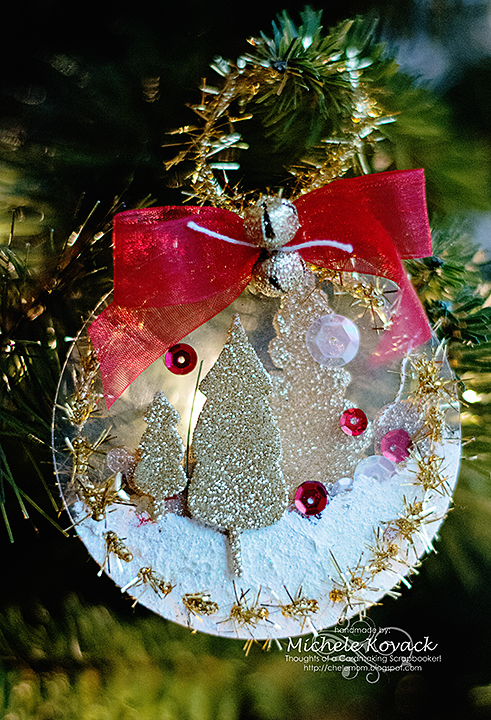
Good morning! Michele here with a couple of festive shaker Christmas ornaments! I love using acetate for the base of the ornament because it is easy to fill with sequins and allows the Christmas lights to shine through! I made two for today’s post, one in a cool color scheme and the other in warm colors.

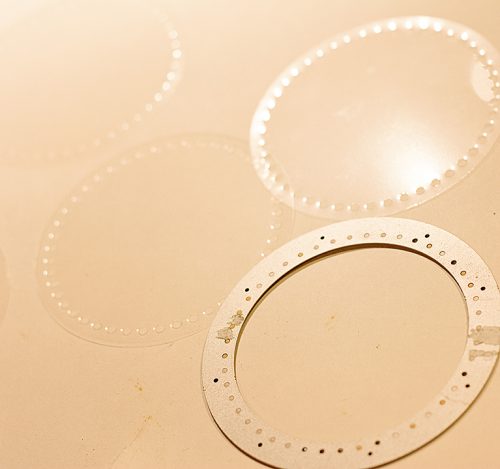
To make my ornaments I die cut 2 circles for each ornament.
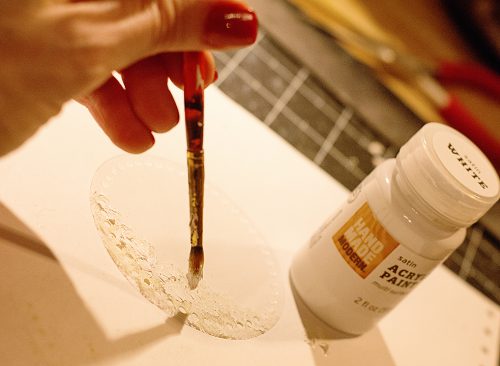
White acrylic paint, dabbed on at the bottom of each circle made a “snowy” hill.
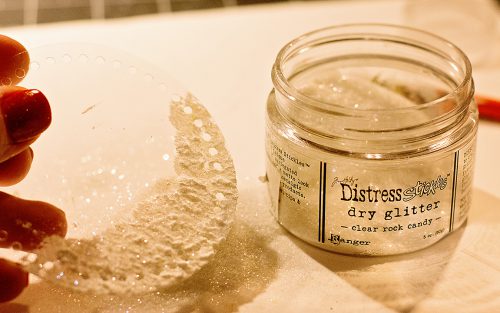
I sprinkled glitter over it while it was still wet.
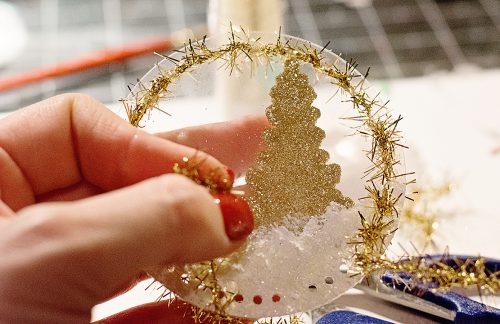
3D Creative Foam Sheets were used to die cut my evergreen trees. I also added in some smaller trees from the 3D Foam Trees.
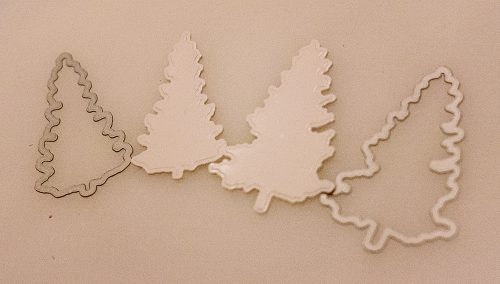
They are sticky on both sides – I LOVE that! ….one side to stick to the acetate….
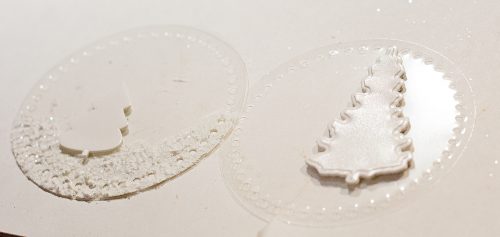
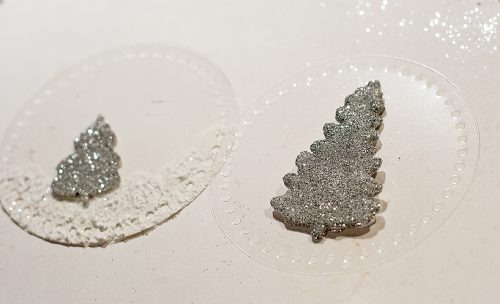
….and the other for sprinkling glitter over!
I took silver twine to sew the ornament together. Right before closing it up, slip in a handful of sequins.
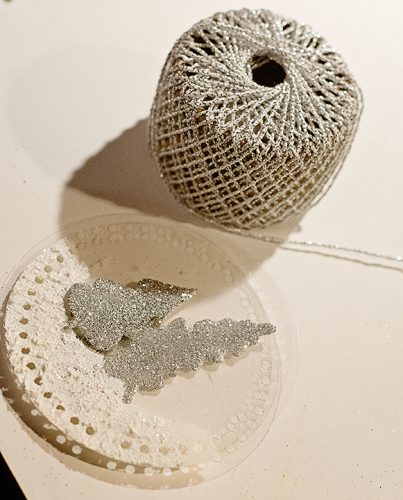
This would be a perfect opening for those sequins!
To secure the jingle bells in place, I slipped a Dodz Adhesive Dots Small under each one. Here’s one last look!

Thanks so much for stopping by today!
Michele Kovack
Supplies:
Scrapbook Adhesives by 3L®:
3D Creative Foam Sheets
Dodz Adhesive Dots Small
3D Foam Trees
Other:
Circle Die (Tattered Lace); Distress Glitter (Ranger Tim Holtz); Tree Dies (JustRite Papercraft); Sequins (Lucy’s); Jingle Bells (Darice); Acrylic Paint
By ~amy~ December 4, 2016 - 5:42 am
Beautiful!
By Monika/buzsy December 5, 2016 - 7:38 am
So pretty!
By Helen Gullett December 14, 2016 - 12:11 pm
They are GORGEOUS and FESTIVE ornaments! I love the sparkle all over. Thank You for the tutorial 🙂