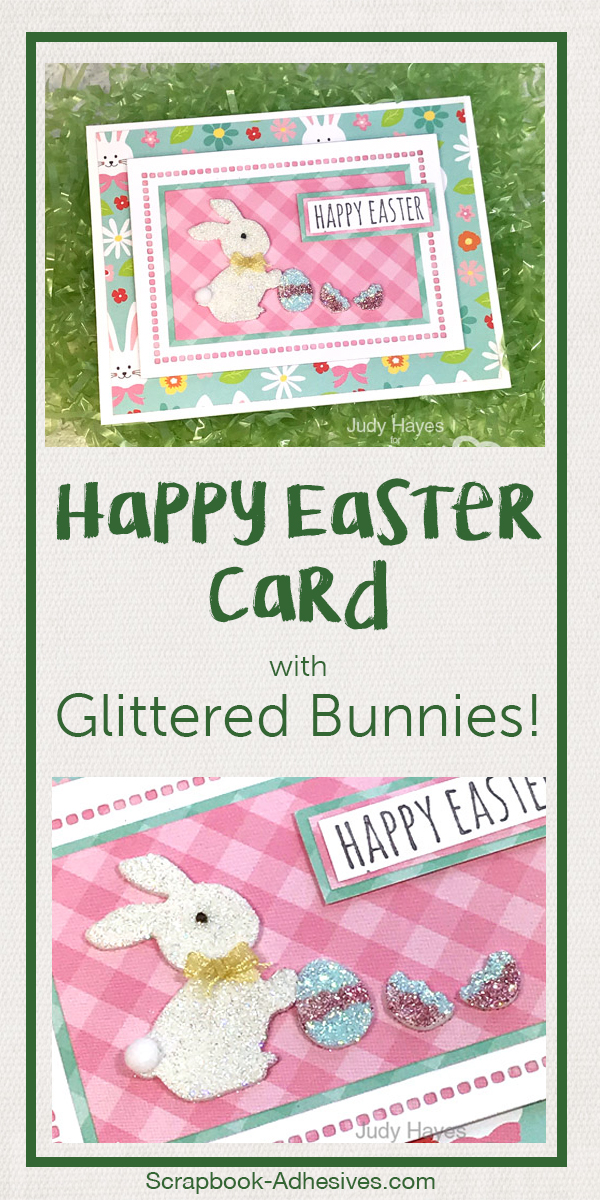
Hello friends! It’s Judy here today with a glittery Bunny Easter Card. I used the bunny and eggs shape from 3D Foam Easter Shapes and dressed them up with glitter! It’s an easy and fun way to make a card, keep reading to see how!
Embellish the Bunny Easter Card Panel
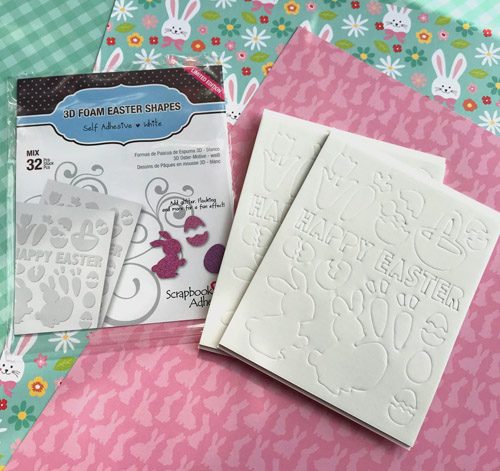
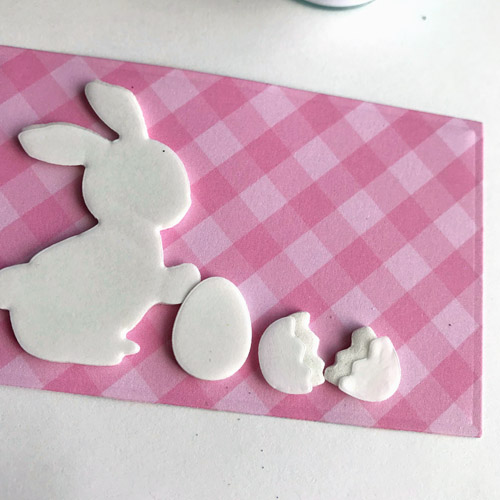
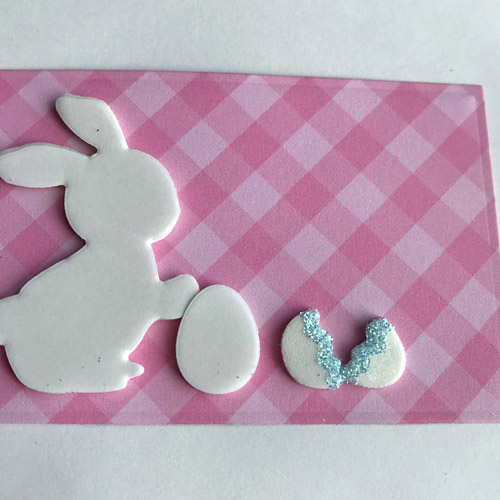
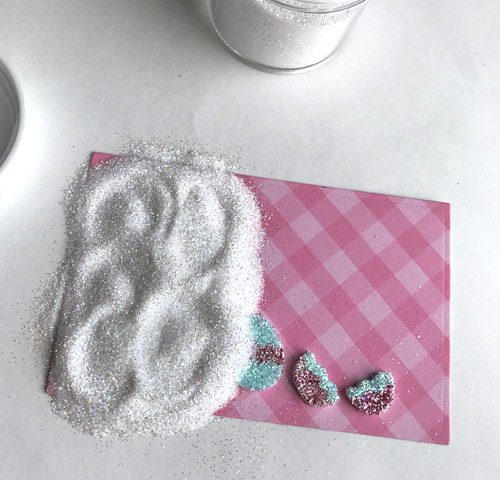
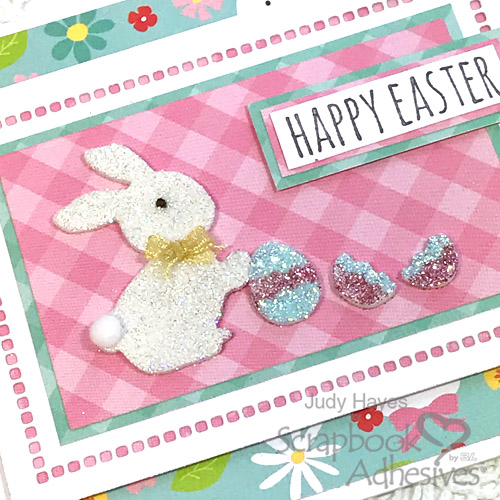
Let’s embellish the rectangle card panel of the Easter Bunny Card. Die-cut a rectangle from pink patterned paper. Remove the bunny and two eggs (solid shape and the broken set) from 3D Foam Easter Shapes and arrange on the rectangle.
Remove the liners from the broken egg and reposition it to leave a sticky edge of the egg exposed.
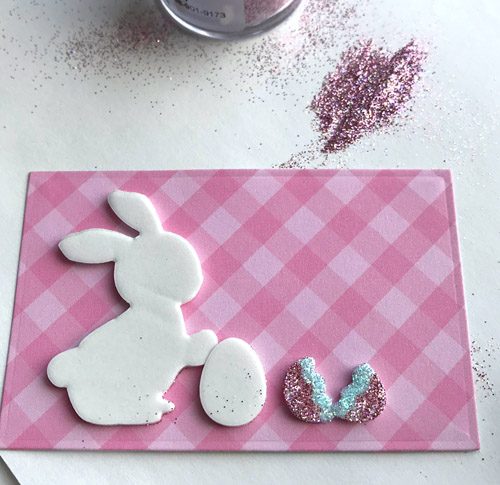
Sprinkle the edge with turquoise glitter and remove excess. Remove those liners and set them aside to use on the other egg.
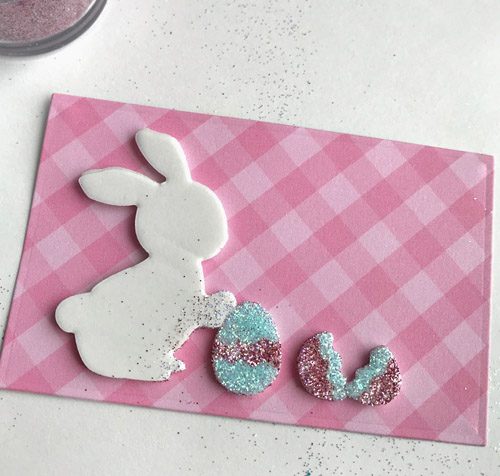
Sprinkle the remaining exposed adhesive on the egg with pink glitter and remove excess.
Remove the liner from the solid egg. Take the pieces from broken egg and place on the solid egg to leave a band of adhesive exposed at center. Sprinkle with pink glitter and remove excess. Remove liners. Sprinkle the rest of the solid egg with turquoise glitter and remove excess.
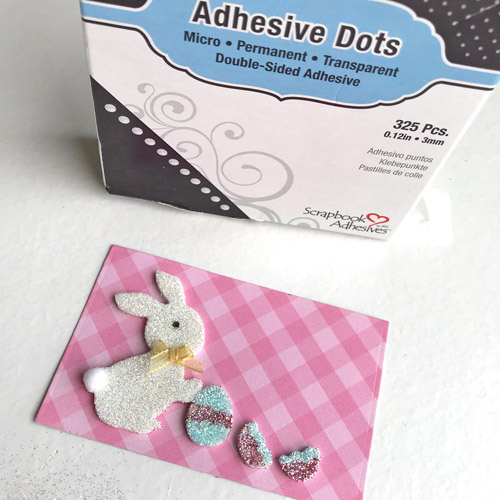
Use a 1/16 inch punch to cut an eye for the bunny from brown cardstock. Remove the liner from the bunny and adhere the brown dot for the eye.
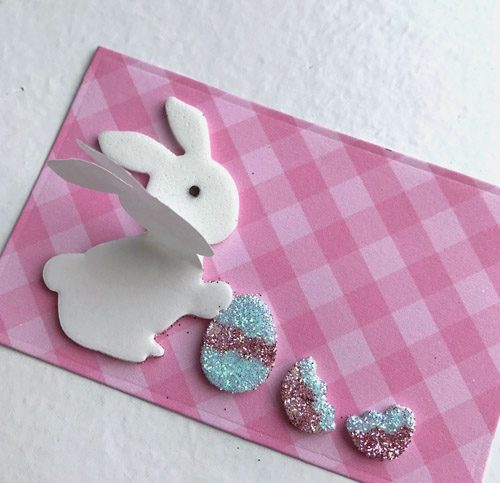
Sprinkle the bunny with white glitter and remove excess.
Tie tiny ribbon bow and fasten it to the bunny with Adhesive Dots Micro. Then fasten a pompom to the bunny as a tail with Adhesive Dots Micro.
Making the Bunny Easter Card Layers
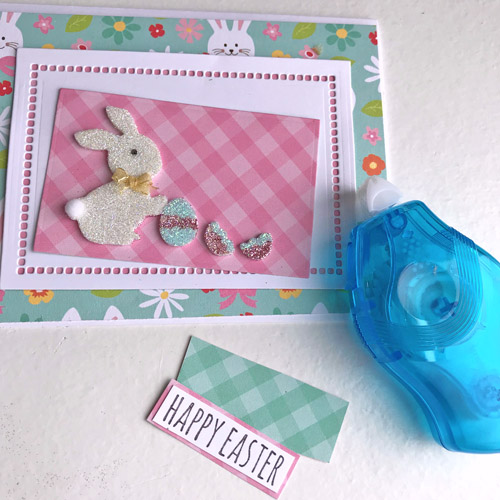
Cut a slightly larger green mat and attach it using E-Z Runner® Petite Permanent Dots Refillable Dispenser.
Die cut a white rectangle and fasten pink paper behind it to show through holes using E-Z Runner® Petite Permanent Dots Refillable Dispenser. Use the same adhesive to fasten the pink rectangle to the white mat.
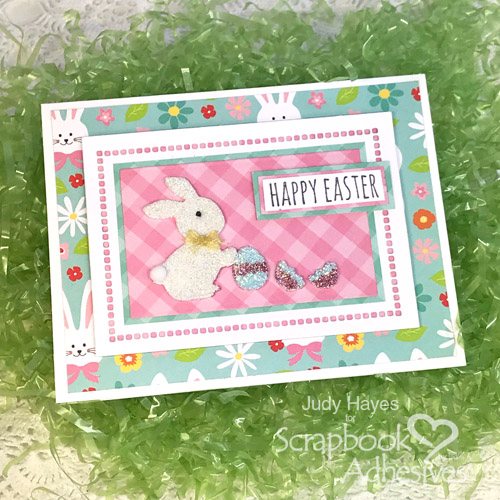
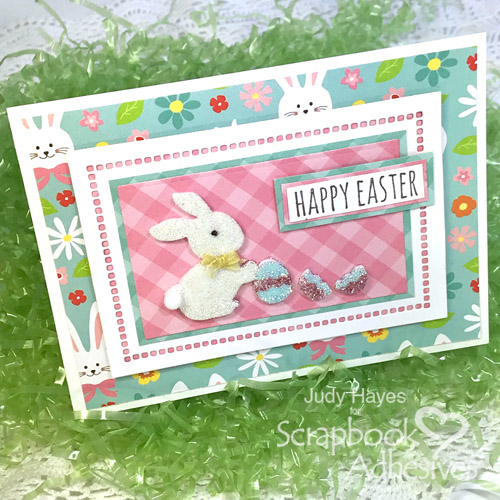
Form a 4.25 x 5.5-inch white card base. Cut pattern paper to 4 x 5.25-inch. Fasten to card front with E-Z Runner® Petite Permanent Dots Refillable Dispenser. Next stamp “Happy Easter” on a strip of white cardstock. Use E-Z Runner® Petite Permanent Dots Refillable Dispenser to fasten it to pink and green mats.
Fasten the bunny layer to the card with Thin 3D Foam Squares White Mix.
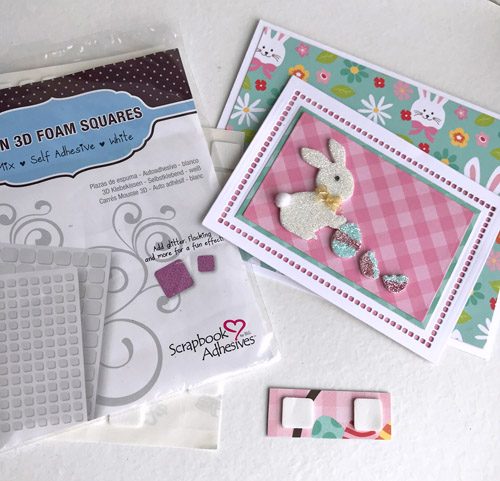
Fasten “Happy Easter” piece to card with Thin 3D Foam Squares White Mix.
Enjoy a cute Bunny Easter Card!
Happy Crafting!
Judy
Creative Time: 45 Minutes
Skill Level: Intermediate
Materials Needed
Scrapbook Adhesives by 3L®
3D Foam Easter Shapes
Adhesive Dots Micro
Thin 3D Foam Squares White Mix
E-Z Runner® Petite Permanent Dots Refillable Dispenser
Other
Echo Park Hello Easter Paper Collection; Imagine Crafts/Tsukineko Versafine Clair Pinecone Ink; Sparkle N Sprinkle Glitters; Hero Arts Prisma Glitter; Spellbinders Hemstitch Rectangles; Stampers Anonymous Tim Holtz Crazy Talk Stamp; May Arts Ribbon; White Cardstock; Scrap Brown Cardstock; Tiny Pompom (chalk applicator)
Pin This!