
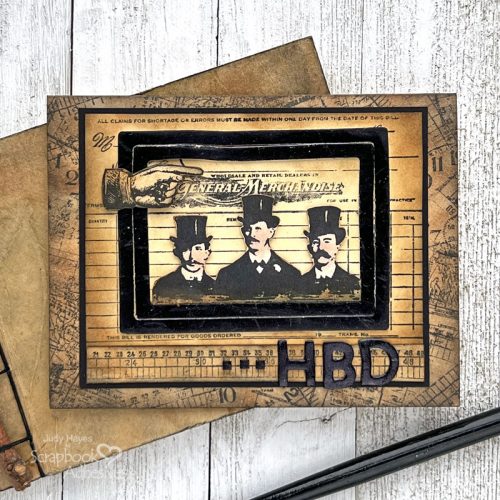
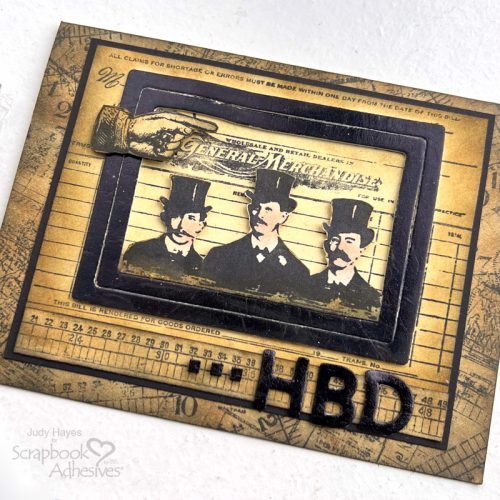
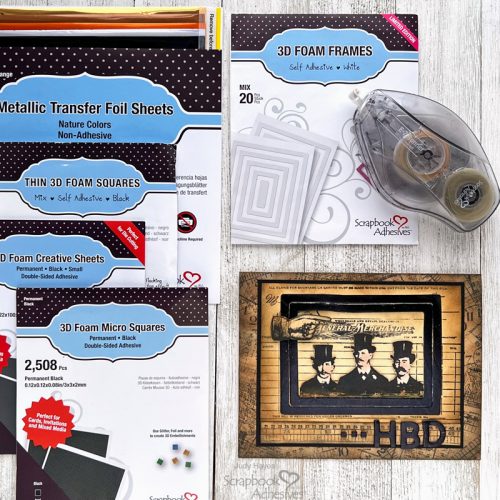
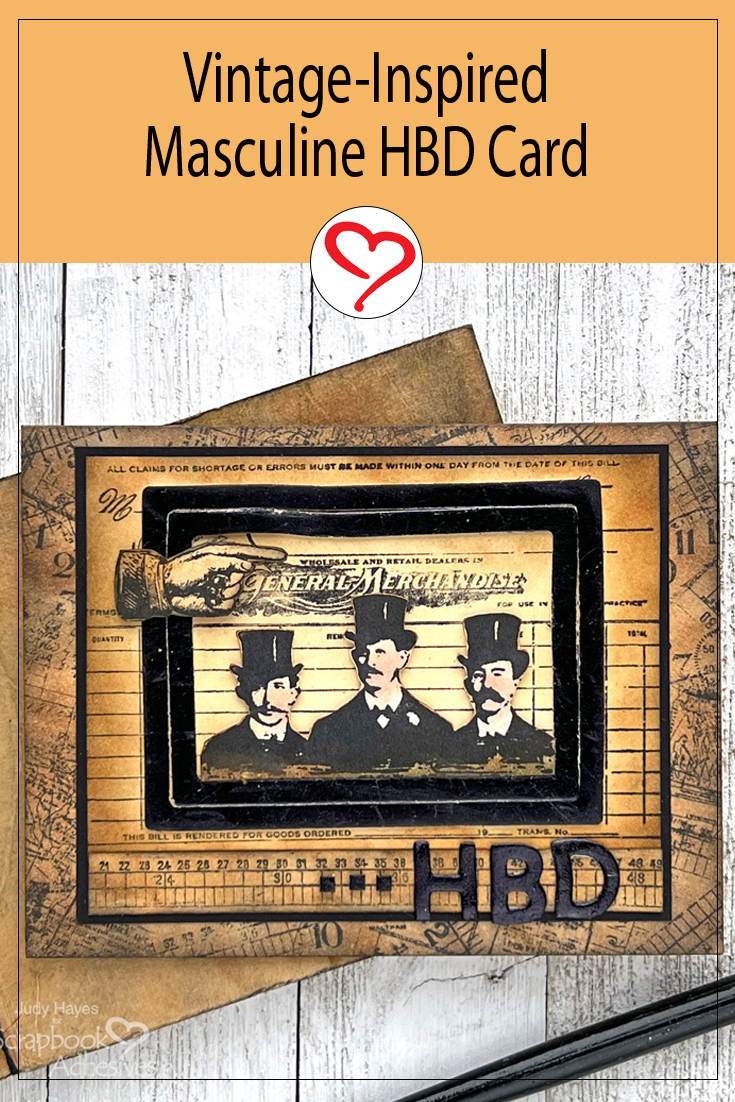
Hi, Judy here today to share a vintage-inspired masculine Happy Birthday Card. It features 3D Foam Frames and HBD letters cut from 3D Foam Creative Sheets Small Black covered with the black foil from the Metallic Transfer Foil Sheets Nature Colors. It’s a simple technique called Wear Your Adhesive on the Outside that adds a unique look.
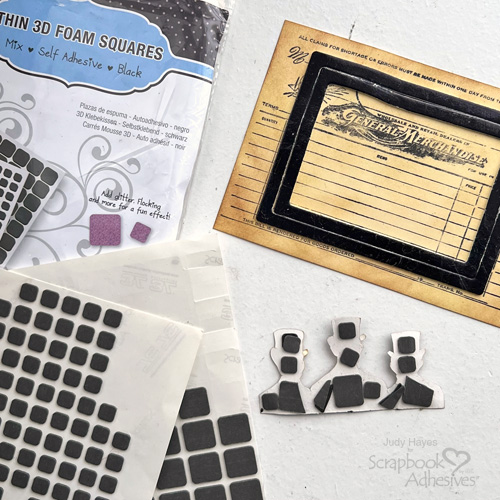
Stamping and Inking Pieces
Stamp all images with Archival Black Soot ink and rub with Distress Vintage Photo and Black Soot inks.
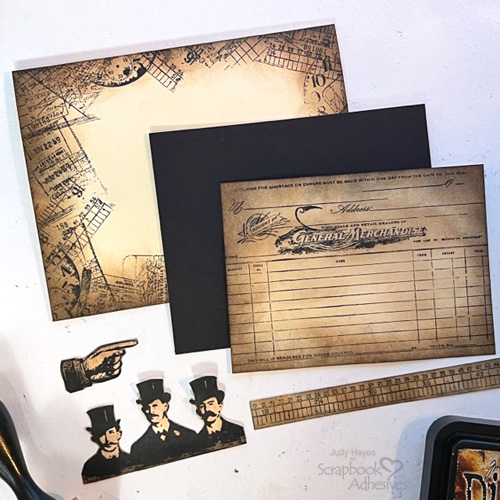
These are the pieces needed:
- Base Card from 4.25 x 5.5 inches ivory cardstock with a fold on the long edge. Stamp with various images around the edges.
- Ivory panel stamped with an invoice image and trimmed to 3.25 x 4.5 inches plus black mat 3.75 x 4.625 inches.
- Ivory strip 0.5 x 4.5 inches stamped with a metric ruler.
- Image of men and pointing hand stamped and fussy cut out.
Assemble Framed Image
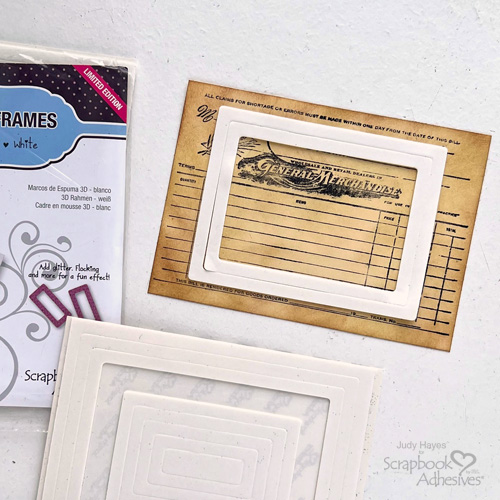
Carefully remove the sixth and the seventh largest frame from the 3D Foam Frames (counting the smallest rectangle as #1) and place them on the stamped invoice panel.
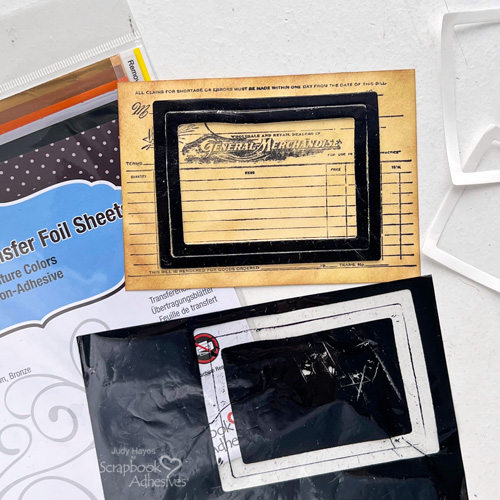
Peel the liners off. With the black foil from the Metallic Transfer Foil Sheets Nature Colors, press the foil (color side up) over the frames. Remove foil, check for coverage, and reapply foil as needed.
Trim the stamped men’s image as needed to fit inside the frame. Place Thin 3D Foam Squares Black Mix on the back side, and cut to fit as needed. Peel the liners and position the image inside the frame.
Use E-Z Runner® Ultra Strong Refillable Dispenser to apply adhesive to the back of the frame piece and attach it to the black mat. Apply adhesive to the ruler strip and fasten it along the bottom of the framed piece.
Secure to the card by applying the adhesive with E-Z Runner® Ultra Strong Refillable Dispenser on the back and place on the card.
Hand and HBD Letters
Place Thin 3D Foam Squares Black Mix on the back of the pointing hand, peel liners, position over the frame on the left corner, and press in place.
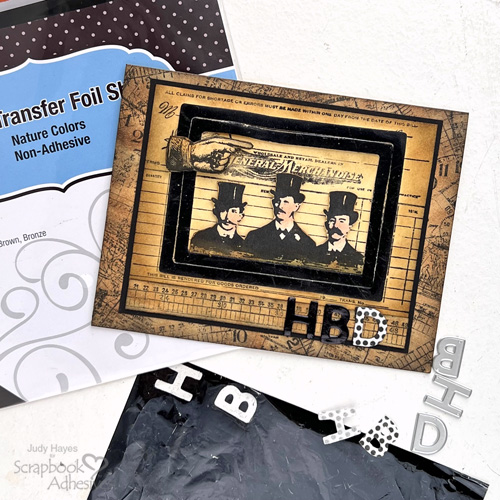
Die cut letters H, B, and D from 3D Foam Creative Sheets Small Black. Carefully remove letters from the dies, peel the liner from the back side, and fasten over the ruler image on the card. Peel liners from the front of letters, cover with the black foil from the Metallic Transfer Foil Sheets Nature Colors, rub to transfer foil (color side facing up), and peel away the foil.
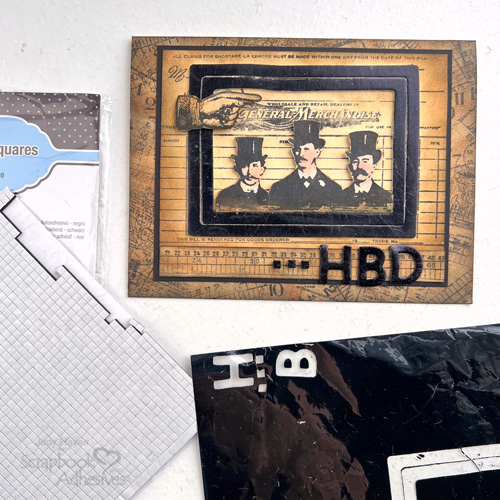
Place three 3D Foam Squares Micro Black to the left of HBD, peel away liners, and cover with the black foil from the Metallic Transfer Foil Sheets Nature Colors. Make sure the foil color is facing up, press well to transfer the foil color, and peel the foil off to reveal the color!
Thanks for Visiting!
Judy Hayes
Creative Time: 25 mins
Skill Level: Intermediate
Materials Needed:
Scrapbook Adhesives by 3L®
E-Z Runner® Ultra Strong Refillable Dispenser
Thin 3D Foam Squares Black Mix
3D Foam Creative Sheets Small Black
Metallic Transfer Foil Sheets Nature Colors
Other: Stamp: Stampers Anonymous Tim Holtz (Curiosities, Warehouse District, Visual Artistry); Ink: Ranger Ink (Distress Ink Vintage Photo, Black Soot, Tattered Rose, Archival Black Soot); Craft Dies: Sizzix (Tim Holtz Alphanumeric Bold); Ivory Index, Black Cardstock
Save to Pinterest!
Visit our Website and Blog!
Sign up for our Newsletter so you never miss a contest or giveaway!


