Hi readers !!! Flo here for a new tutorial today ! What a pleasure to create with Scrapbook Adhesives by 3L, adhesives are of such high quality and so practical!
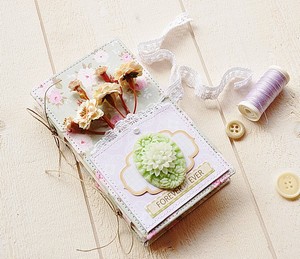
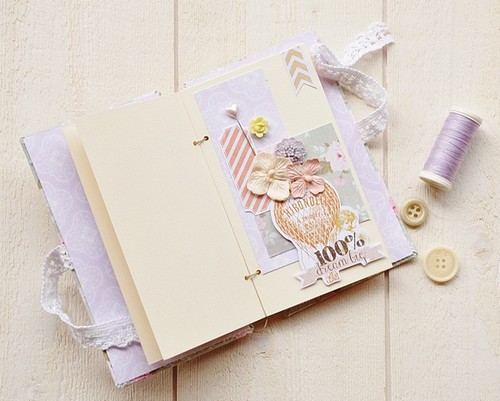
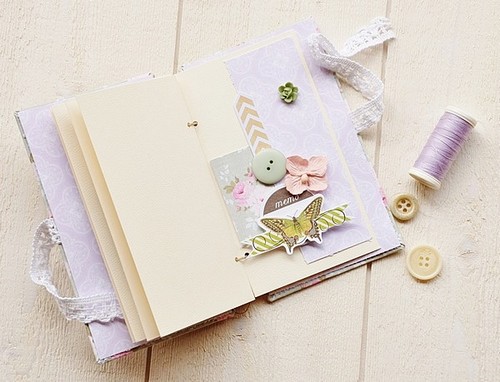
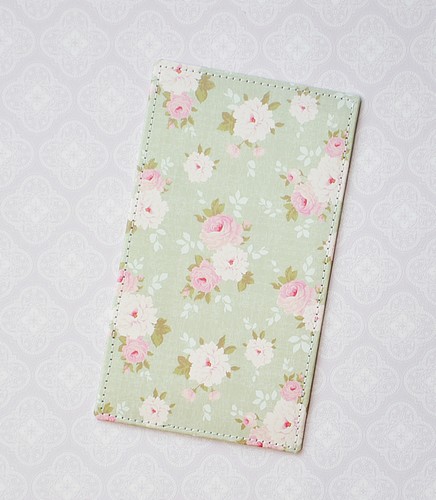
Today I show you how to create a small album, very easy! But let me first introduce you this project with some pictures.
To create this mini album :
Cut two rectangles out of cardboard (3,5*6,3 inches or 9*16 cm). Attach on each cover a paper with the E-Z Dots® Permanent Refillable Dispenser.
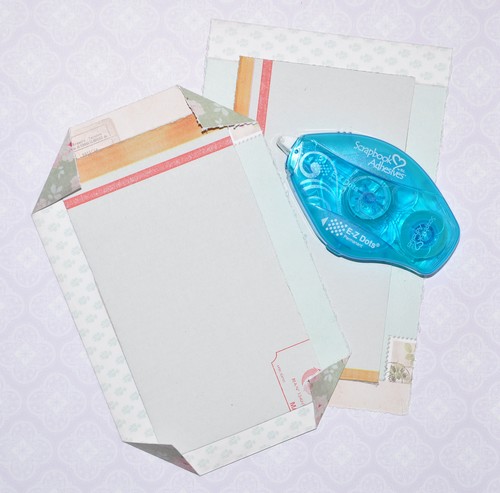
Fold on the back side and adhere the edges. Do all this with the same adhesive.
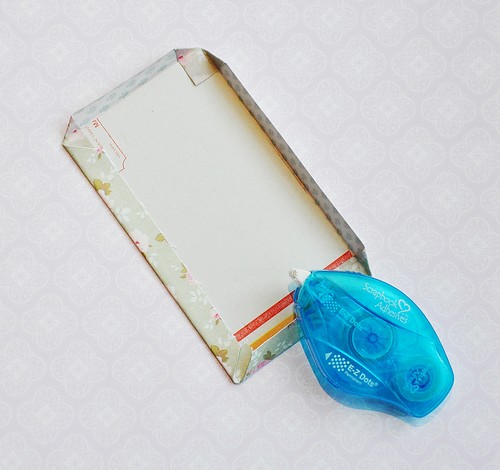
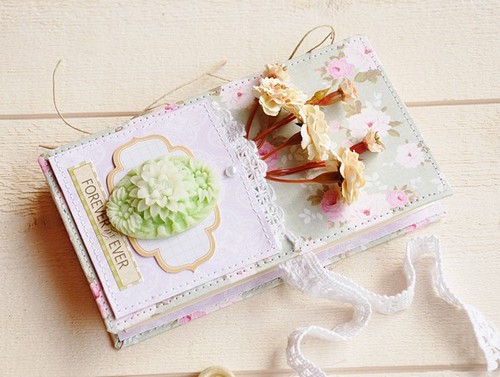
Sew the edges to give a more beautiful finish.
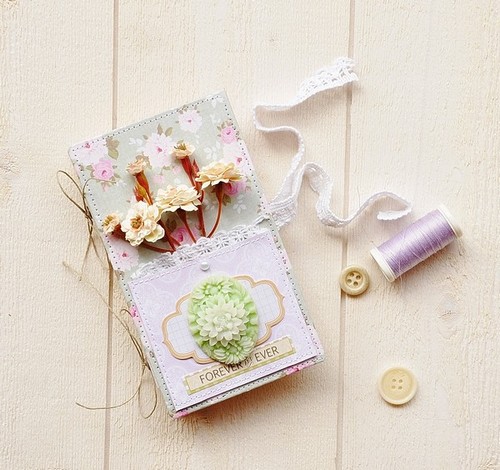
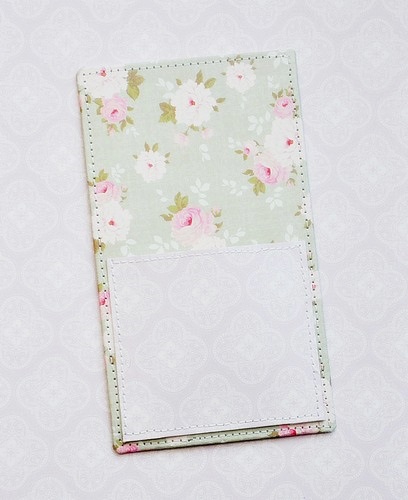
Prepare the small pocket from the album cover.
Draw and cut out paper the following template.
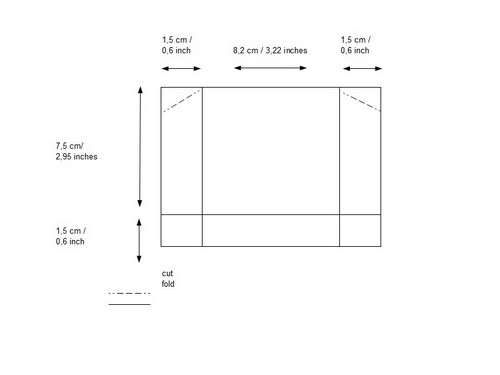
Fold edges and fix on the cover. You can also also sew the edges.
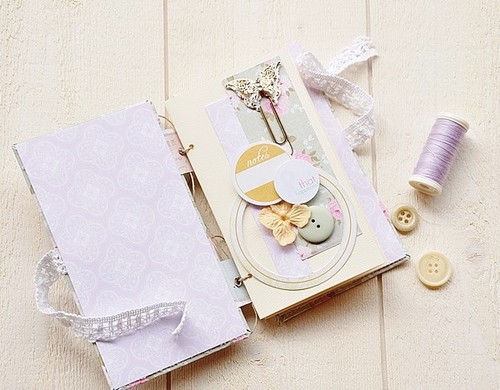
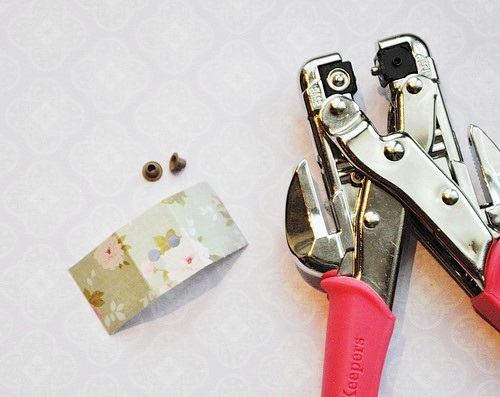
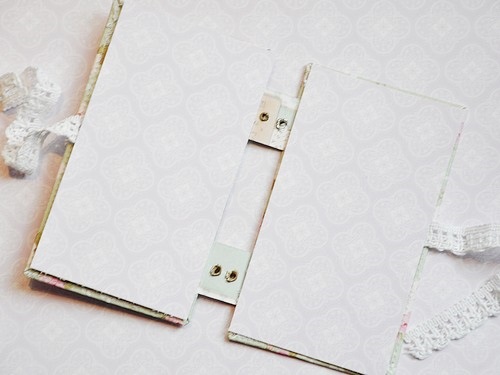
To bind your album cut two rectangles of 2,36*2,36 inches or 6 * 6 cm. Fold three times every 0,78 inch or 2 cm. Add brads as pictured in the center.
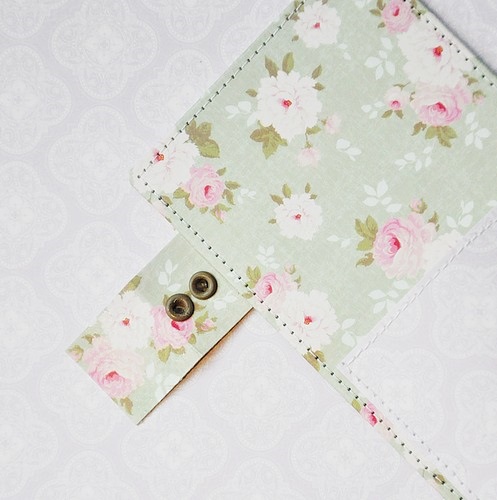
Attach the tabs on the inside of your mini album, with the E-Z Dots® Permanent Refillable Dispenser.
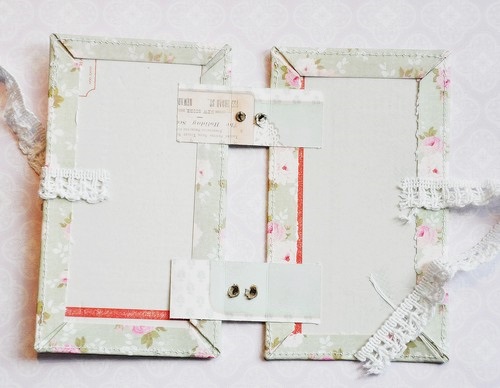
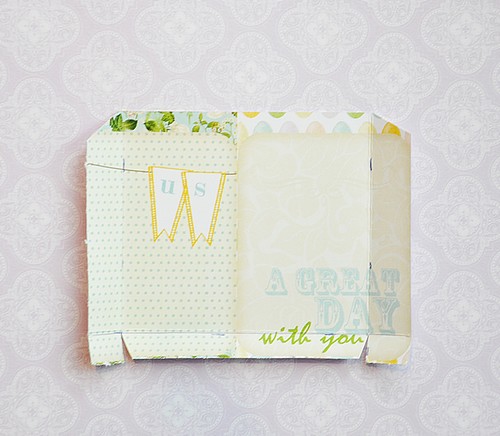
Add two rectangles of paper on the inner side of the covers to hide cardboard.
Your structure is ready, it remains only to add pages and decorate it .
SCRAPBOOK ADHESIVES BY 3L™: E-Z Dots® Permanent Refillable Dispenser.
Webster’s Pages and Tilda papers,
Etsy and Prima Marketing flowers
Pink Paislee die cuts and butterfly
Thank you for stopping by our blog today!
By Kelly Klapstein May 20, 2013 - 11:02 am
Such a beautiful and delicate mini! Love the tut!
By Tiffany Johnson May 20, 2013 - 2:02 pm
This is gorgeous! Thank you for showing us how to get the album started!
By Jean Bullock May 20, 2013 - 4:05 pm
Awesome project. Great tutorial.
By Dorina D May 20, 2013 - 11:48 pm
Fabulous tutorial for this adorable mini. Great job.