
Please welcome our Ambassador Birgit Koopsen to the Crafty Power Blog! She has a fabulous tutorial for creating texture on 3D Foam Creative Sheets using heat embossing and rubber stamps. Take it away, Birgit!
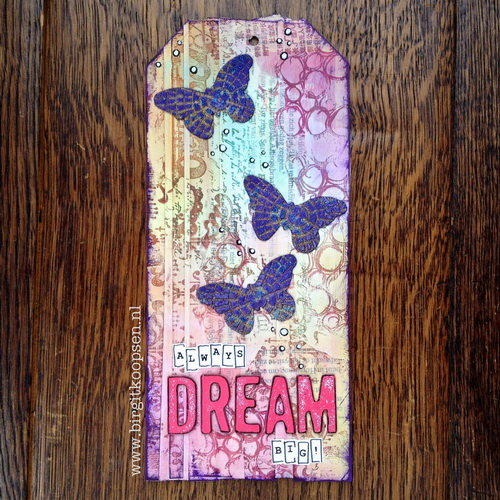
3D Foam Creative Sheets are great to create any desired shapes. You can hand cut them with scissors but they are also perfect to use with any die cutting machine. For this tag I used a butterfly die.
To keep the shapes in place when embossing them and prevent them from being blown away when you turn on the heat gun first add E-Z Dots® Repositionable on the back. Then peel off the top protection sheet.
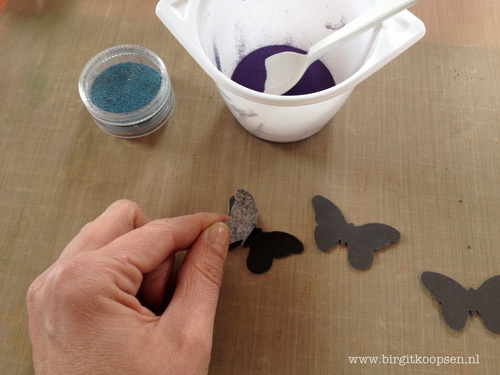
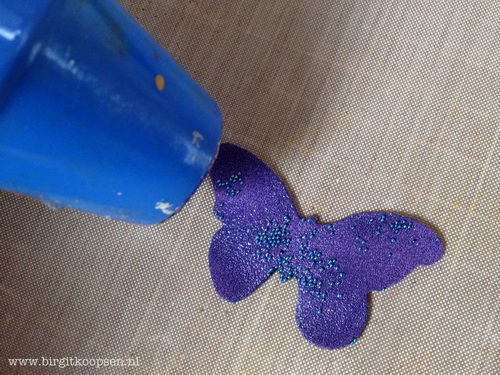
Sprinkle some glass pearls on the sticky top to create texture.
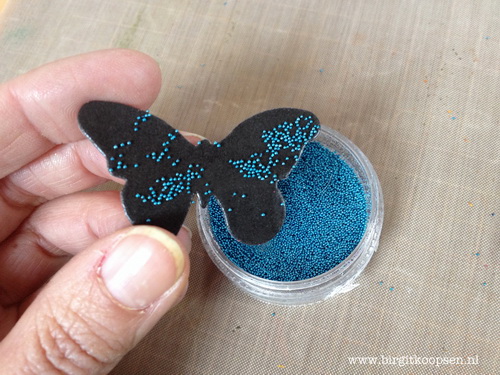
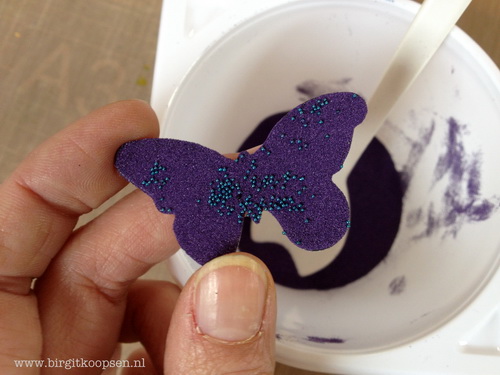
Add the desired colour of embossing powder on top and tap off the excess. The whole surface should be covered. If you like you can add several colors of embossing powder, just make sure to tap off every color carefully before adding a new one.
Stick the covered shape to a craft sheet. Gently press it down.
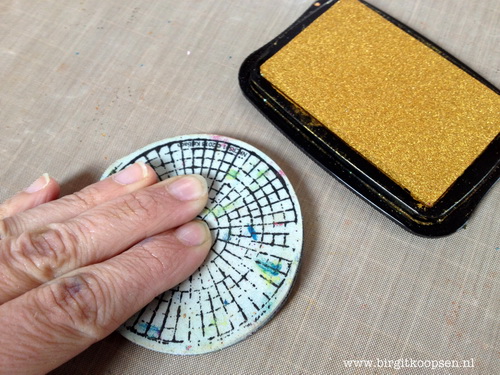
Heat the embossing powder until it’s molten but no longer than that or the shape might start to curl. Have an inked rubber stamp ready waiting for you.
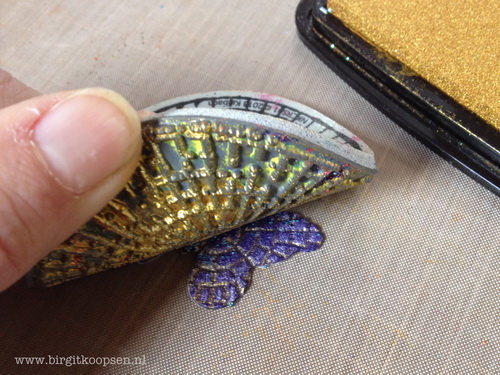
While the embossing enamel is still hot press in the inked rubber stamp and hold it down a few seconds. Clear stamps are not so good to use for this technique.
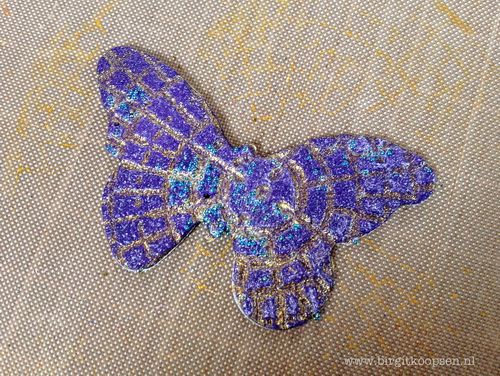
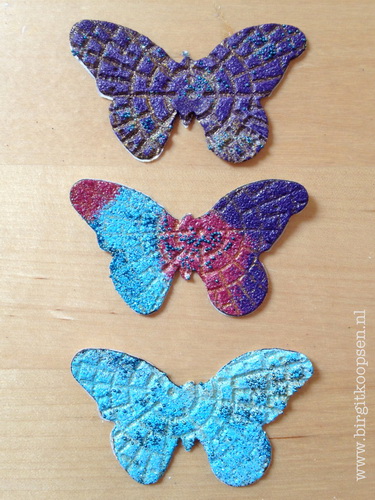
Lift up the stamp and find beautiful texture!
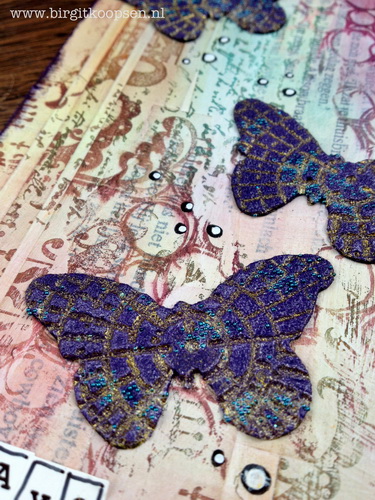
Because the stamp is not only pressing in the embossing enamel but also in the 3D Foam Creative Sheet you get a really deep and nice impression. Now your shape is ready to be used on any project.
Just remove the back protection sheet and apply.
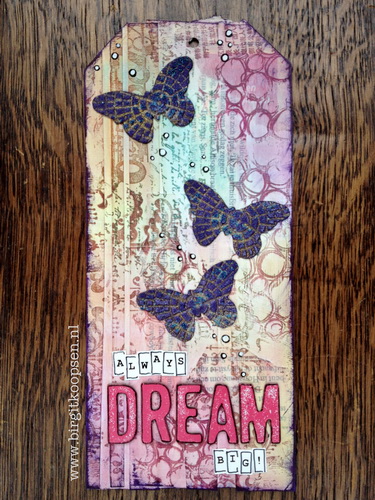
How to create the background:
To create the background of this tag I applied an Adhesive Sheet to a piece of cardstock and cut it in strips. I also applied an Adhesive Sheet to a piece of book paper and tore it to pieces. Then I applied strips and pieces to another piece of cardstock and added a thin layer of gesso on top. I stamped a variety of images using Versamark and then added Pan Pastel on top.
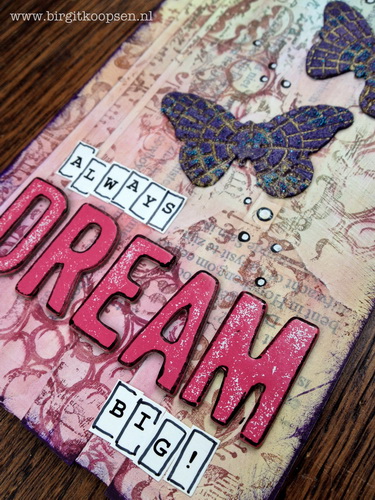
The places with Versamark will pick up the Pan Pastel colors a shade darker than the surrounding areas. Finally I took a black pen to draw little circles and colored them in with a white pen.
I hope you enjoyed this tutorial! Happy crafting!
Supplies:
Scrapbook Adhesives by 3L®: 3D Foam Creative Sheets, Adhesive Sheets, E-Z Dots® Repositionable
Butterfly die and die cut machine, Glass Pearls, Embossing Powder, Red Rubber stamp, book paper, cardstock, gesso, Versamark ink, Pan Pastel, black and white pens, letter stickers
By Marianne Groenendijk February 18, 2014 - 11:12 am
Love your work, Birgit!!
By Deborah S February 18, 2014 - 12:10 pm
What a lovely tag the butterflies are beautiful thank you for a great tutorial have a great day!
By Amante del Papel February 18, 2014 - 1:09 pm
it’s a great idea!!!
By Shannon February 18, 2014 - 2:56 pm
Love the butterflies. Going to dig out some of my foam and try it today. Awesome sauce!
By H Mosses July 9, 2014 - 4:25 pm
Where can we buy the product in europe please?
By Beth Pingry July 9, 2014 - 5:20 pm
Hi H, please send me an email at bethpingry@3Lcorp.com with the city and country you are in.
Thanks, Beth