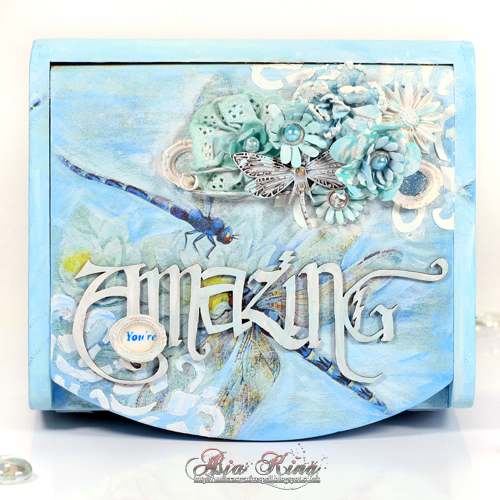
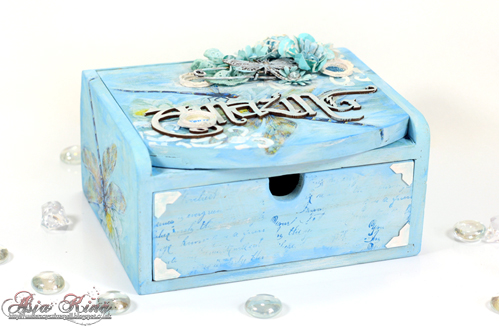
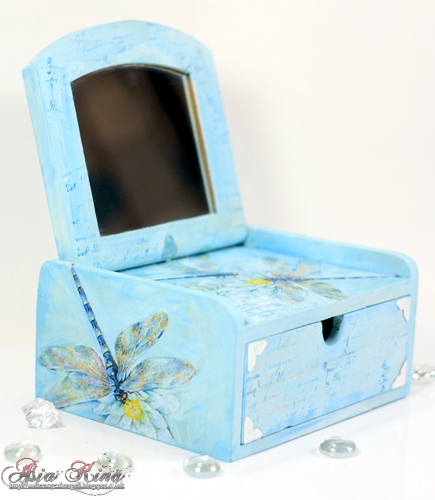
Happy May Day everyone! Asia King here. Today I am sharing a video tutorial for this altered wooden vanity box. I’m going to show a dry decoupage technique with Adhesive Sheets and how to use your favourite adhesives in a mixed media project. I will be using Dodz™ Small, Medium and 3D as well as Creative Photo Corners – White. 
Here is the video tutorial:
And here are additional views of the box.
Supplies:
Adhesive Sheets 6×12″, Dodz™ Small, Medium and 3D, Creative Photo Corners – White;
Stampendous Ice Blue Micro Glitter and Stamps Angel Wings Stack Art & Quotes; Americana DecoArt acrylic paints (Pink Chiffon, Spa Blue, Tropical Blue, White) and Medieval Iron Accent Stencil; Faber-Castell Whipped Spackle; Tsukineko Blue Hawaii StazOn;
wooden vanity box, decorative napkins, flowers and embellishments.
I hope you enjoy watching the tutorial. Thanks for stopping by!


By Heather Thompson May 1, 2014 - 7:29 am
What an beautiful tutorial, I would have never thought about a napkin. It looks so easy.
By Deborah S May 1, 2014 - 2:25 pm
Happy May Day to you as well what a beautiful box I forgot about using napkins and you can find some beautiful ones as you did I think the adhesive backing gives it a smoother look than using Mod Podge this box is just simply lovely thanks for the tutorial!
By Lisa S May 2, 2014 - 8:07 am
Wow, I love this method for adhering paper napkins. Recently I saw a tutorial involving beeswax and this is such a better method. Your box is beautiful and I love the dragonflies and the gorgeous embellishments you chose. Terrific video Asia, thanks for sharing!! xx
By butterfly May 11, 2014 - 12:54 pm
Absolutely beautiful altered box, and a great video tutorial, Asia – thank you!
Alison x