
Hello everyone! It’s Kelly Klapstein here today, and I’m getting ready for Mother’s Day!
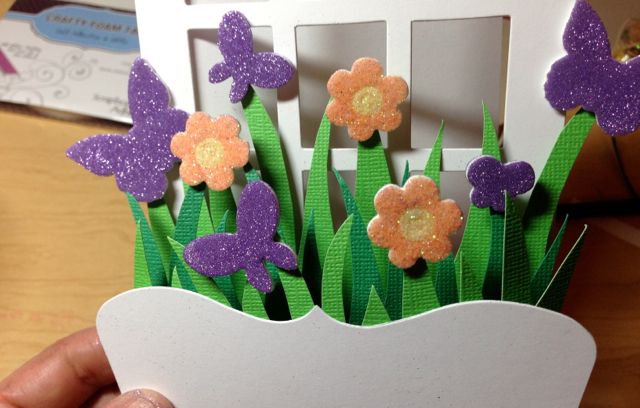
Here is a 3D card I designed for my own mother, and I think she will like it because she loves flowers and butterflies.
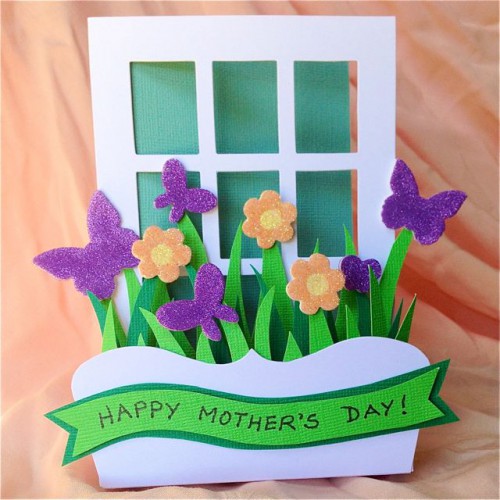
With the help of some pretty 3D Foam Butterflies and 3D Foam Garden Shapes, I created a card that helps me to believe that spring is really here.
To let you see how this card came together, here is a short photo tutorial.
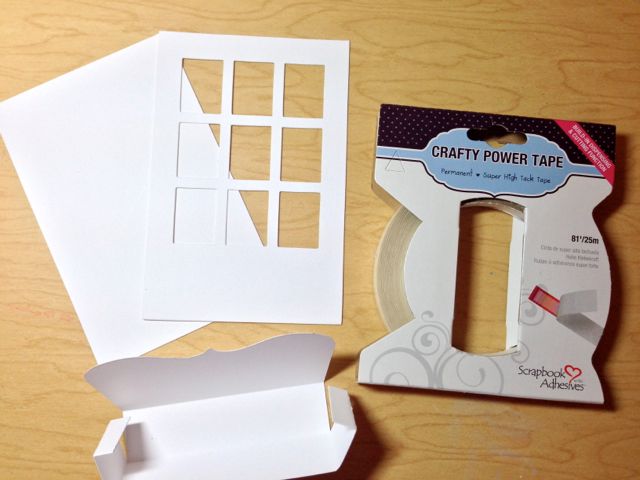
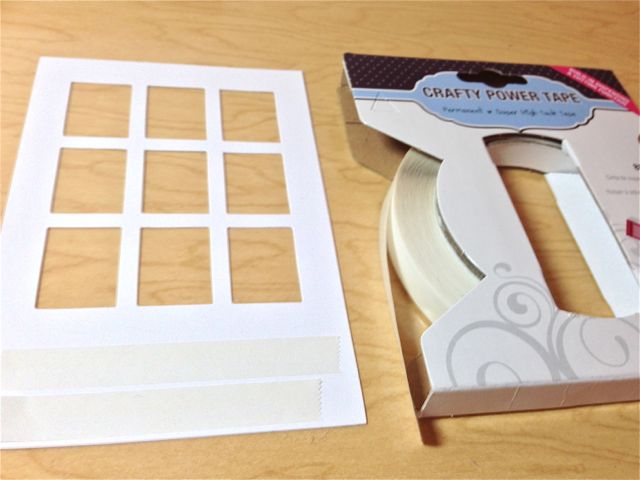
First, I used my Crafty Power Tape to adhere my die cut card pieces together.
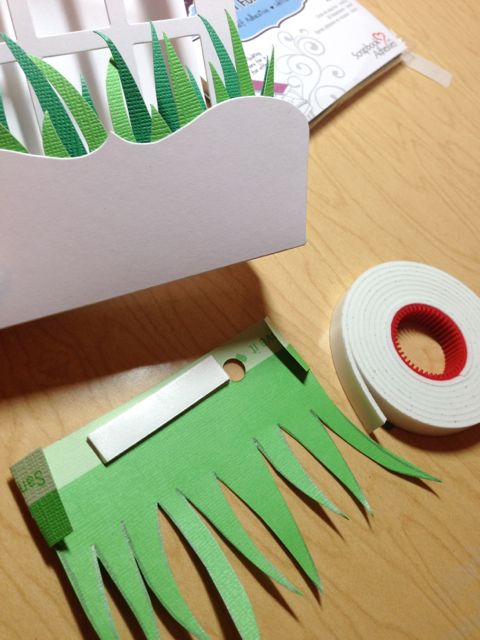
To make the grass in the window box, I cut two shades of green card stock and then layered the grass inside the window box using Crafty Foam Tape.
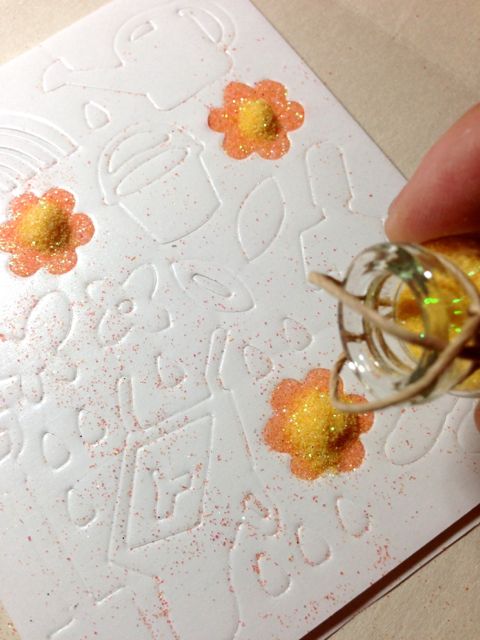
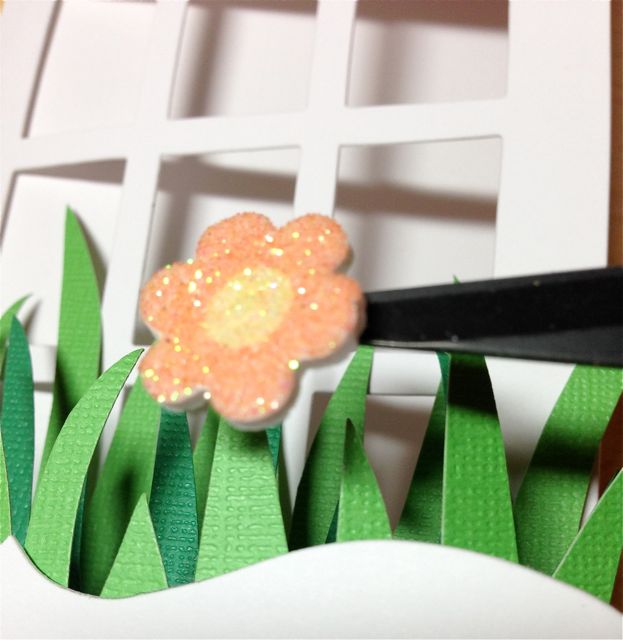
I sprinkled the 3D Foam Garden Shapes flowers with orange and yellow glitter in two steps.
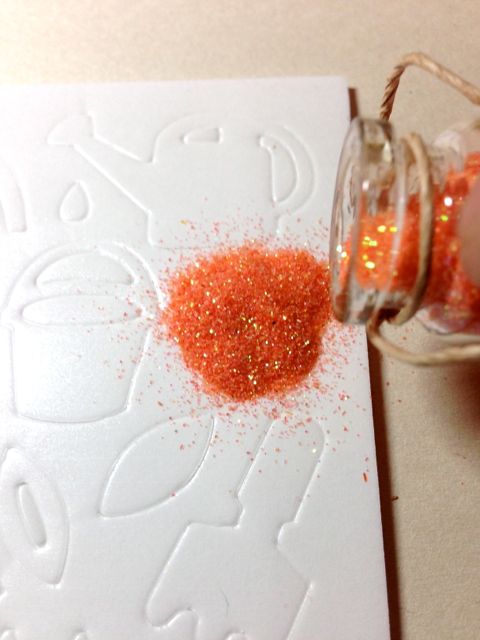
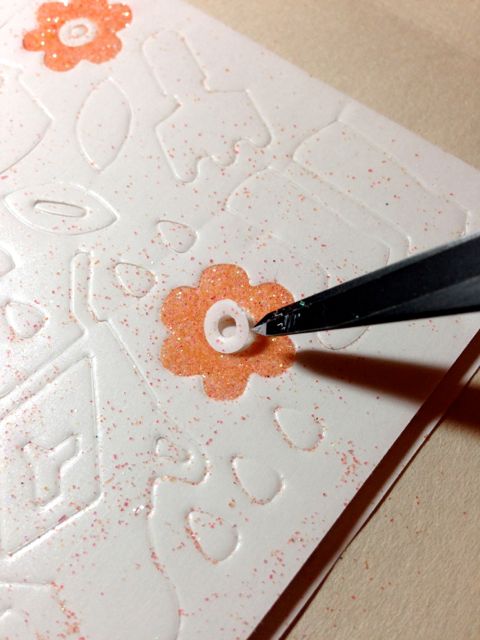
After adding the orange glitter, I removed the interior backing pieces of the flower centers and sprinkled on the yellow glitter.
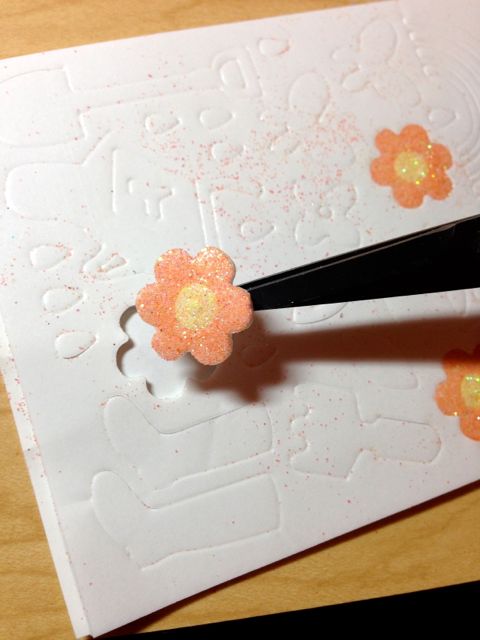
Then I lifted out my entire flower and adhered it to a blade of card stock grass.
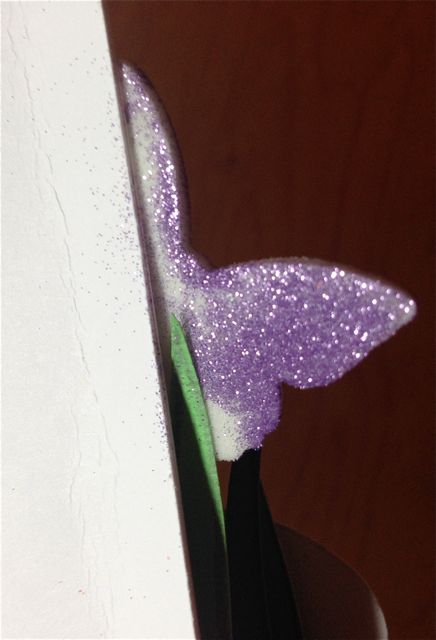
I altered the 3D Foam Butterflies with purple glitter and added them to the grass tips as well.
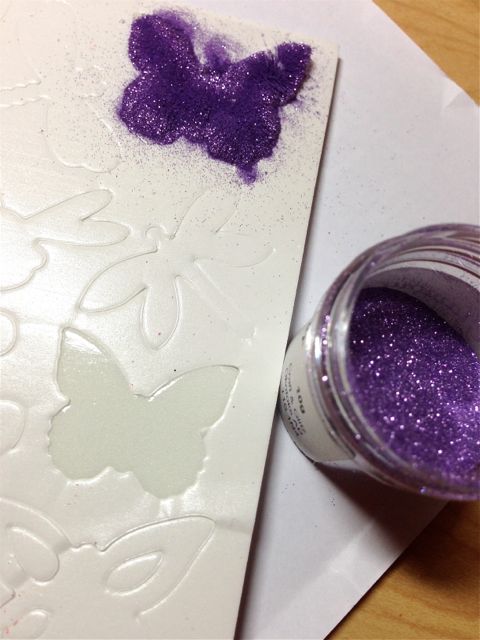
To UN-stick the backs of the the 3D Foam flowers and butterflies, I just rubbed the backs of them with a little more glitter.
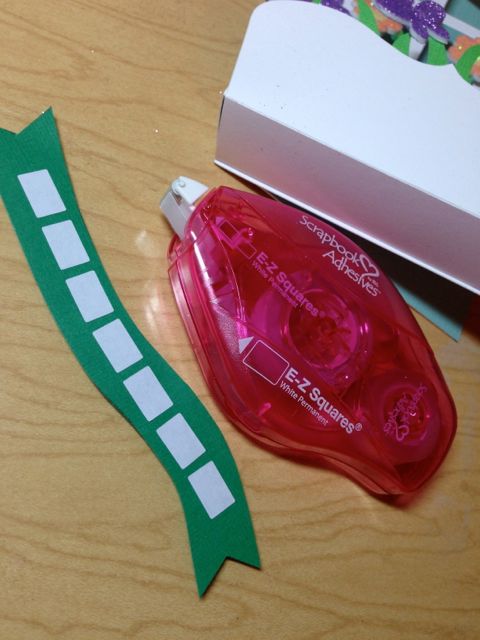
To create my Happy Mother’s Day banner, I simply layered two pieces of card stock with Crafty Foam Tape.
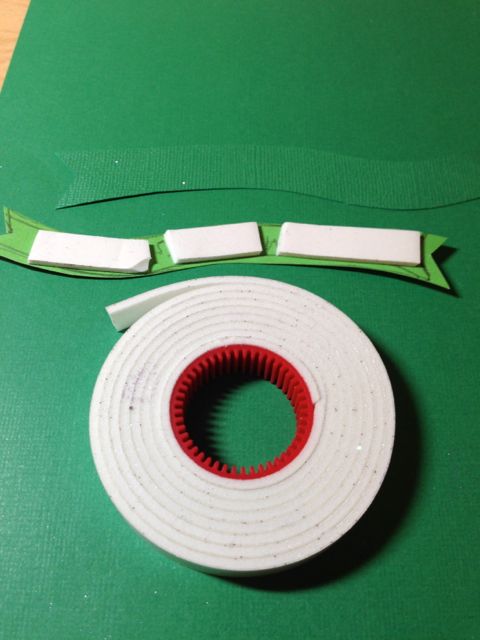
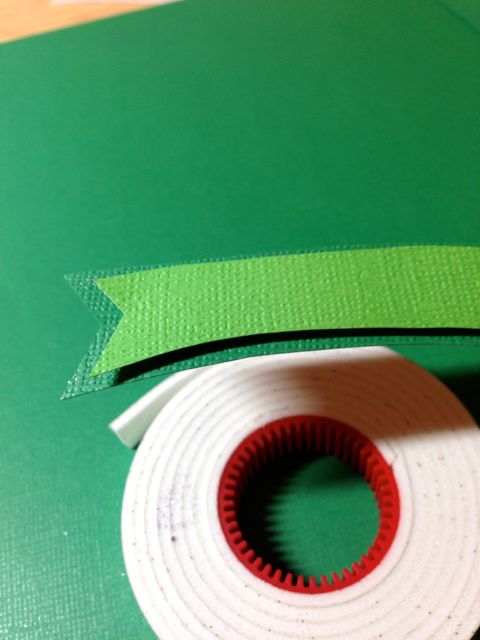
My banner and interior blue card stock piece were adhered with the E-Z Squares™ Refillable.
It’s that easy! With the right adhesives and 3D Foam Designer Shapes, card-making is a breeze!
Happy Crafting!
Kelly Klapstein (Visit my blog at www.kellycreates.ca)
SUPPLIES: Canadian Scrapbooker Super Stock(white); Core’dinations Colorcore Card Stock; die and die cut machine; Clearsnap Glitter; Westcott Scissors and Trimmer.
By Connie Nichol April 30, 2014 - 8:09 am
what a great idea, so pretty and spring feeling!
By Michelle Marks April 30, 2014 - 10:17 am
Absolutely adorable. Love the 3D effect!
By Deborah S April 30, 2014 - 1:00 pm
This card is gorgeous you are quite clever I know your mom will love this card also thanks for your tutorial!