
Latisha here today, and I am sharing a scrapbook layout. My husband and I, along with some of our friends, recently attended a wedding. The photographer was having people take out their cameras for a certain shot, and well we decided to do selfies too.
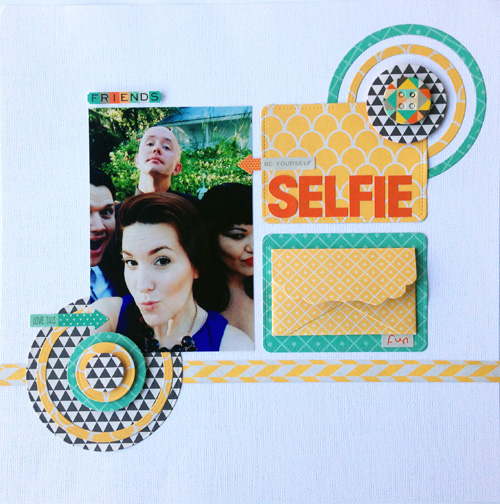
For me, I like to have a plan, especially when making a scrapbook page. Either I sketch out my layout, or maybe a color combination struck my fancy. Being inspired but having a plan, will save a ton of time.

I diecut my pattern paper, photo, and lay everything out. Once I have everything exactly where it will go, and I am happy. I will take a photo of my laid out project with my phone. This is so I have a point of reference when I am adhering everything down.
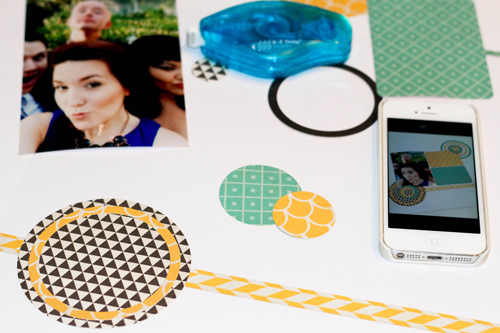
As you can see, I have my phone out with the picture of how I want my layout to look like, with all of my supplies out.
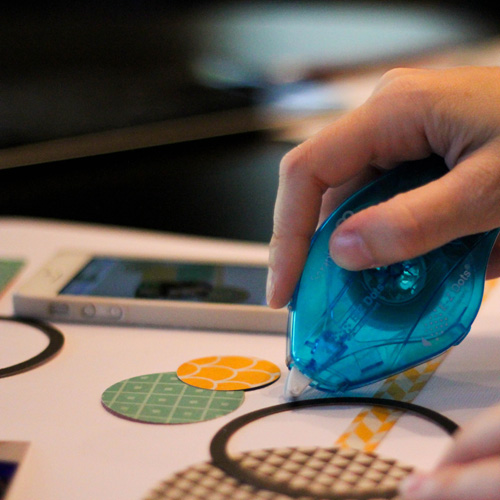
Because I am adhering die cuts with a small area for adhesive to go onto, I like to use the Scrapbook Adhesives by 3L E-Z Dots® Permanent Refillable runner. Adhesive will only go onto the surface area, so no messing with excess adhesive that you need to trim off.
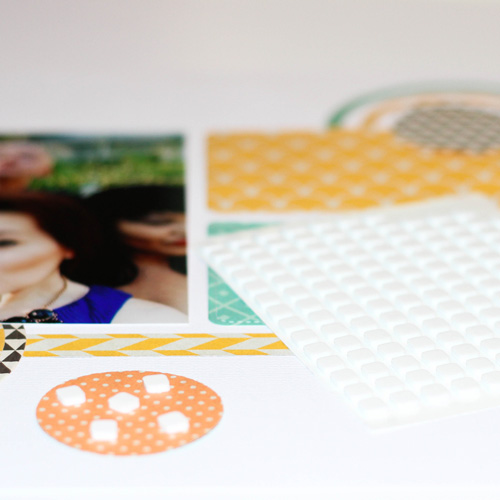
To give the layout some depth I am popping some of the die cuts up using the Scrapbook Adhesives by 3L 3D Foam Squares Small White.
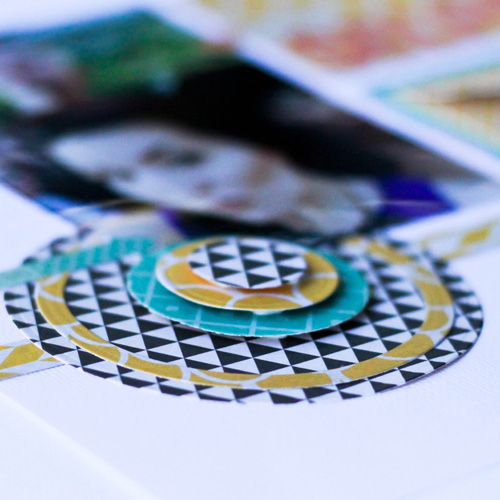
Here is a close up, of the great dimension you can get by using the 3D Foam Squares.

Materials Used:
Scrapbook Adhesives by 3L E-Z Dots® Permanent Refillable
Scrapbook Adhesives by 3L 3D Foam Squares Small White
Fancy Pants Designs True Friend Pattern Paper, stickers, buttons & envelope
Lawn Fawn Stitched journaling die (3×4)
Spellbinders Paper Arts Standard Circles Small
white card stock
By Margie Higuchi October 26, 2014 - 6:03 pm
OMGosh, Latisha! You have to do more pages! LOVE this one and that picture = PRICELESS!! HAHAHAHA~!!
By Deborah S October 26, 2014 - 11:57 pm
Great layout love the papers, the dimension, and your awesome selfie