
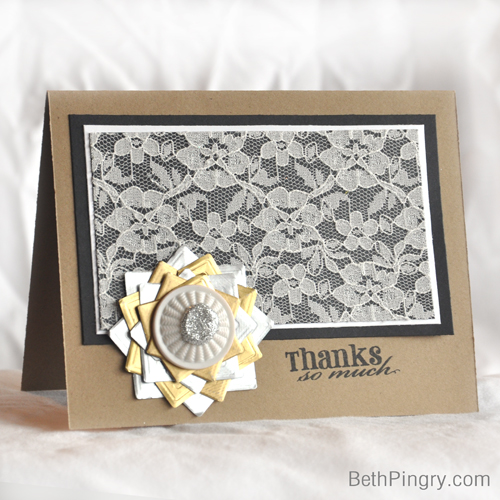
It’s November 1st, how did that happen? I am not ready to switch gears to red and green, so I’ll start with silver and gold, and a card that could work for Christmas, New Year’s Day, a wedding or just about anything else, depending on the sentiment stamp you use.
Creative Photo Corner Flower Tutorial
To make the Creative Photo Corner flower embellishment, I created a star with the first layer of Silver, then put the second layer in between the points in Gold, just covering the black part, then repeated with the 3rd layer, then ditto on the 4th, just like this:
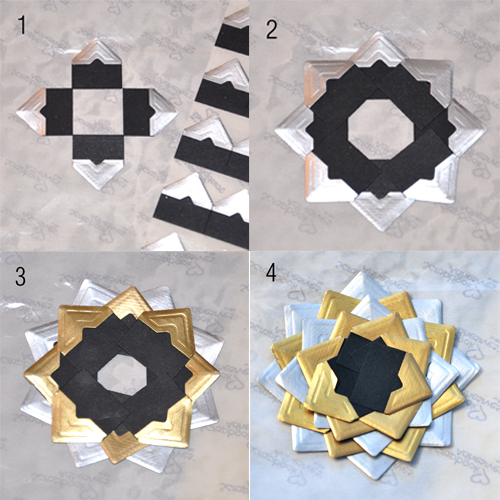 Note that I am using the sheet of non-stick paper the Creative Photo Corners come on. This makes it easy to move them around and assemble the flower. You could also use waxed paper.
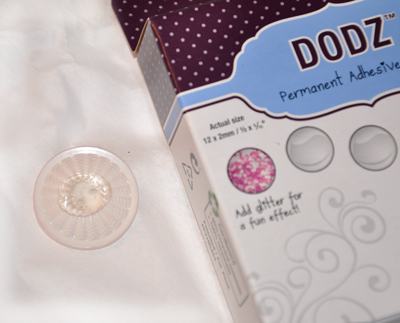
To complete the flower, I added an Adhesive Dots 3D to the center of a button then covered it in silver glitter. Using an Adhesive Dots Medium, I adhered the button to the center of the flower.
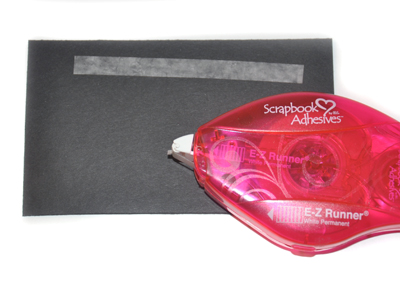
Next I made the lace covered paper. I applied an Adhesive Sheet to black paper, removed the liner sheet, then added the lace on top of the Adhesive Sheet’s adhesive. I trimmed it down to size in my paper trimmer.
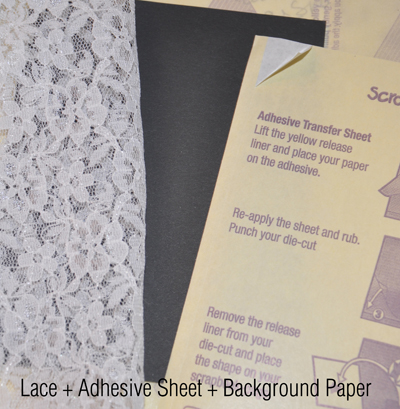 I layered it onto white then black cardstock and used the E-Z Runner® Permanent Strips Refillable Adhesive.
 Next stamp the sentiment and it’s done!
Thanks for visiting today!
Supplies:
- Scrapbook Adhesives by 3L®: Silver Creative Photo Corners, Gold Creative Photo Corners, E-Z Runner® Permanent Strips Refillable, Adhesive Sheets 4×6″, Adhesive Dots 3D, Adhesive Dots Medium
- A Jillian Vance Design: Many Thanks stamp set
- Black, White, Kraft cardstock, silver glitter, Black ink, Lace Fabric remnant, Button
By Deborah S November 2, 2014 - 10:38 pm
What a wonderful and creative card I love the flower and the lace is beautiful! I agree that there are so many events that this card would be perfect to fill the bill thanks.