
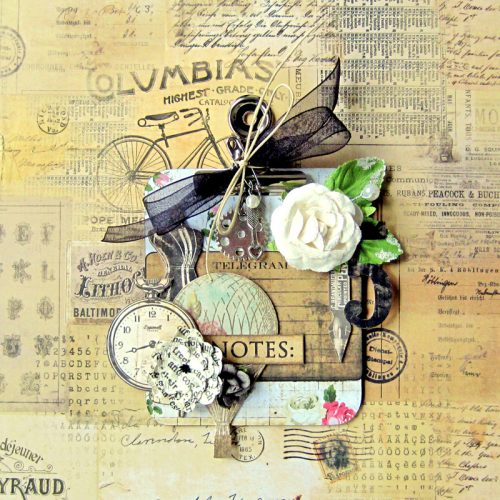
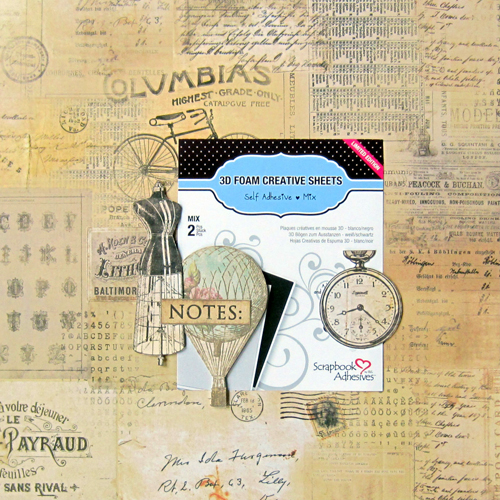
Happy Monday! It’s Erica and today I’m sharing a clipboard I altered using 3D Foam Creative Sheets, as well as a step-by-step tutorial showing you how I altered my clipboard!
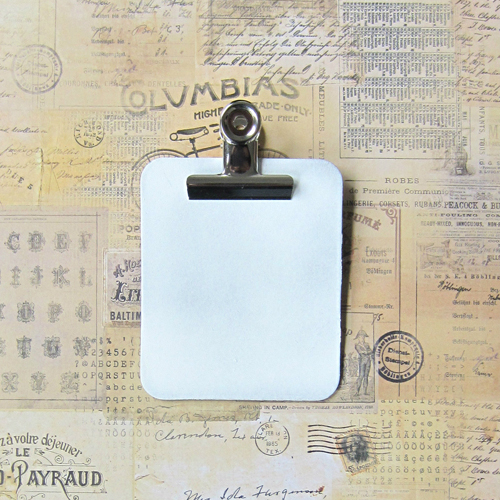
First, I started by spraying my clipboard with white Gesso. I then traced the clipboard onto a sheet of pattern paper, distressed and adhered it to the clipboard using the E-Z Runner® Permanent Strips.
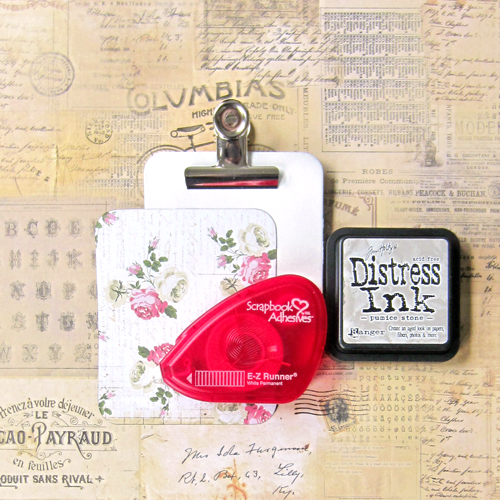
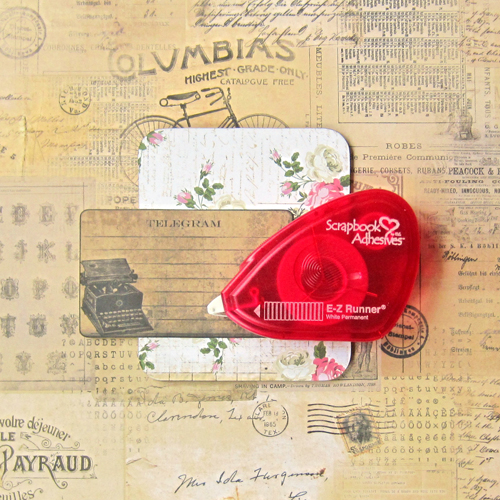
Next, I fussy cut several elements from another sheet of pattern paper and adhered them using 3D Foam Creative Sheets and E-Z Runner® Permanent Strips.
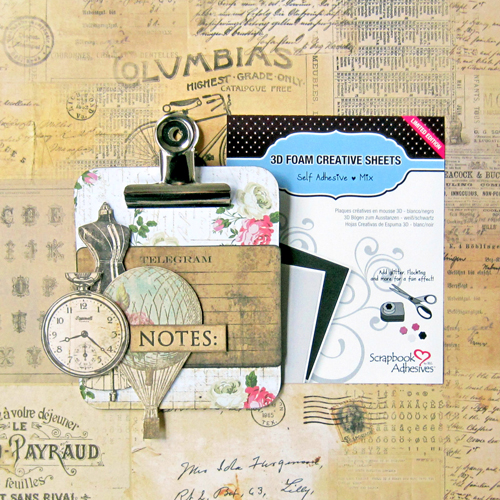
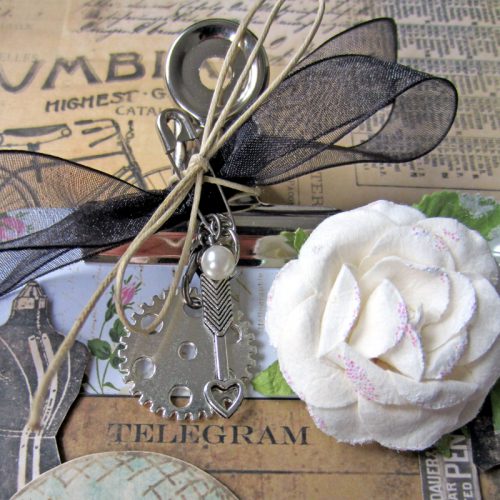
Lastly, I finished adhering my embellishments with 3D Foam Creative Sheets. The 3D Foam Creative Sheets are one of my most favorite adhesives to use because they not only give my project dimension but the sheets are very sticky – adhering heavier embellishments securely.
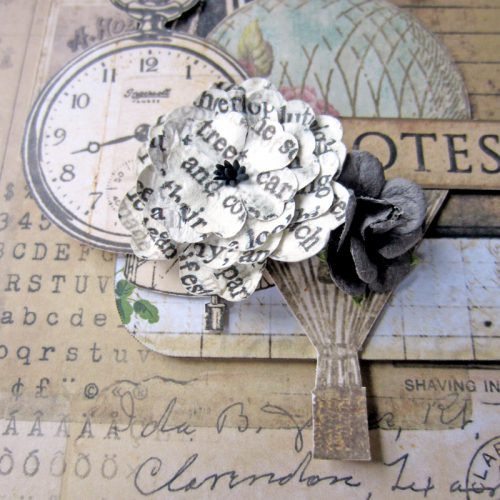
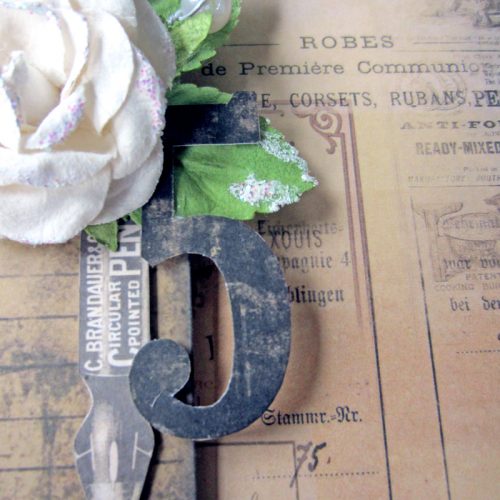
Here are some closeups of the finished Altered Clipboard!
Adhesives
Paper
- Marion Smith Designs, Romance Novel Ch. 2
Embellishments
- Marion Smith Designs, Junque & Gems – geared up, arrows
- The Paper Studio – vintage icons
- Tim Holtz, Ideaology – baubles
- Prima Marketing – flowers
- Celebrate It – ribbon
- May Arts – paper cord
Products
- Krylon – gesso
- Stampendous – clipboard combo
- Ranger Ink – Tim Holtz – distress ink
Thanks for joining me today!
Erica Houghton