
Happy FRIDAY! AJ here to share a tip on how to use our Adhesive Sheets and Tissue Tape to perfectly align your letter die cuts!
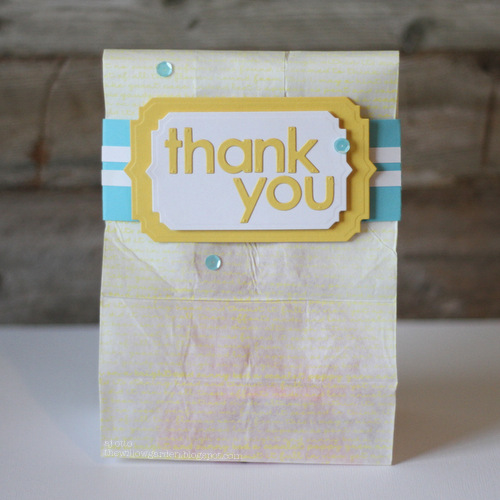
I love the idea of personalizing any sort of gift bag, party favor, etc. but I know (especially with kids) they just git ripped open and ruined and thrown in the trash. So, I thought maybe a reusable gift bag belly band wrap might work…worth a try, right? 😉
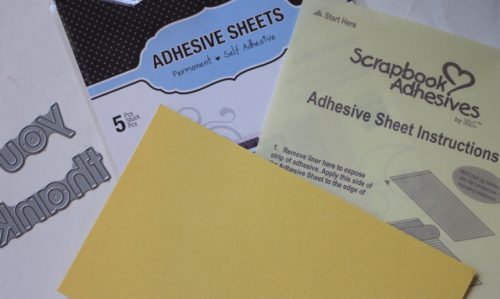 To get started, you will need your favorite die cuts, card stock, and our Adhesive Sheets, I use the 6 X 12 size because it perfectly fits in my die cut machine.

Pull back the liner of the Adhesive Sheet, and place the card stock against the sticky part. (Mine extends beyond, so I just trim it off) You can lay the liner back over the card stock and lightly burnish with a scoring tool to make sure it’s all adhered to the adhesive.

Now, because I am using this to adhere my letters to my project, I want the back side of my letters to have the adhesive. (You can add the adhesive to the front if you are interested in adding glitters, or foil, or other materials as seen here) Lay your dies cutting side down as shown to achieve this. You would simply flip the Adhesive Sheet over and place the dies on the other side for the fronts to be covered in adhesive.
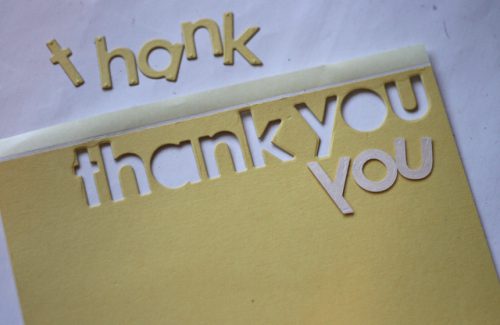
The end result is this, your letters perfectly cut out with adhesive backing to add to your project!
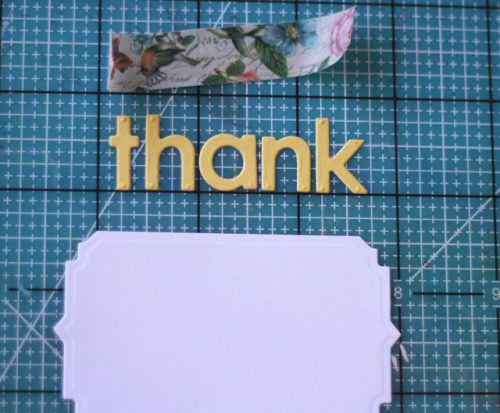
When you have individual letters like shown above, lining them up one by one is painful. I often use the Tissue Tape to solve this.
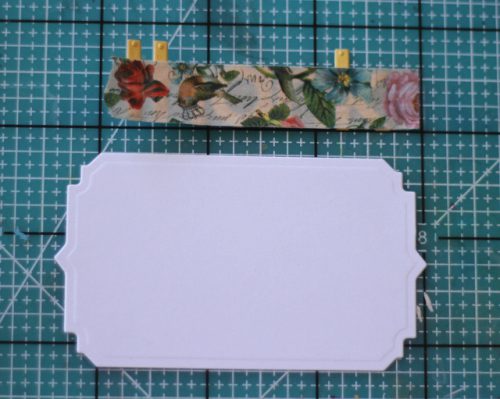
Lay your letters as you would like them spaced on your mat, and place a piece of Tissue Tape over them to hold them in place. (Die cut is used for spacing template)
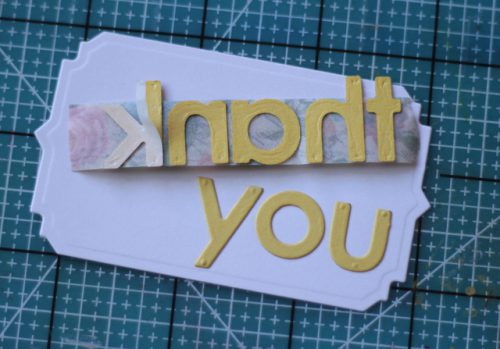
Now, remove backing off each one and you can place down in one perfectly spaced word as opposed to individual letters.
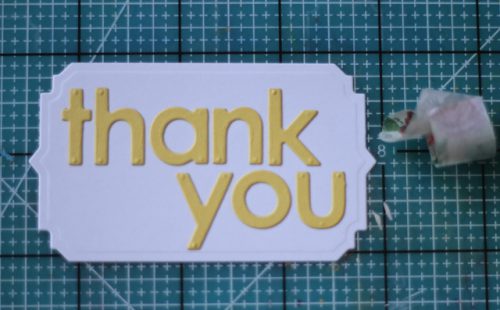
The end result in two simple steps.

Next, I have created a belly band to wrap around my bag, and love to use the E-Z Runner® Ultra to hold anything that will be fidgeted with upon opening and reusing. 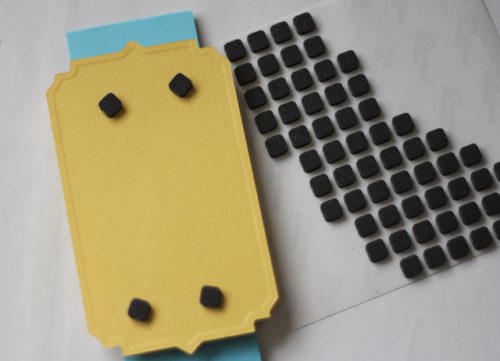
Next, to add some dimension, pop up varying die cuts to each other using 3D Foam Squares.
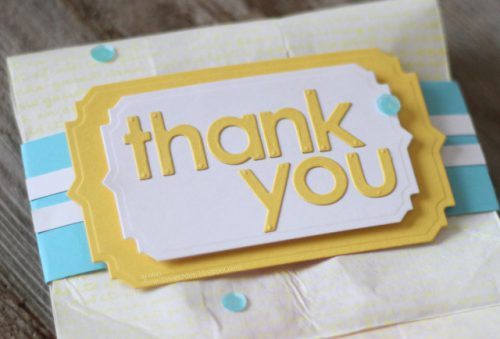 Lastly, adhere a few fun sequins using our perfectly sized Dodz Mini Adhesive Dots. To assemble, I folded the bag over and slid the belly band over and then pulled out a bit on the upper half that I wanted to extend beyond the label. You can slide it up and down to your desired placement.
enjoy! AJ
Scrapbook Adhesives by 3L® Products used: Adhesive Sheets, E-Z Runner® Ultra, E-Z Runner® Micro Refillable, 3D Foam Squares, Dodz Mini Adhesive Dots
Other products used: Stamps & Letter Dies- My Favorite Things; Sequins & Ink-Avery Elle; card stock, label dies- Spellbinders
By Amy Tsuruta July 15, 2016 - 7:20 am
awesome tutorial…love that gift bag!
By Lisa - papergrace July 15, 2016 - 1:45 pm
Fabulous tutorial, AJ!! Lining up letters like this is no bueno — I love your idea of using the tissue tape. And what a fun gift bag with belly band! ♥