
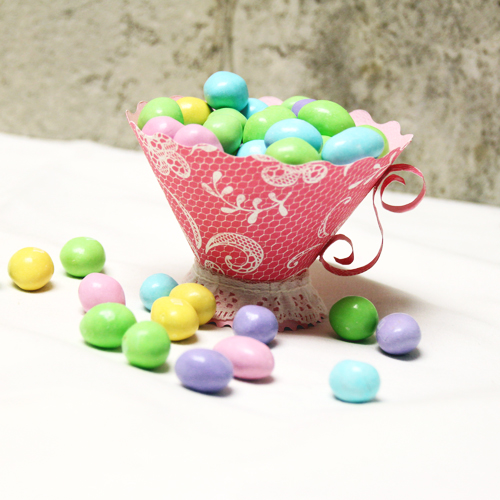
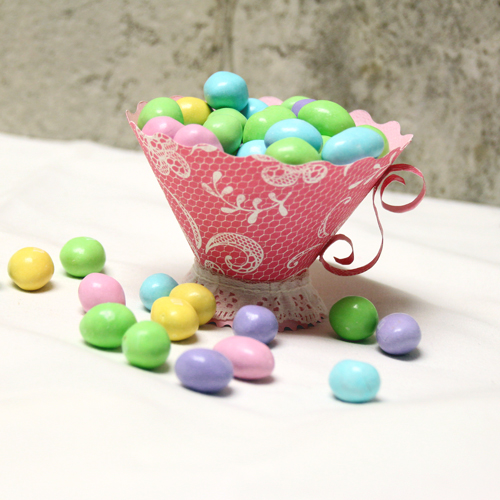
Hi all! Guest designer, Tami Mayberry, here again with another fun and easy project you can create with the help of your Scrapbook Adhesives by 3L® products. My son will be getting married this year so I have been working on various decoration and favor ideas. Today I share this adorable tea cup treat holder which is perfect for not only weddings but birthday parties, showers and gifts too.
Instructions:
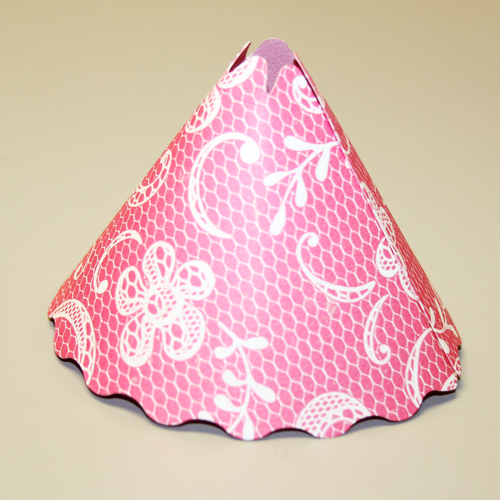
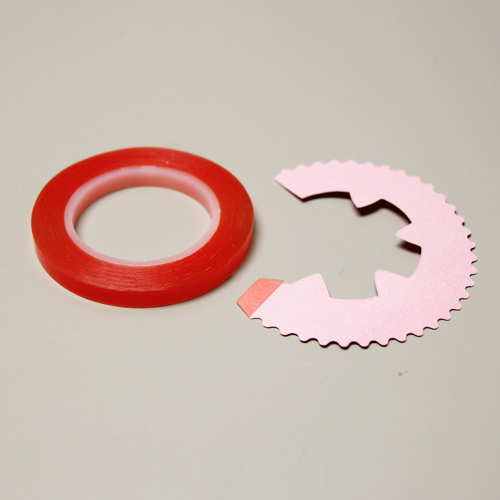
Die-cut tea cup pieces from double-sided patterned paper.
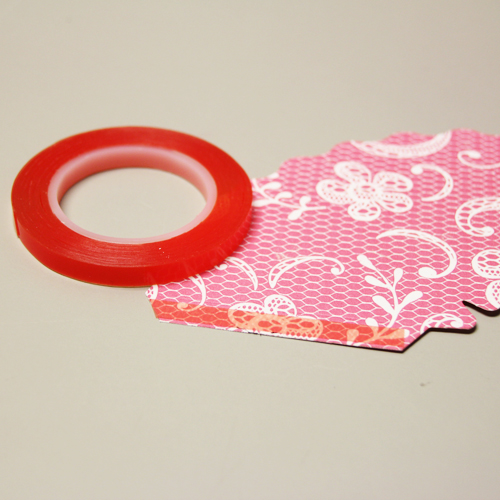
Attach Extreme Double Sided Tape 1/4″ to right side of cup top along tab.
Remove backing; attach tab to opposite end creating a cone shape.
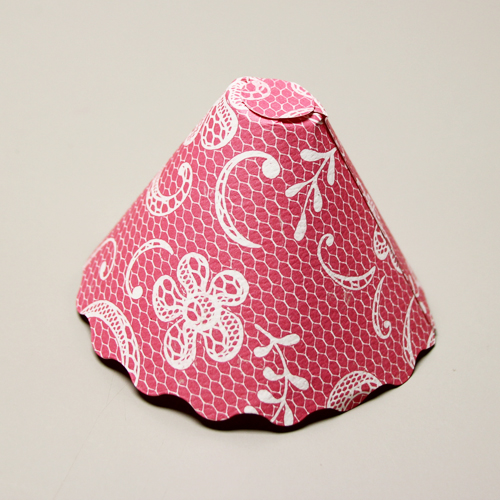
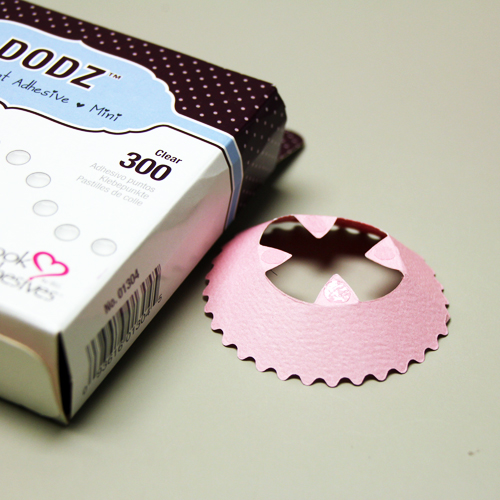
Attach Dodz Adhesive Dots Medium to die-cut circles. Fold down tabs; attach circles to inside and outside of cone shape securing tabs in place.
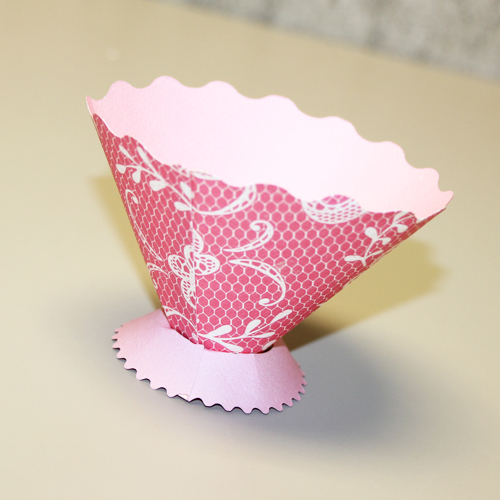
Attach Extreme Double Sided Tape 1/4″ to right side of cup base along tab.
Attach to opposite end creating cup base. Fold down tabs; attach Dodz Adhesive Dots Mini to each tab as shown.
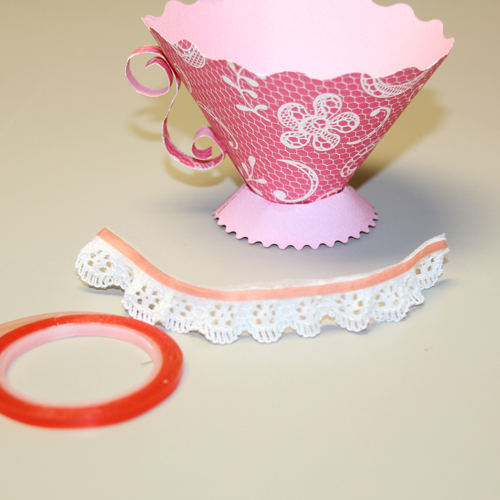
Place cup top onto base; secure in place along tabs. Curl handle into an “S” shape attach to side of cup using Dodz Adhesive Dots Medium.
Attach Extreme Double-Sided Tape ⅛ʺ along edge of lace trim. Remove backing; attach lace to base of cup.
Fill with treats and there you have it!
Supplies:
- Extreme Double-Sided Tape ⅛ʺ
- Extreme Double Sided Tape 1/4″
- Dodz Adhesive Dots Mini
- Dodz Adhesive Dots Medium
Other:
- Graphic 45 patterned papers
- Tea Cup die
- Lace Trim
By ~amy~ March 23, 2017 - 5:01 am
What a super cute idea!
By D.Ann C March 24, 2017 - 5:22 pm
This is DARLING! Thanks for sponsoring the Spring Coffee Lovers Hop!!