
Have you ever started a scrapbook layout and felt like it was okay but not quite there yet? Christine joining you today and I am going to walk you thru a layout that shows how I overcame “okay” and went straight to fabulous with one final addition. That final addition was 3D Foam Hearts.
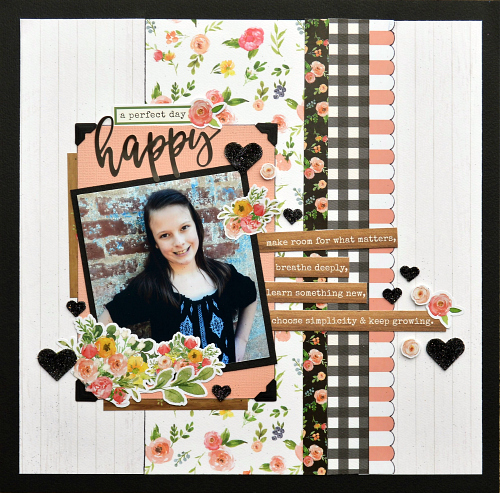
This layout has a very classic feel to it – with many classic elements. To keep it from being too rigid and straight, I opted to tilt my picture and add a script title. I also offset my journaling. All these things help it to be just a little bit more artistic.
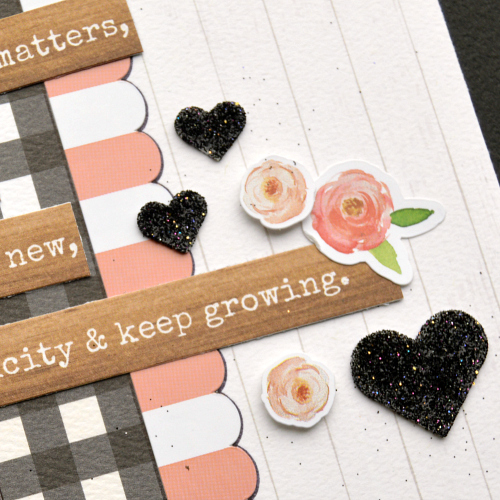
I cut apart my journaling pieces and used Adhesive Lines to secure them as they were just a little short to use my E-Z Runner Grand. I also added 3D Foam Circles to some of my rose stickers so that they would have a little extra pop to them.
 ‘
‘
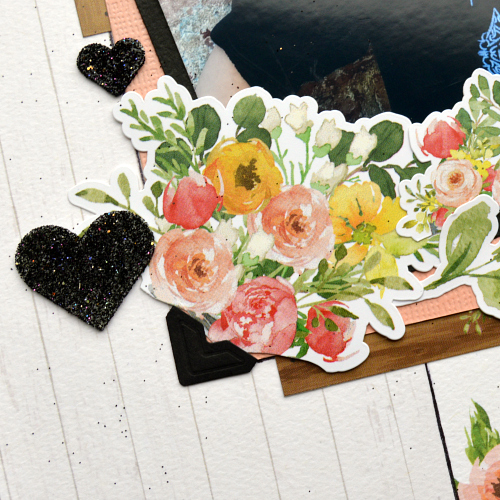
The Black Creative Photo Corners complemented the classic style of the layout well. But the real winner on the adhesive front was the 3D Foam Hearts. By adding some glitter to them and using a number of them – they really stole the show. They presented the perfect embellishment that I was able to personalize. As I was using them I was blown away at what a perfect fit they were. Let’s check out my process video to see how I used them as well as all the other adhesives in this layout:
Scrapbook Process Video
So the next time you are stuck for a final step, or maybe lacking in just the right coordinating embellishment, pull out those 3D Foam Shapes! They really can transform a layout!
Creative Time: 35 mins/Beginner Level
Materials Needed:
Scrapbook Adhesives by 3L®:
E-Z Runner® Grand Refillable Dispenser
3D Foam Circles White Mix
Creative Photo Corners
Adhesive Lines
3D Foam Hearts
Other Supplies:
The ScrapRoom May Flavors of the Month Kit, Black Glitter
By Terri Burson May 9, 2018 - 8:57 am
Oh my gosh, this is gorgeous! Love, love, love those black glittered hearts!