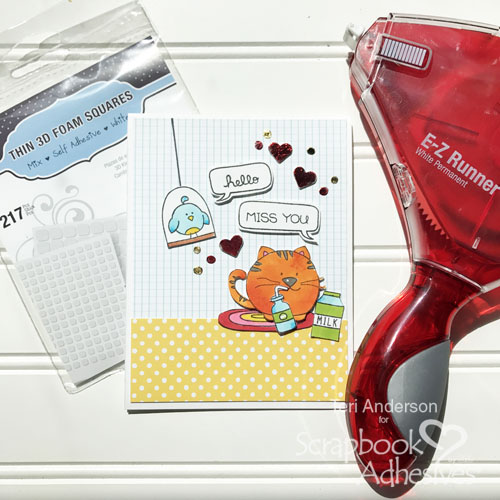
Hi, friends! Teri here with a stamped card that features some foil dots and hearts that were easy to make with adhesives from Scrapbook Adhesives by 3L®.

Creating the Stamped Scene
This card would be easy to recreate with stamps of your own!
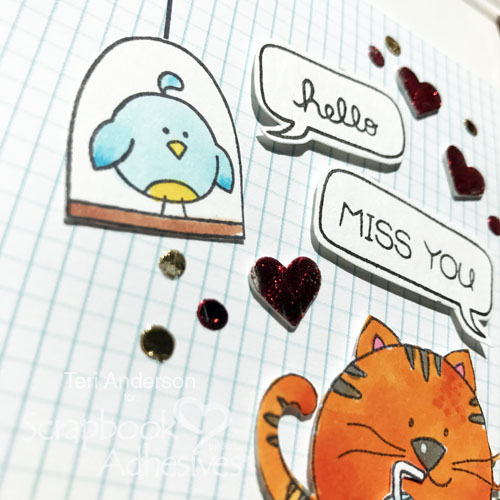
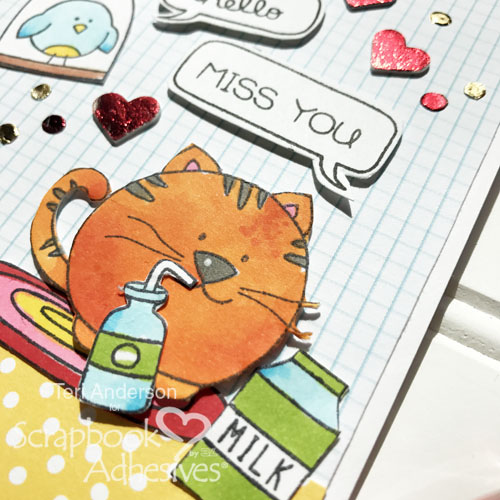
Pick a few images to make a scene. When I’m making a stamped scene, I try to pick images that look like they are doing something and would be interacting with each other but what you use is entirely up to you!
Stamp your images on cardstock. Color them in with markers and then fussy cut them out with scissors. Now set them aside.
Adhere a couple panels of patterned paper to a folded card. When I’m on a card making binge, like I was when I made this card, I like to use the E-Z Runner® Grand Refillable Dispenser to put large panels of paper on my cards. This dispenser has a lot of adhesive in it (150 feet and is refillable) so you can put a lot of adhesive on your card and you can keep on making cards after you’ve made your first one.

Adhere your images to your card. Want to give them a subtle pop? Consider using the Thin 3D Foam Squares White Mix like I did to adhere to some of your images. These thin squares are perfect because they provide just enough pop to lift your images off your card and draw attention to them.
Now we’re going to have fun! You are going to add some foil accents to your card.
Take a couple 3D Foam Hearts and add them to your scene. Remove the liner paper from the top and slowly burnish foil onto them. You don’t need a special burnishing tool. Your finger will work just fine! I used the red foil from our 3D Foam Creative Embellishment Kit.
Creating Foil Dots
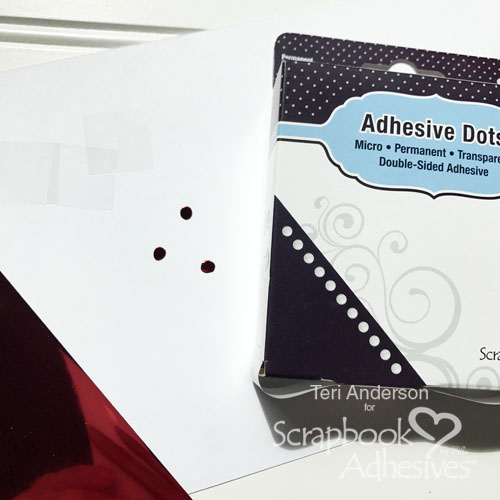
You can also create foil dots with the Adhesive Dots Micro.

Simply take an Adhesive Dot Micro. Place it on your card. (I’m showing it here on a piece of scratch paper.) Remove the plastic liner. Set a piece of foil (with the colorful side up) onto it and rub the foil on it. Remove the foil and you’ll have the perfect foil dot!
Add as many dots as you’d like to your card to complete the scene! For added variety, consider using multiple colors of foil rather than sticking with just one color.

Have you made any cards with foiled accents? I’d love to see them. Share a link in the comments section!
Creative Time: 1 hour
Skill Level: Beginner
Materials Needed:
Scrapbook Adhesives by 3L®:
3D Foam Creative Embellishment Kit
3D Foam Hearts
E-Z Runner® Grand Refillable Dispenser
Adhesive Dots Micro
Thin 3D Foam Squares White Mix
3D Foam Creative Embellishment Kit
HomeHobby by 3L®:
Dual Tip Glue Pen
Other:
Fat Cats and Tiny Bubbles Stamp Sets from Ink Blot Shop; Let’s Polka Patterned Paper; Bella Blvd. Secrets of the Sea Patterned Paper; White Cardstock; Black Ink Pad; Blue, Green, Red, Yellow, Brown, Orange, Pink and Gray Markers

By Michele F June 27, 2018 - 6:42 am
Who knew?!?! You rock, Teri… always! Now get working on that mega ginormous pack of thins, please? XX
=]
By Liz August 4, 2018 - 9:26 am
Great alternative to using rhinestones etc which often do not mail well. These dots lie flat but still give bling. Also the color you need is more available when using the foil. Why didn’t I think of that?
By Betsey terry August 8, 2018 - 11:21 pm
Love that they have it for little pieces and don’t need a machine to use it!!