Do you love metallic and glitter accents on your cards? Well, then today’s technique is one you will love to try out…Wear your Adhesive on the Outside! Hi everyone, Yvonne here! Are you ready to die-cut from Adhesive sheets and use Foil Sheets and lots of matching glitter? Ready to sparkle? Let’s get started!
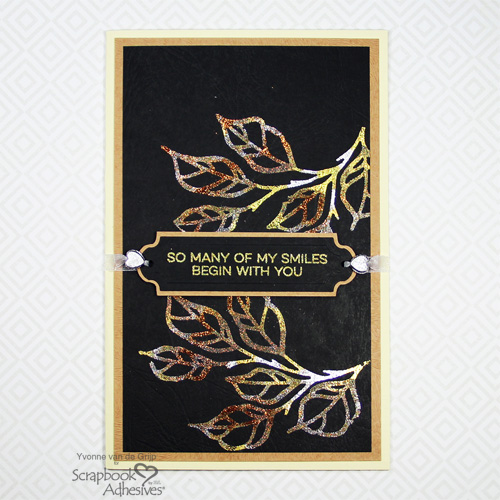
Metallic Glitter Card Panel
First die-cut the leaves from Adhesive Sheets 4×6 inch. Carefully remove the die cut from the etched die.
Since the die cut is quite fragile, carefully and slowly remove the yellow release liner to adhere the die cut to the black cardstock panel. Make sure the white release liner facing up. To best secure the die cut to the card panel, I used a bone folder.
Repeat this step to adhere the other die-cut.
Wear Your Adhesive on the Outside
Now for the fun part! Adding foil from the 3D Foam Creative Embellishment Kit and glitter to the die cuts by Wear Your Adhesive On The Outside technique.
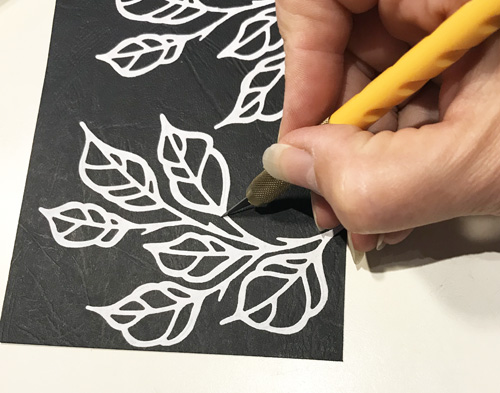
Carefully cut through just the white liner of the Adhesive Sheet with a craft knife. Remove small areas of the white liner. I choose to work on just the stems of the die cut. Cut only the liner and leave the adhesive exposed.
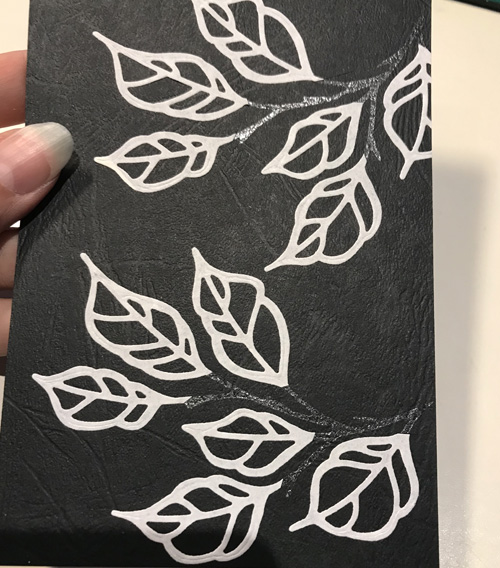
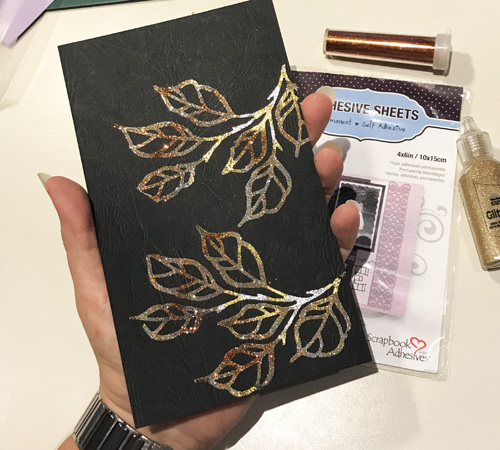
Next, cut a small piece of silver foil and gold foil from 3D Foam Creative Embellishment Kit. Randomly tap both of the gold and silver foils onto the exposed adhesive for a nice mix of metallic colors.
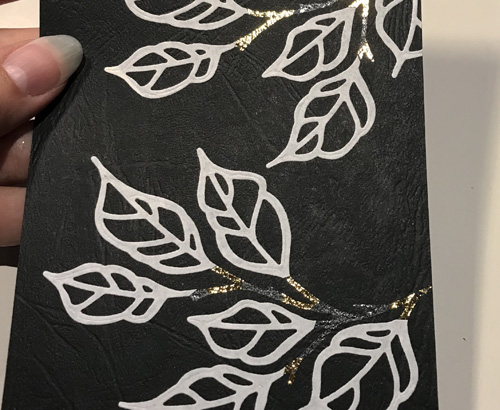
Glittered Leaves
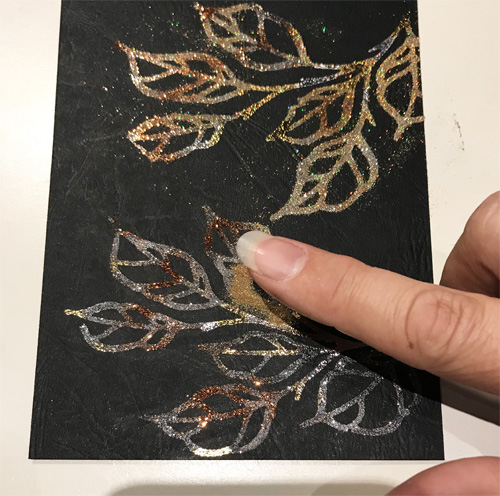
Let’s remove the rest of the white liner to add the glitter! Sprinkle a combination of copper, silver and gold glitter onto the exposed adhesive. Rub the glitter into the adhesive with your fingers to secure and tap off to remove the excess.
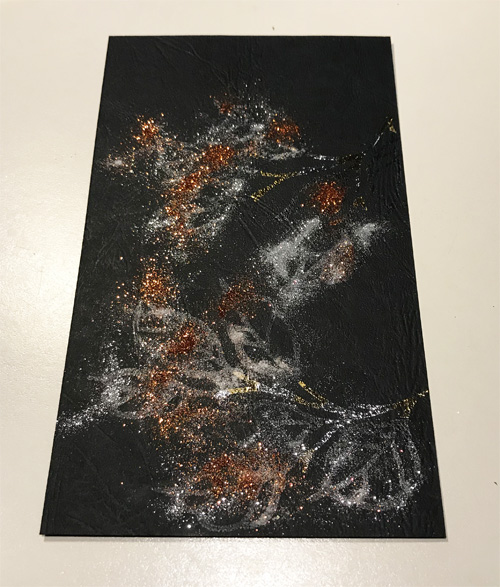
If you find that you have sticky parts on your die cuts, I suggest two options. One is to sprinkle more glitter to cover. Or two is to take pieces of gold and silver foils to tap over the exposed adhesive. A great way you get an even more nice melange of colors 🙂
Build the Card
Affix the black card panel to a kraft cardstock panel and then to a creme card base using the E-Z Runner® Grand Refillable Dispenser.
Stamp a sentiment onto black cardstock using an embossing ink pad and gold glittered embossing powder. Heat the sentiment. Die-cut a banner over the embossed sentiment and adhere the banner onto a piece of kraft cardstock using the E-Z Runner® Grand Refillable Dispenser. Scissor cut it slightly larger than the black banner.
Thread ribbon through the holes of the banner and adhere to the card front with 3D Foam Squares White Regular Size.
Finally, glue the ends of the ribbon to the card front using Adhesive Dots Mini because the dots are transparent, no adhesive will show!
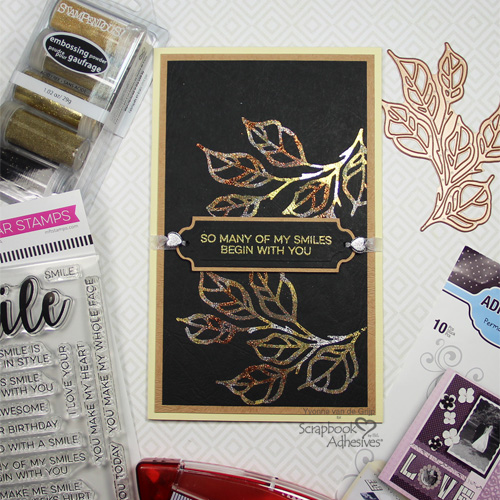
And…voila…your card is ready! Wishing lots of crafty fun re-creating the card.
Creative Time: 60 minutes
Skill level: Advanced
Materials Needed:
Scrapbook Adhesives by 3L®:
Adhesive Sheets 4×6 inch
3D Foam Creative Embellishment Kit (Foil Sheets)
E-Z Runner® Grand Refillable Dispenser
3D Foam Squares White Regular Size
Adhesive Dots Mini
Other Supplies:
Etched Dies: Spellbinders® Paper Arts (Leaves So Very Gorgeous, Stephanie Low), Stamp: My Favorite Things (All Smiles), Cardstock (black, kraft, creme), Embossing powder: Stampendous (Glamour/Charm), Glitter (copper, silver, gold), Ribbon, Craft knife, Bone folder, Paper trimmer
