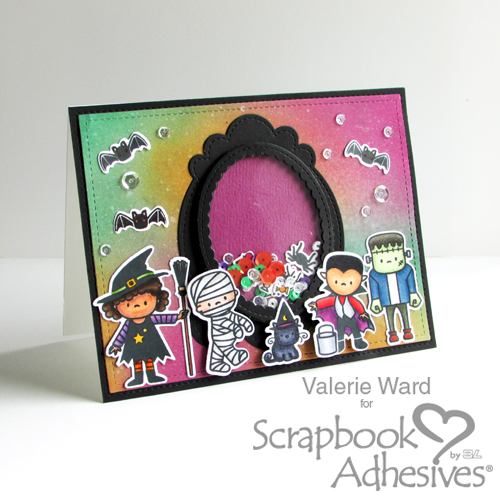
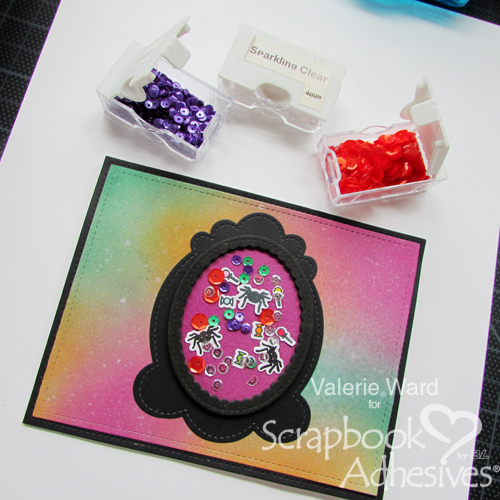
Hi Crafters! Valerie here today, and I decided to create a fun Halloween shaker card for today’s post!
![Halloween Shaker Card Tutorial by Valerie Ward for Scrapbook Adhesives by 3L](https://www.scrapbook-adhesives.com/blog/wp-content/uploads/2018/08/IMG_7306.jpg)
![Halloween Shaker Card Tutorial by Valerie Ward for Scrapbook Adhesives by 3L](https://www.scrapbook-adhesives.com/blog/wp-content/uploads/2018/08/IMG_7308-s.jpg)
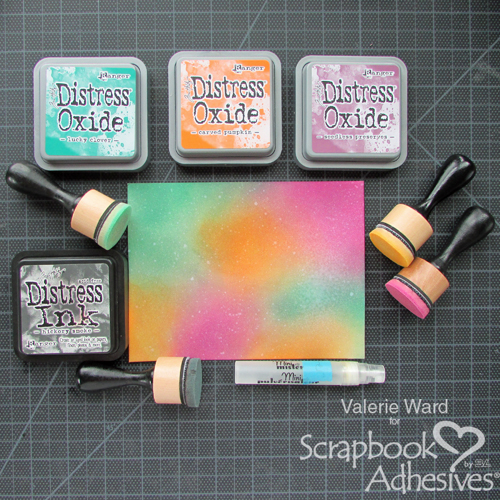
The Colorful Halloween Background
I started by making a very colorful background with three Distress Oxide inks (Carved Pumpkin, Lucky Clover, and Seedless Preserves). When I got my desired colors blended, I added a thin layer of Hickory Smoke Distress Ink over the paper.
![Halloween Shaker Card Tutorial by Valerie Ward for Scrapbook Adhesives by 3L](https://www.scrapbook-adhesives.com/blog/wp-content/uploads/2018/08/IMG_7270-v.jpg)
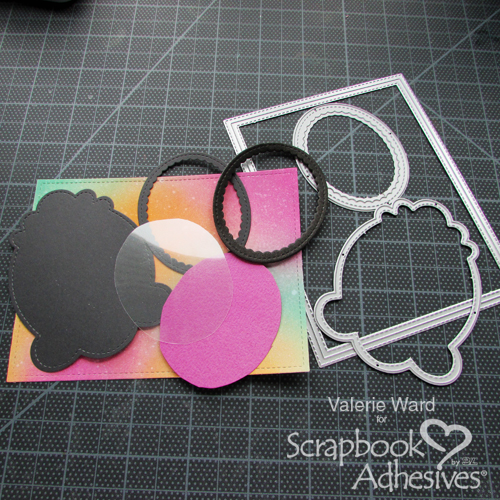
Next, I got all my die cutting done:
![Halloween Shaker Card Tutorial by Valerie Ward for Scrapbook Adhesives by 3L](https://www.scrapbook-adhesives.com/blog/wp-content/uploads/2018/08/IMG_7272.jpg)
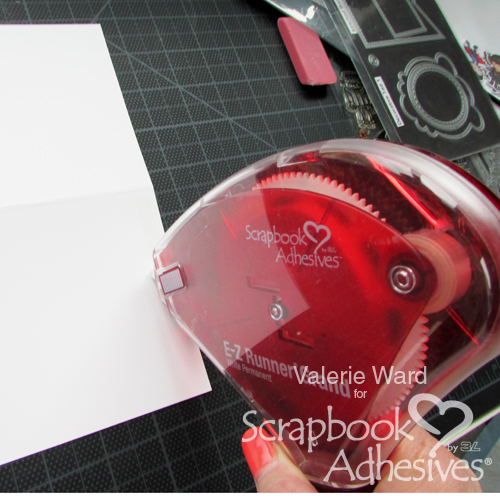
Here is where I used my E-Z Runner Grand Dispenser to attach the black base to the top of the card, and then the colorful background piece centered on top of the black base:
![Halloween Shaker Card Tutorial by Valerie Ward for Scrapbook Adhesives by 3L](https://www.scrapbook-adhesives.com/blog/wp-content/uploads/2018/08/IMG_7274.jpg)
![Halloween Shaker Card Tutorial by Valerie Ward for Scrapbook Adhesives by 3L](https://www.scrapbook-adhesives.com/blog/wp-content/uploads/2018/08/IMG_7277.jpg)
Make the Halloween Shaker
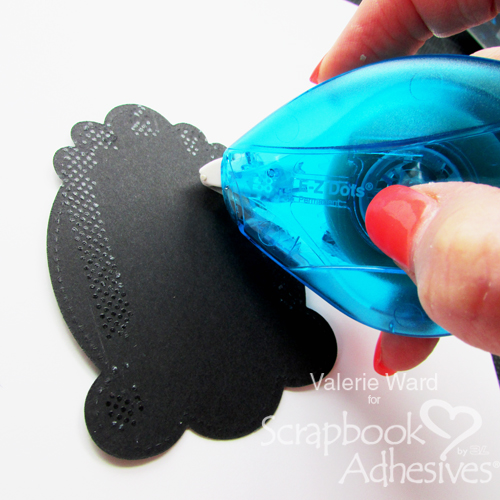
First, I used my E-Z Dots Permanent Dispenser to attach the very bottom piece of the shaker unit to the card front:
![Halloween Shaker Card Tutorial by Valerie Ward for Scrapbook Adhesives by 3L](https://www.scrapbook-adhesives.com/blog/wp-content/uploads/2018/08/IMG_7279.jpg)
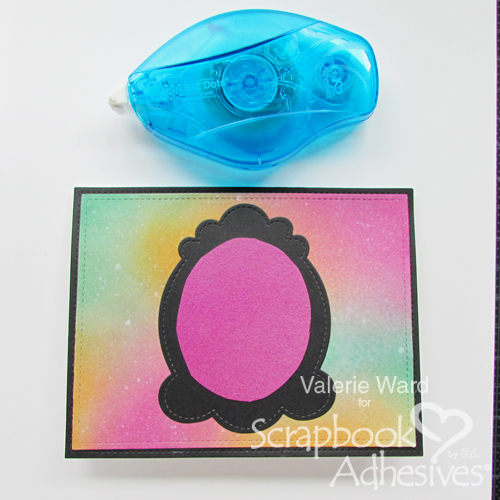
I used the same adhesive to adhere this purple piece on top of the black one:
![Halloween Shaker Card Tutorial by Valerie Ward for Scrapbook Adhesives by 3L](https://www.scrapbook-adhesives.com/blog/wp-content/uploads/2018/08/IMG_7282.jpg)
![Halloween Shaker Card Tutorial by Valerie Ward for Scrapbook Adhesives by 3L](https://www.scrapbook-adhesives.com/blog/wp-content/uploads/2018/08/IMG_7286.jpg)
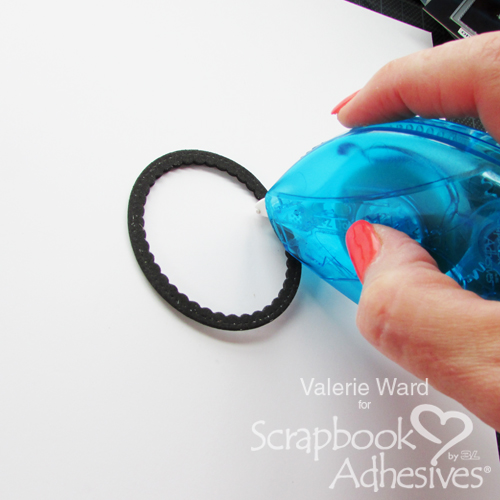
And I was thrilled to see my beloved E-Z Dots Permanent Dispenser also worked on this foam piece:
This piece goes on top of the purple piece and the black piece and will hold the shaker pieces.
![Halloween Shaker Card Tutorial by Valerie Ward for Scrapbook Adhesives by 3L](https://www.scrapbook-adhesives.com/blog/wp-content/uploads/2018/08/IMG_7288.jpg)
I used various Pretty Pink Posh sequins.
![](https://www.scrapbook-adhesives.com/blog/wp-content/uploads/2018/08/IMG_7289.jpg)
![Halloween Shaker Card Tutorial by Valerie Ward for Scrapbook Adhesives by 3L](https://www.scrapbook-adhesives.com/blog/wp-content/uploads/2018/08/IMG_7292.jpg)
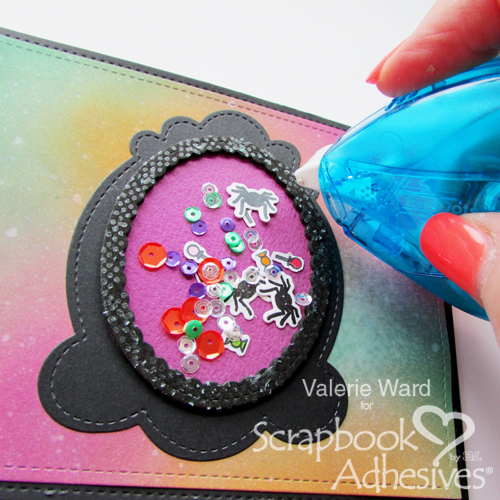
Once again I pulled out and used my trusty E-Z Dots Permanent Dispenser on top of the foam frame piece.
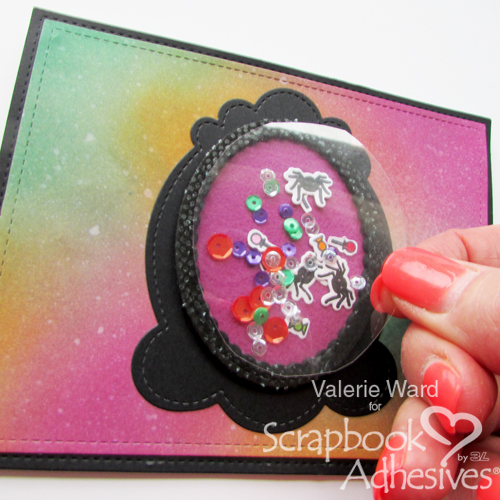
And here is where I put down the transparent piece.
![Halloween Shaker Card Tutorial by Valerie Ward for Scrapbook Adhesives by 3L](https://www.scrapbook-adhesives.com/blog/wp-content/uploads/2018/08/IMG_7293.jpg)
Add the Finishing Touches
For the colored images that will lay flat on the card, I used my E-Z Dots Permanent Dispenser.
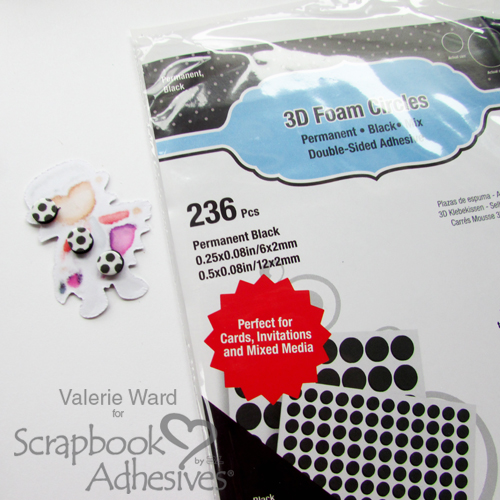
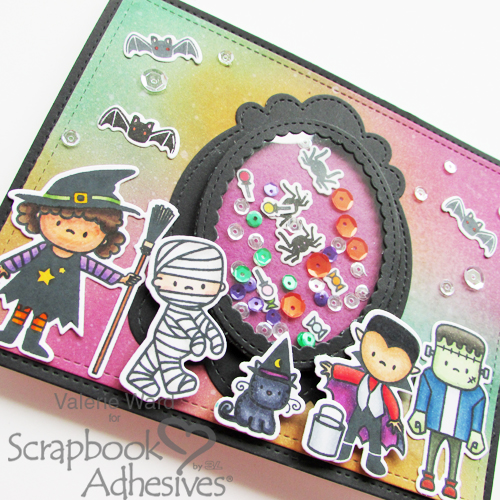
There are pieces that will need to be raised up because they will partially be attached to the raised shaker portion, so I added 3D Foam Circles Black Mix to them:
![Halloween Shaker Card Tutorial by Valerie Ward for Scrapbook Adhesives by 3L](https://www.scrapbook-adhesives.com/blog/wp-content/uploads/2018/08/IMG_7296.jpg)
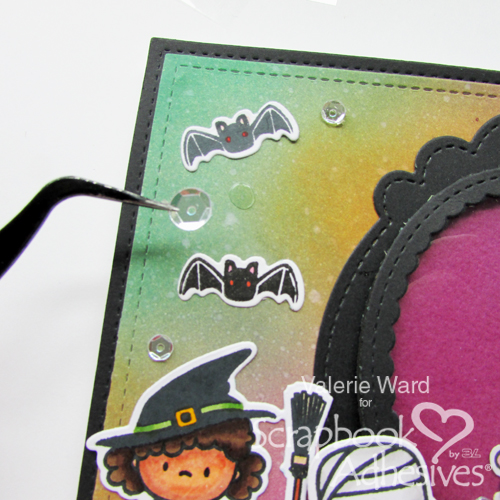
I decided to add some sequins to the front of the card and to do that I used Adhesive Dots Micro.
![](https://www.scrapbook-adhesives.com/blog/wp-content/uploads/2018/08/IMG_7299.jpg)
I like to put the Adhesive Dots Micro directly onto the card, and then attach the sequins on top of them:
![](https://www.scrapbook-adhesives.com/blog/wp-content/uploads/2018/08/IMG_7300.jpg)
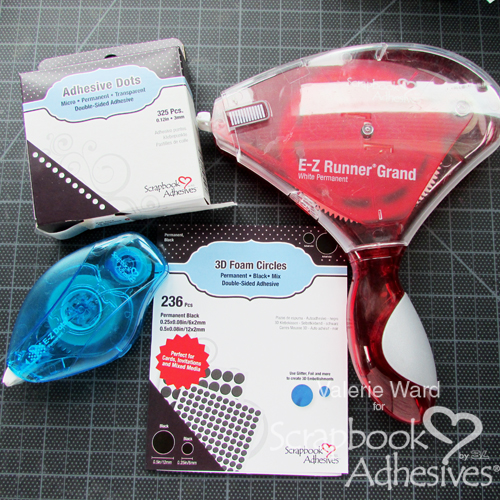
Now the card is complete, and these are the Scrapbook Adhesives by 3L products I used on this project:
![Scrapbook Adhesives by 3L](https://www.scrapbook-adhesives.com/blog/wp-content/uploads/2018/08/IMG_7304.jpg)
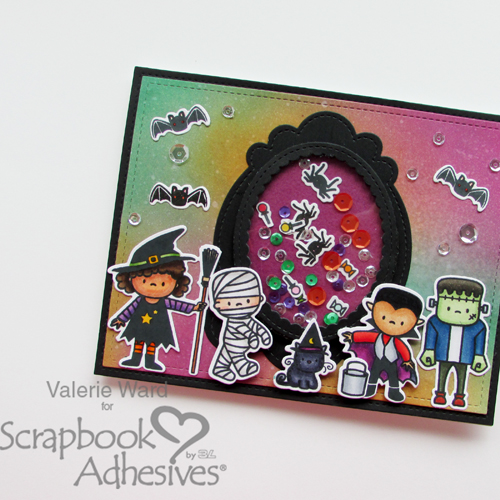
Here’s another look at the finished card.
![Halloween Shaker Card Tutorial by Valerie Ward for Scrapbook Adhesives by 3L](https://www.scrapbook-adhesives.com/blog/wp-content/uploads/2018/08/IMG_7305.jpg)
![Halloween Shaker Card Tutorial by Valerie Ward for Scrapbook Adhesives by 3L](https://www.scrapbook-adhesives.com/blog/wp-content/uploads/2018/08/IMG_7309.jpg)
Thank you for stopping by! I had so much fun with this card, and it’s pretty easy, too!
Valerie
- Creative Time: 1 hour
- Skill Level: Beginner
Materials Needed:
Scrapbook Adhesives by 3L:
E-Z Runner Grand Refillable Dispenser
E-Z Dots Permanent Refillable Dispenser
Adhesive Dots Micro
3D Foam Circles Black Mix
Other products:
Halloween stamp set and coordinating die set; Distress Oxide Inks and Ink Applicators (Ranger Inks); Sequins
Visit our Website and Blog!
Sign up for our Newsletter so you never miss a contest or giveaway!