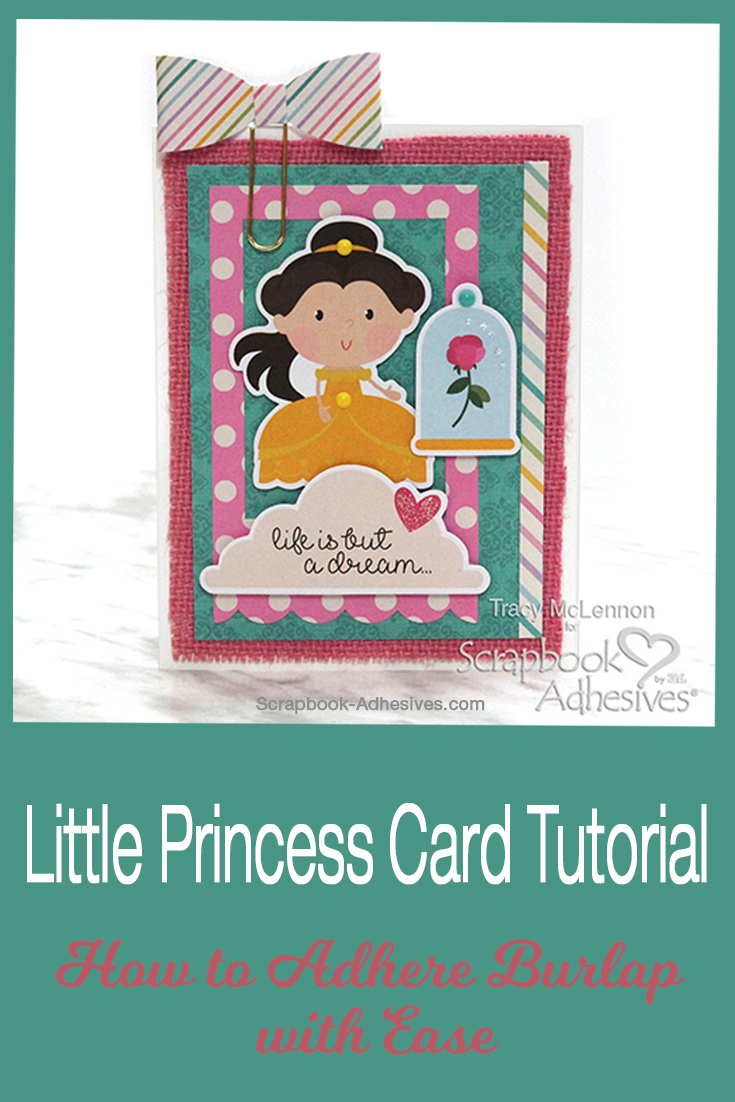
Welcome back, paper crafting friends! It’s Tracy here and today I have a sweet little princess card to share that is NOT short of cuteness and texture. I love playing with texture on all of my paper crafting projects, and that means you have to find the right adhesives for the job.
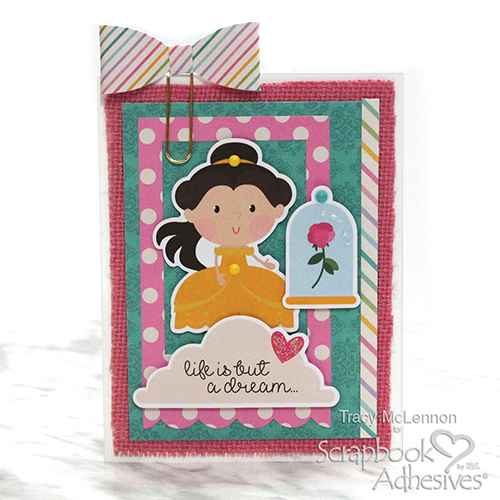
Princess Card Instructions
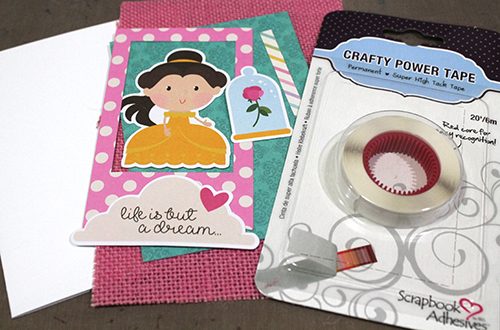
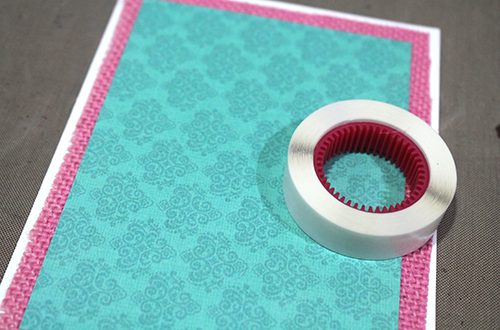
First, I gathered the bits and pieces I planned on using on this sweet little princess card. Including that beautiful pink burlap. The problem is burlap is SO often hard to adhere to a project. That’s where Crafty Power Tape comes in.
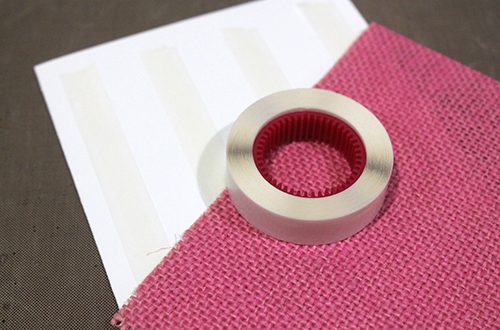
Add strips of Crafty Power Tape to the white cardstock card base. Then add the pink burlap, and press down firmly to secure it in place.
Using Crafty Power Tape again, adhere the teal patterned paper layer to the pink burlap.
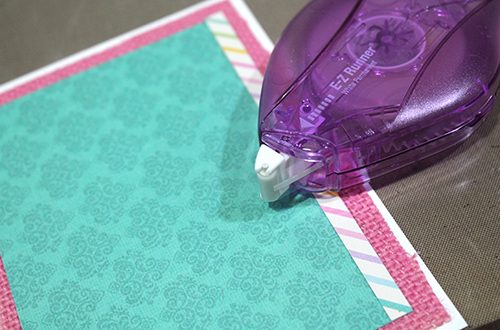
I wanted the narrowest little strip of patterned paper on the edge of the teal pattern, the E-Z Runner® Micro Refillable Dispenser was the perfect adhesive to attach it. This adds another subtle layer to my card.
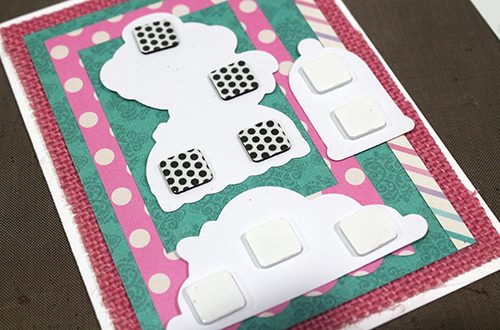
I used the E-Z Runner® Micro Refillable Dispenser again to adhere the polka dot die cut frame to the card. Next, se 3D Foam Squares White Regular Size and Thin 3D Foam Squares Black Mix to add the princess die cut pieces.
Finally, I simply added a few quick coordinating embellishments to my princess card, the bow clip and a few enamel dots. Then I used glitter glue to add a little extra sparkle here and there.
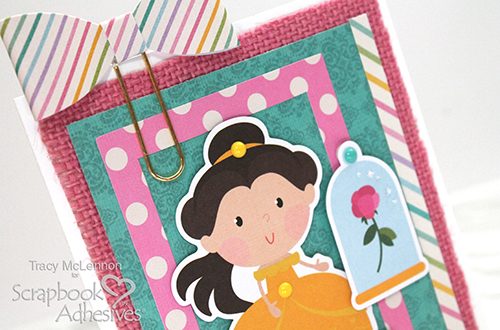
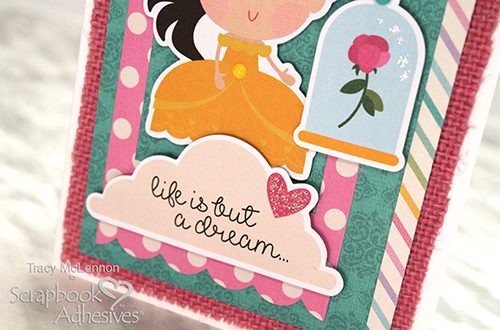
Thanks so much for stopping by to check out my sweet and simple princess card!
Tracy
Creative Time: 20 Minutes
Skill Level: Beginner
Materials needed
Scrapbook Adhesives by 3L®
E-Z Runner® Micro Refillable Dispenser
Thin 3D Foam Squares Black Mix
Crafty Power Tape 20′ Refill Roll
3D Foam Squares White Regular Mix
Other
Simple Stories: 6 x 8-inch Patterned paper, Die cuts, Paper bow clip, and Enamel dots (Little Princess Collection); DCWV: Pink Burlap; White Cardstock; Ranger Ink: Diamond Stickles
Pin It!
